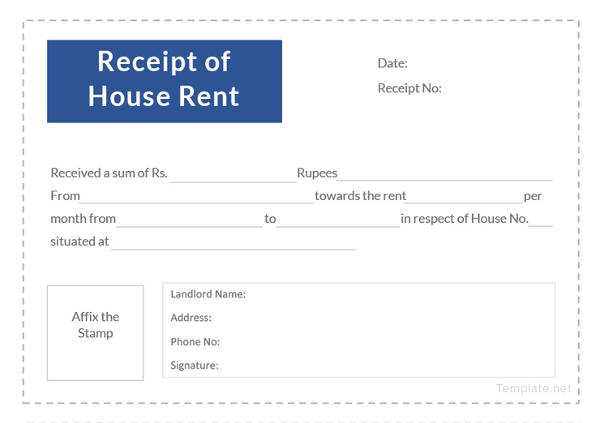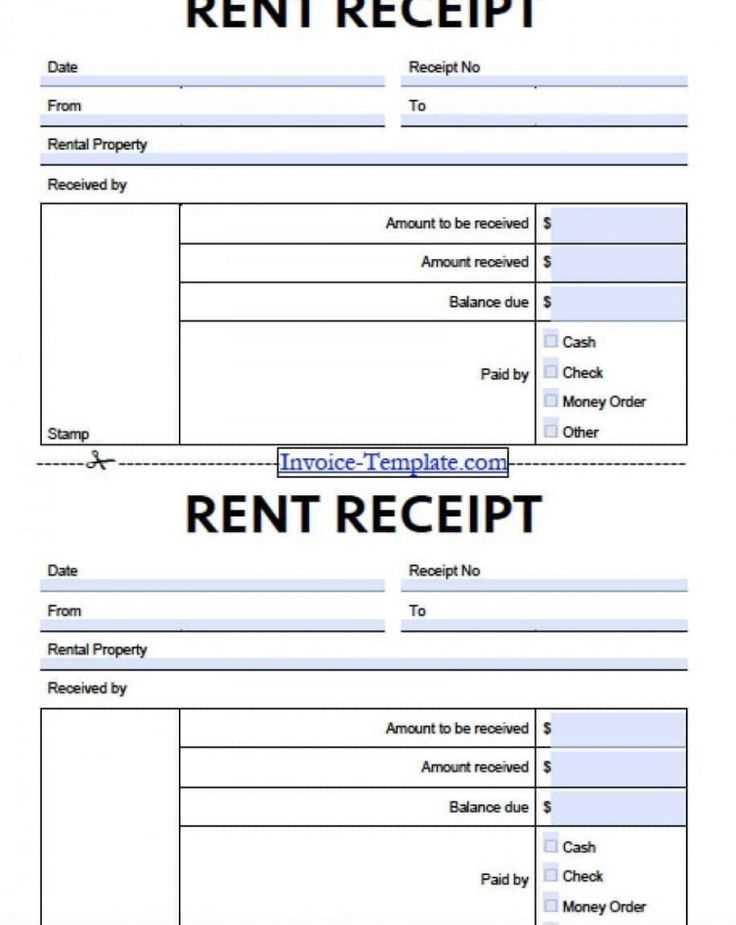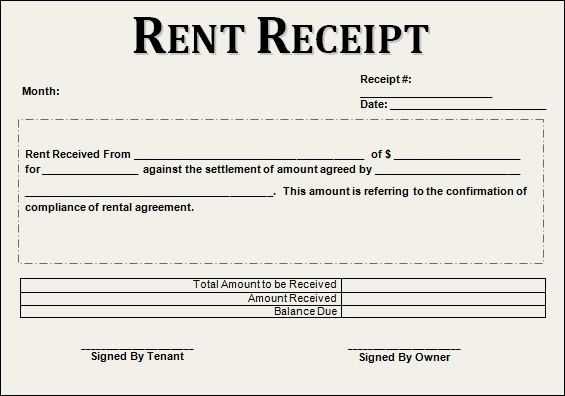
Creating a rent receipt is a straightforward but valuable task for both landlords and tenants. A rent receipt serves as proof of payment and helps avoid any potential disputes. Whether you’re a landlord looking to streamline your rental process or a tenant seeking clear documentation, using a reliable template can simplify things.
For landlords, providing a detailed rent receipt ensures transparency and builds trust with tenants. Include key details such as the tenant’s name, the address of the rental property, payment amount, payment method, and the date of payment. These are critical elements that guarantee both parties have a record of the transaction.
Tenants should always request a rent receipt, even when paying in cash. This receipt protects you in case of any future misunderstandings and provides a solid record of your financial history. Make sure the receipt clearly reflects the rent period and payment date to avoid confusion.
Here is the corrected version:
Provide the rental payment date, tenant’s name, and the exact address of the property. Be specific when listing the rental amount paid and mention any outstanding balance if applicable. Specify the payment method (e.g., cash, check, bank transfer). Always include the landlord’s name and signature to validate the receipt.
Details to Include
The receipt should have clear and concise information: the rental period, the amount paid, and any previous balance carried over, if applicable. If the rent includes utilities or additional charges, list them separately. Keep it simple and accurate to avoid confusion.
Legal Considerations
Ensure that the rental receipt complies with local laws. In many jurisdictions, it’s required to provide a receipt for every payment made, whether in cash or via bank transfer. This protects both the tenant and landlord in case of disputes over payments.
Rent Receipt Sample Template
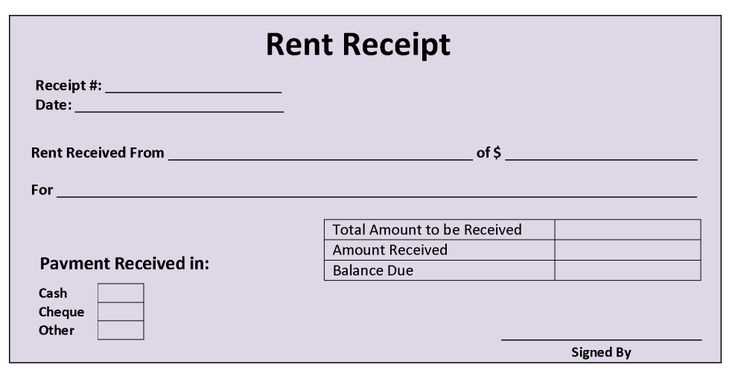
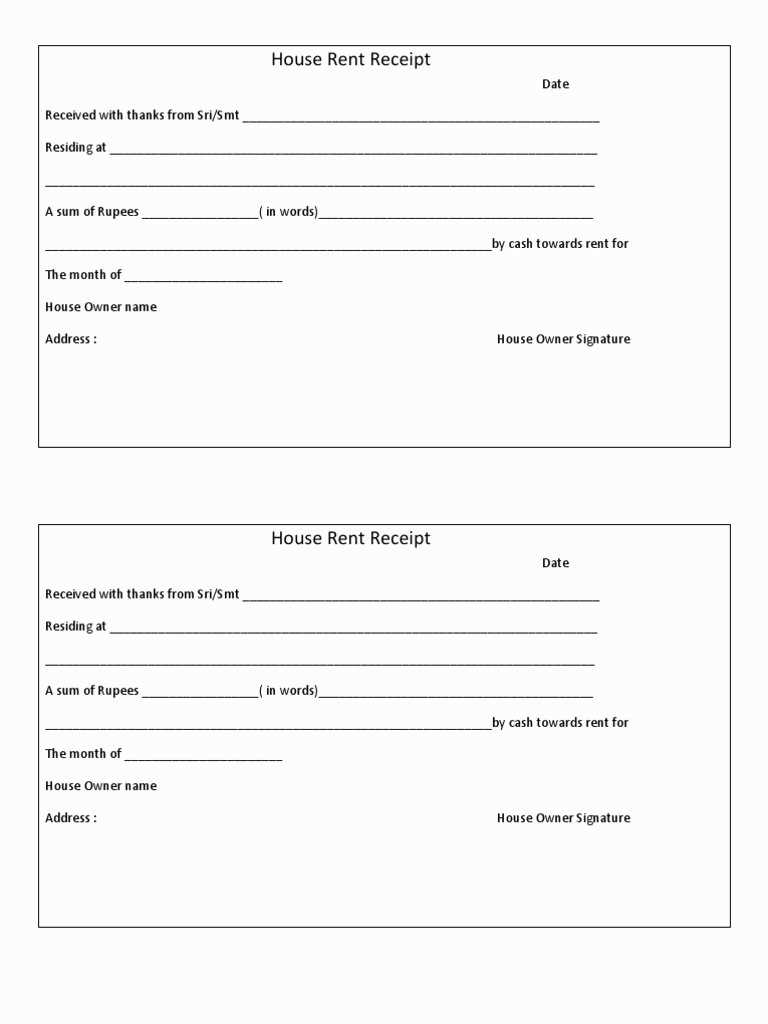
A rent receipt is a written acknowledgment of payment made by a tenant to a landlord. Below is a clear and simple rent receipt template that covers all the necessary details:
Sample Rent Receipt Template
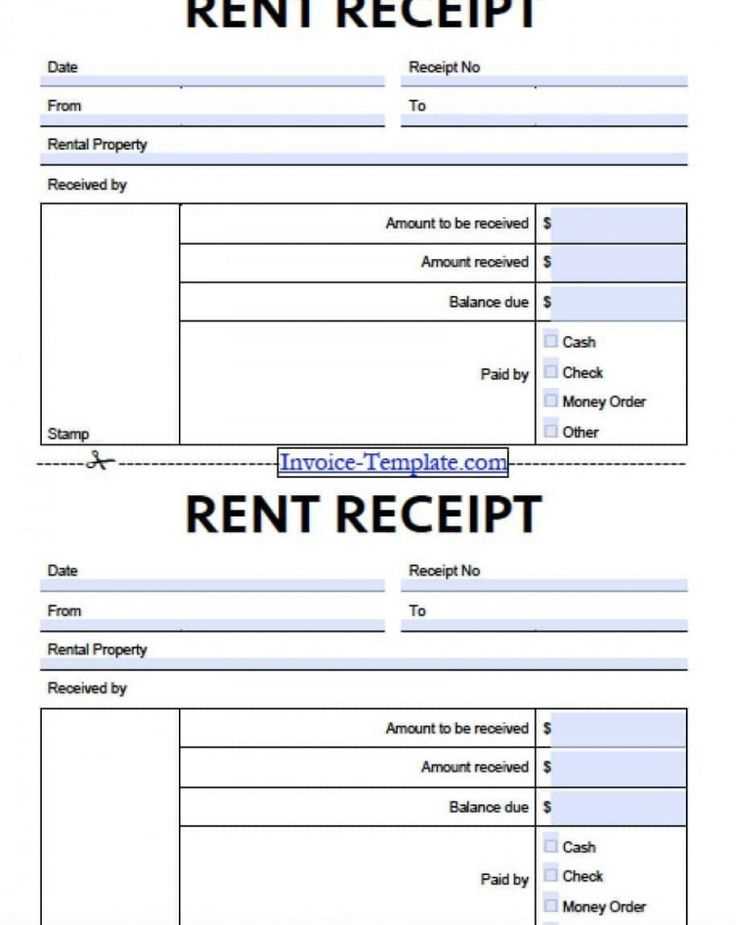
Landlord Name: [Landlord’s Full Name]
Tenant Name: [Tenant’s Full Name]
Rental Property Address: [Address of the rented property]
Date of Payment: [Payment Date]
Amount Paid: [Amount Paid in Words and Numbers]
Payment Method: [Cash, Check, Bank Transfer, etc.]
Rental Period Covered: [Start Date] to [End Date]
Receipt Number: [Unique Receipt Number]
Signature: [Landlord’s Signature]
How to Use This Template
Customize the above template with the actual payment details. Keep a copy for your records and provide the tenant with their own receipt for confirmation. This format ensures clarity for both parties and provides necessary documentation for future reference, such as tax purposes or legal matters.
To create a receipt for rent payments, ensure you include all necessary details for clarity and accuracy. Start with the date of payment, the amount paid, and the payment method (e.g., cash, check, bank transfer). Be sure to specify the rental period the payment covers. A receipt should also state the landlord’s name, address, and contact details, along with the tenant’s name and address. Including a unique receipt number helps track payments efficiently.
Steps to Follow
First, list the property address to identify the rental unit clearly. Next, mention any late fees or adjustments that might apply. If the tenant made a partial payment or a payment for multiple months, note those details too. Conclude with a section for both parties to sign or, if providing a digital receipt, a statement confirming the receipt of payment.
Additional Information
If the rent includes utilities or other services, make sure to break down those charges. A landlord may also choose to add a note confirming the payment has been received in full or is applied to a specific period. This helps avoid confusion or disputes later on.
Ensure the following elements are included in your receipt template to maintain clarity and avoid disputes:
1. Tenant Information
Include the tenant’s full name and contact details. This confirms the party responsible for the payment and avoids confusion in case of disputes.
2. Landlord’s Information
List the landlord’s or property management company’s name, address, and contact details. This establishes the receiving party for payment.
3. Payment Date and Period
Clearly state the date the payment was made and the rental period it covers. This ensures both parties are aware of the timeline for which the rent applies.
4. Payment Amount
Include the exact amount paid. Be specific about the currency and format the amount for clarity (e.g., “$1,200.00” instead of “1200”).
5. Payment Method
List the method of payment (e.g., cash, check, bank transfer) to provide a clear record of how the payment was made.
6. Rent Details
If applicable, include any breakdown of rent (base rent, utilities, additional fees). This ensures transparency on what the payment covers.
7. Receipt Number
Assign a unique receipt number to each transaction. This helps track payments and prevents misunderstandings in case of missing receipts.
8. Signature or Authorization
Incorporate a space for the landlord or authorized agent’s signature, which validates the transaction.
| Element | Description |
|---|---|
| Tenant Information | Name and contact details of the tenant |
| Landlord Information | Name, address, and contact details of the landlord |
| Payment Date & Period | Date of payment and rental period covered |
| Payment Amount | Exact amount paid with currency specified |
| Payment Method | Method used for payment (cash, check, etc.) |
| Rent Breakdown | Details of rent, including any additional fees |
| Receipt Number | A unique number for tracking purposes |
| Signature | Space for landlord or agent’s signature |
Including these elements ensures a detailed and accurate record of the transaction, reducing the risk of future conflicts.
Failing to include all necessary details on the rent receipt is a common error. Ensure you always provide the tenant’s name, the landlord’s name, the property address, the rental amount, and the payment date. Missing any of these can cause confusion or legal complications.
Another mistake is not specifying the payment method. Whether the payment was made by cash, check, or online transfer, noting the method helps clarify any discrepancies. It’s also useful to add a receipt number for tracking purposes.
Not issuing a receipt for every payment is also a problem. Even if a tenant pays regularly, issuing a receipt every time ensures both parties have proof of transaction. Skipping receipts can lead to misunderstandings down the line.
Avoid vague descriptions like “partial payment” without further clarification. Specify the exact amount paid and whether it’s for the full rent or a portion of it. This avoids confusion in case of future payments.
Another issue is failing to sign or date the receipt. Both are necessary to validate the transaction. A dated and signed receipt prevents any dispute over when the payment was made or whether it was accepted.
Finally, do not use an outdated template. Always ensure that the rent receipt template you use is up to date with any legal requirements in your area to avoid any compliance issues.
To create a rent receipt that’s both clear and legally sound, use this simple guide. Follow these steps to ensure your template meets the necessary requirements:
- Start with the tenant’s full name and the landlord’s details. Make sure both parties are clearly identified.
- Include the address of the rental property. This should match the location in the lease agreement.
- List the rental period covered by the receipt, such as the specific month or dates.
- Specify the payment amount. Clearly note the amount paid by the tenant, including the payment method if necessary.
- State the due date and the actual payment date. This helps avoid confusion about late payments.
- Provide a unique receipt number. This ensures proper record-keeping for both parties.
- Include a brief description of what the payment covers (e.g., rent, utilities, or other charges).
- Ensure that both the landlord and tenant sign the receipt. While not always required, signatures add validity.
Once these details are included, your rent receipt will be both clear and reliable for both parties. Keep a copy for your records and ensure that tenants receive theirs promptly.
