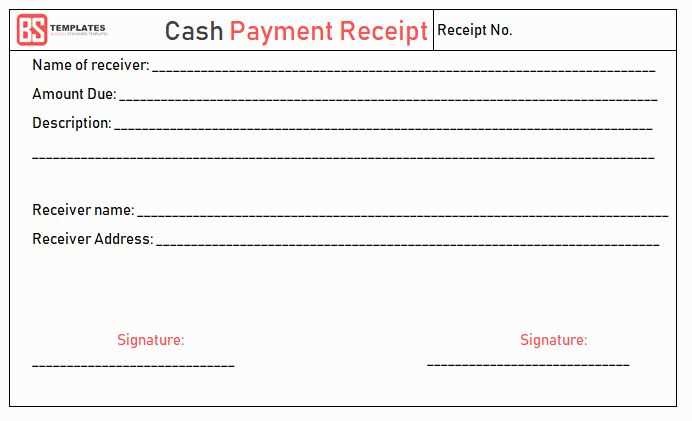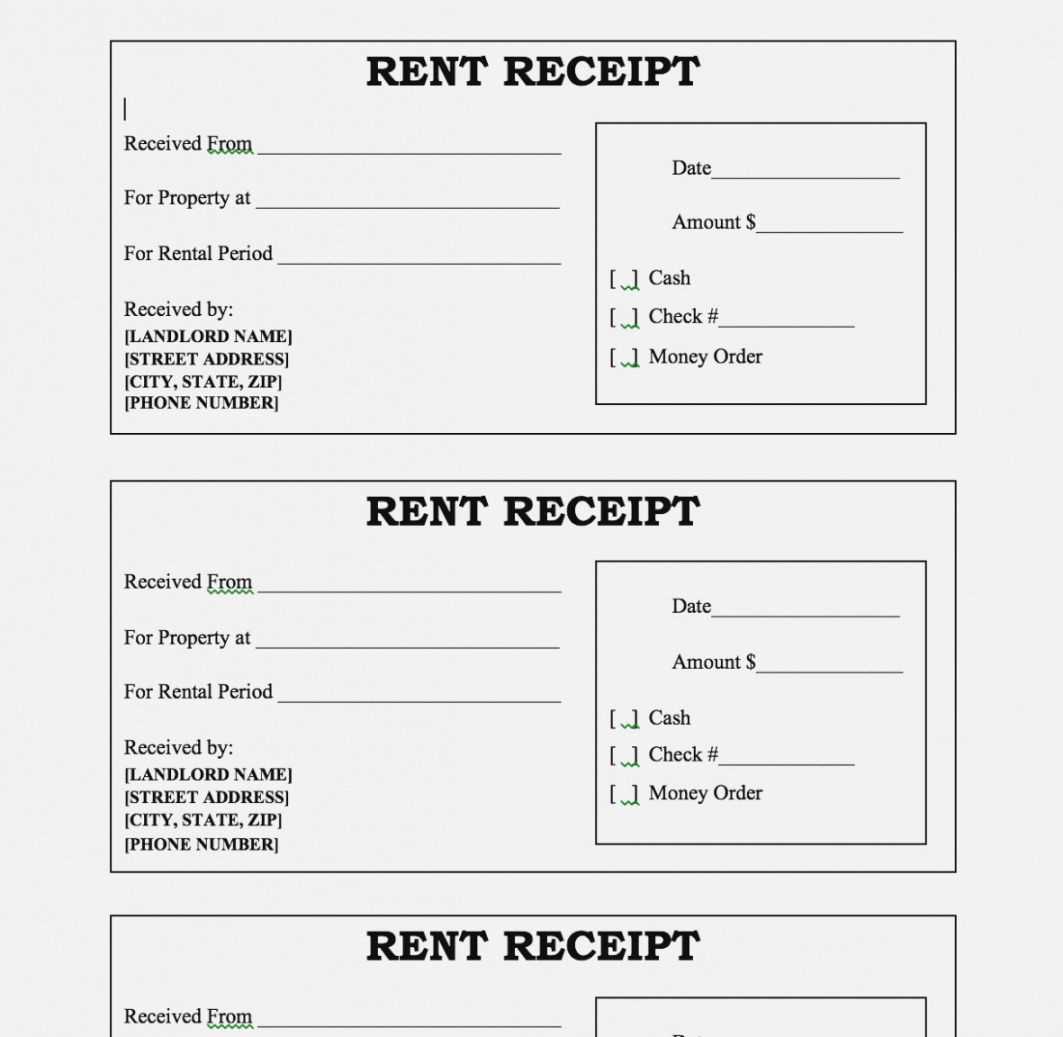
Creating a clear and concise receipt for warranty completion is key to ensuring transparency and a smooth process for both the customer and the service provider. The document should highlight important details such as the date of service, product information, and confirmation that warranty work has been completed according to the terms agreed upon.
Include specific information like the service date, a brief description of the work done, and any materials or parts replaced. Make sure to also note the warranty period for the repairs or replacements. The receipt should clearly state the service provider’s contact details and any relevant serial numbers or reference codes for the product involved.
It’s important that the receipt is easy to understand and includes all necessary legal disclaimers, such as the terms of the warranty and any limitations. This reduces potential confusion and ensures that both parties are aligned on the agreement and expectations moving forward.
Receipt for Warranty Done Template
Include clear details on the repairs or replacements done, along with the warranty period. Specify the product information, serial number, and any reference codes used during the process. Ensure the customer can easily track the service performed on their item.
Key Information to Include
Make sure to list the following: product name, serial number, service date, description of the issue addressed, and the technician’s notes. If applicable, mention any parts replaced and confirm that the item is covered by a warranty for a specific duration, including start and end dates.
Template Example

Product Name: [Product Name]
Serial Number: [Serial Number]
Date of Service: [Service Date]
Issue Addressed: [Issue Description]
Parts Replaced: [Part Details (if applicable)]
Warranty Period: [Start Date] to [End Date]
Technician Notes: [Technician Comments or Actions Taken]
Creating a Clear and Concise Header for Warranty Receipt
The header of a warranty receipt should immediately convey the purpose of the document. Use simple, direct language. A recommended format is: “Warranty Receipt” followed by a reference number and date. This allows the recipient to quickly identify the document’s purpose and context.
Include Key Details
In addition to the title, include specific information such as the product name or service provided, the warranty period, and the customer’s name. For example, “Warranty Receipt for [Product Name], Valid Through [Date], Issued to [Customer Name].” This ensures that all parties know exactly what the receipt covers.
Avoid Ambiguity
Be precise and avoid vague terms. The clearer the header, the less confusion there will be later. If multiple warranties are offered, include the type of warranty, like “Limited Warranty” or “Replacement Warranty,” to specify what is covered.
Detailing Customer Information and Warranty Terms

Ensure the warranty receipt includes clear and accurate customer details, along with specific terms to avoid confusion. Properly documenting this information helps both parties track and enforce warranty rights efficiently.
Customer Information

- Full Name: Include the customer’s first and last name for identification.
- Contact Information: List the phone number and email address to facilitate communication regarding the warranty claim.
- Address: Provide the shipping or billing address where applicable. This ensures any warranty claims can be resolved smoothly.
Warranty Terms
- Duration: Specify the exact length of the warranty period. State whether it is valid from the date of purchase or from the date of activation.
- Coverage: Clearly outline what is covered under the warranty, such as repairs, replacements, or service issues, and what is excluded (e.g., user damage, wear and tear).
- Claim Process: Describe the steps a customer should follow to make a warranty claim, including necessary documentation like proof of purchase or serial numbers.
Steps to Include Service Date, Work Performed, and Signature
Include the service date at the top of the document. This should reflect the actual date the work was completed. Use a clear format, such as “MM/DD/YYYY” or “DD/MM/YYYY,” depending on your region.
Work Performed
Detail the tasks done during the service. List each action clearly and concisely, providing specific descriptions of the repairs or maintenance completed. For example, instead of writing “repaired the device,” specify “replaced faulty screen” or “recalibrated sensor.” This adds clarity and ensures both parties understand the service scope.
Signature
Leave a space for both the technician and the customer to sign. The technician should sign to confirm the work was completed, while the customer signs to acknowledge receipt and approval of the service. If applicable, include a date next to the customer’s signature to confirm the warranty’s terms are agreed upon at the time of service.


