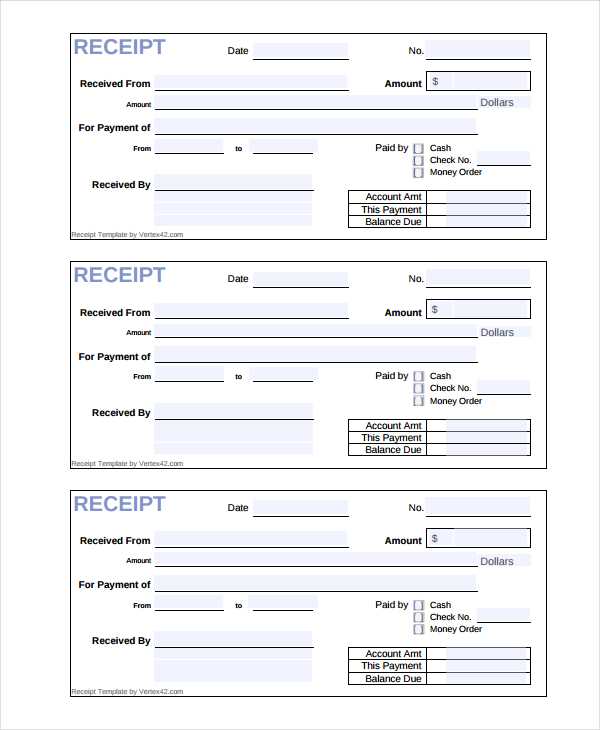
Creating a Simple Paid Receipt
To create a paid receipt in Word, follow these basic steps:
- Open a new document in Microsoft Word.
- Choose a template from the available receipt designs or create one from scratch.
- Insert key details: Include the date, the buyer’s name, item or service purchased, the payment amount, and payment method.
- Include a receipt number: Numbering receipts helps with tracking and record-keeping.
- State “Paid” clearly: Highlight or bold the word “Paid” to avoid confusion.
Key Elements to Include
- Seller’s Information: Name, address, phone number, and email.
- Buyer’s Information: Name and contact details.
- Transaction Details: Date of purchase, item or service, quantity, price per item, and total amount.
- Payment Method: Whether it’s paid via cash, card, or another method.
- Signature: Both parties should sign, especially for higher-value transactions.
Formatting Tips for Clarity
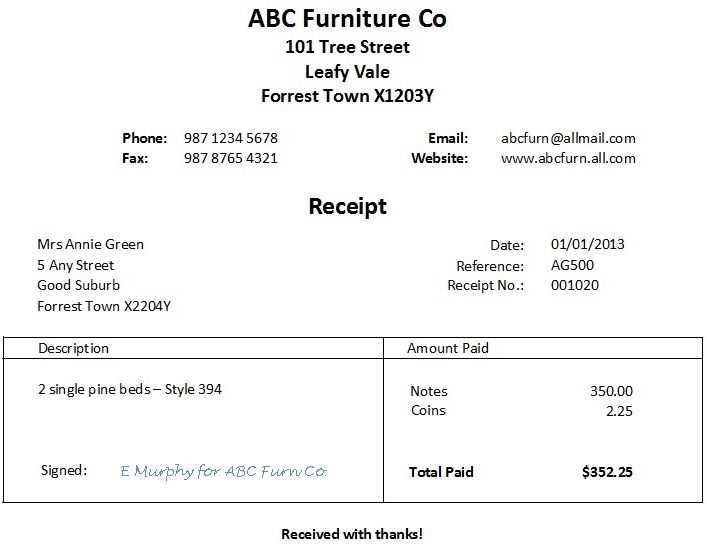
Ensure the layout is clean and easy to read. Use a professional font like Arial or Times New Roman. Organize the information in a clear order, using headings and bold text to separate sections. A table format can also be helpful for organizing item details and amounts.
Customizing Your Template
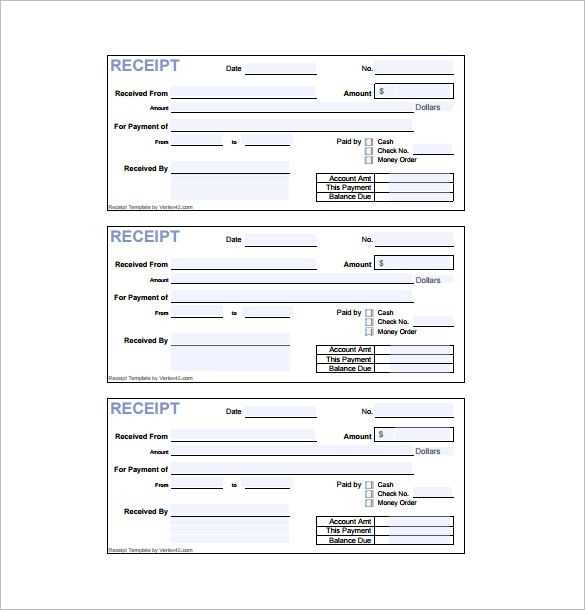
Microsoft Word allows you to adjust the template to fit your needs. You can add your logo, change the font size, or adjust the borders. Save the receipt as a template for future use, saving time on repetitive tasks.
Paid Receipt Template Word: How to Create a Custom Paid Receipt in Word
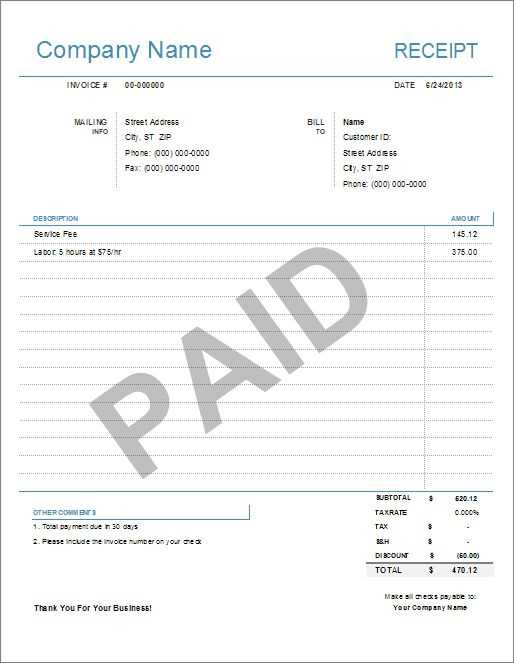
To create a custom paid receipt in Word, open a new document and start by choosing a template or designing one from scratch. A simple layout includes the seller’s and buyer’s information, a breakdown of the items purchased, the payment amount, and the date of the transaction. Make sure to add a section for the receipt number for easy tracking.
Key Elements to Include in Your Receipt Template
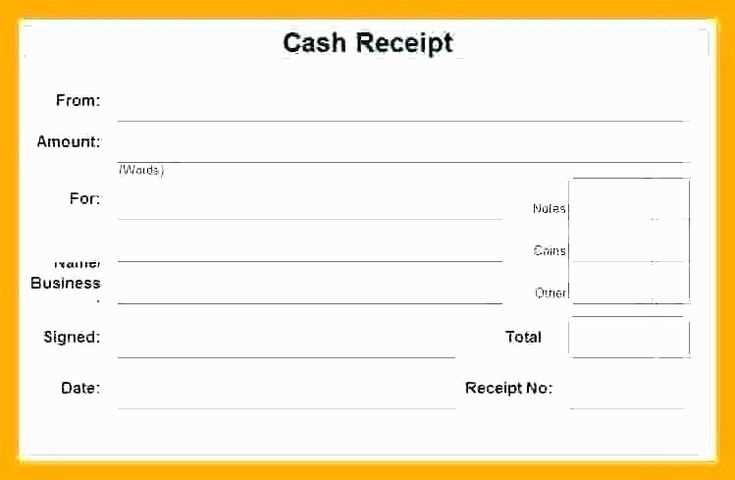
Your paid receipt template should have the following key components:
1. Seller’s business name and contact details.
2. Buyer’s name and contact details.
3. Itemized list of products or services purchased.
4. Total amount paid, including taxes if applicable.
5. Payment method (cash, credit card, etc.).
6. Date of payment and transaction number for reference.
7. A space for a signature or stamp to confirm payment.
How to Save and Use Your Template for Future Transactions

Once your template is complete, save it as a Word document. To use it for future transactions, simply open the template, fill in the new details, and save each receipt with a unique file name. For added convenience, you can create a template folder to store your receipts and access them quickly for each new transaction.


