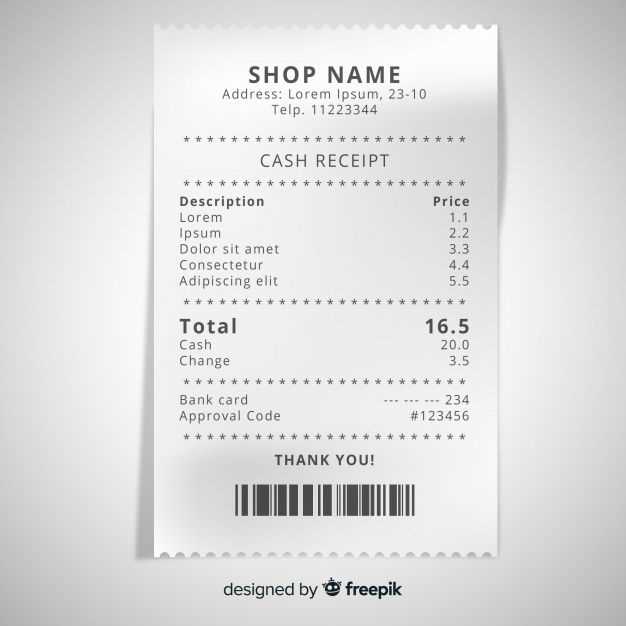
If you’re creating a custom receipt in Photoshop, start by setting up the correct document size. Typically, receipts are around 3 inches by 8 inches, but adjust based on your needs. Use a resolution of at least 300 dpi to ensure clarity for printing.
To keep things organized, create separate layers for the different elements of your receipt. This includes the header, item list, totals, and any other details like taxes or payment method. Layering helps you adjust and modify individual parts without affecting the rest of the design.
For a professional look, use clear fonts like Arial or Helvetica for readability. Ensure the text size is appropriate for each section. For example, the company name can be large and bold, while item descriptions and totals should be more standard in size.
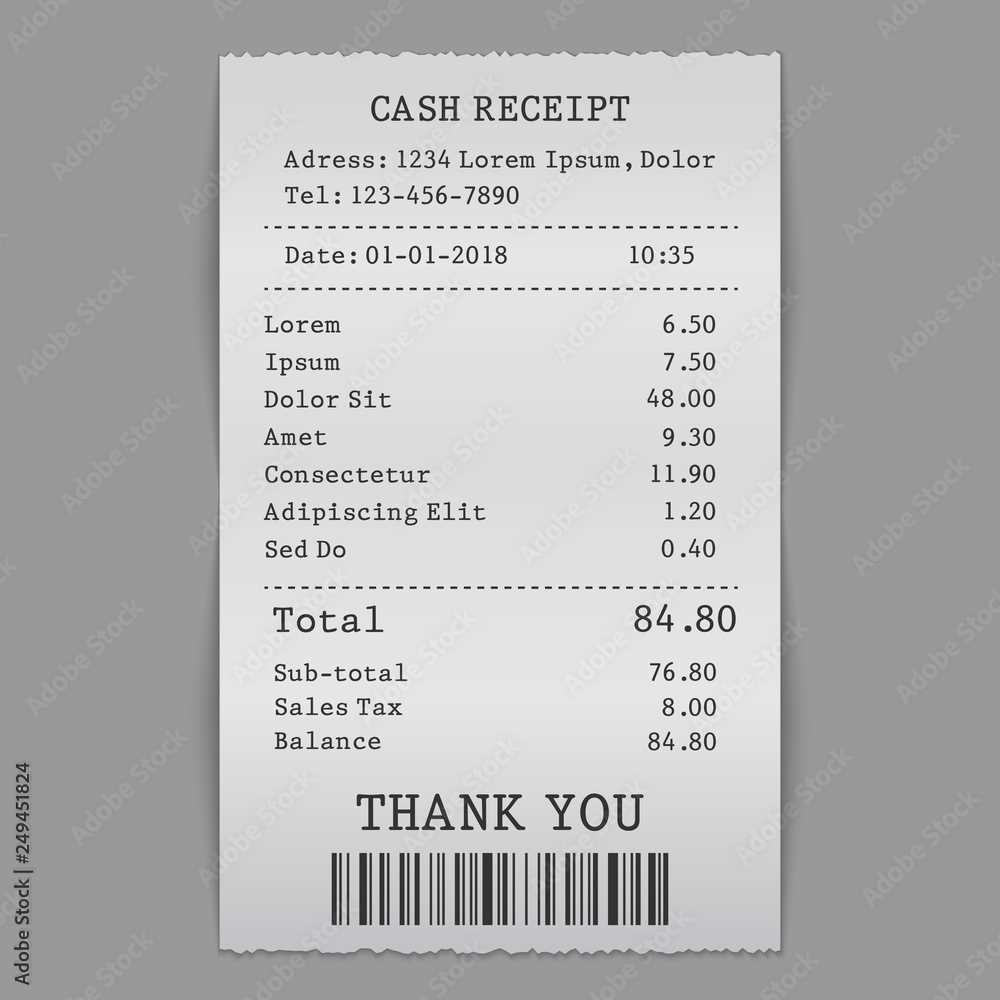
Add any branding or logo elements at the top of the receipt. Use the Align tool to make sure everything is centered or positioned correctly. Don’t forget to leave space for the customer’s details, such as name and date of purchase.
For finishing touches, you can add borders or background patterns to enhance the design. Keep the colors simple and professional, with enough contrast between text and background for easy reading.
Here are the corrected lines:
Ensure you are using the correct dimensions for your template. If the receipt size is too large or too small, it can affect the layout. Adjust the margins accordingly to maintain proper spacing and readability.
Check the text alignment. Make sure that all the important details, like the store name, total amount, and date, are centered or aligned as needed. Misalignment can make the receipt look unprofessional.
Fonts should be legible, with clear hierarchy. Use bold for headings like “Total” or “Date” to make these details stand out. Keep the font size consistent for other text.
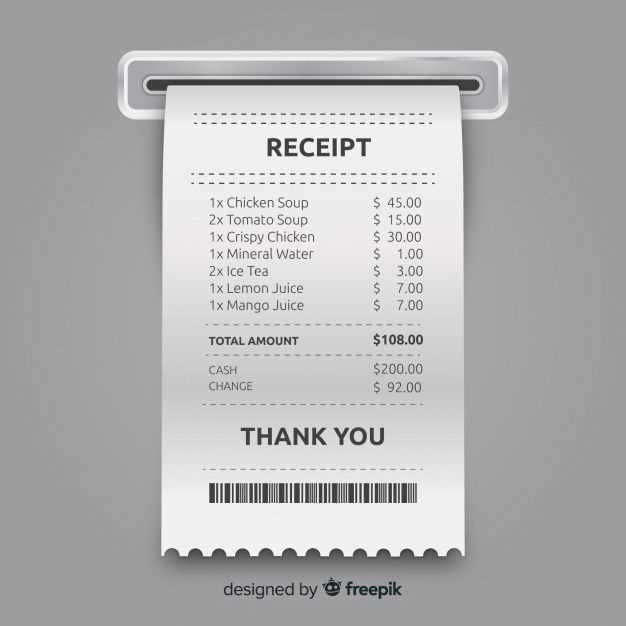
Ensure all the placeholders for information like “Product Name” and “Price” are clearly defined. Adjust the size of each field to accommodate varying text lengths without cutting off information.
Consider using a subtle color for background elements like borders or headings. It should complement the design, but not distract from the essential receipt details.
Photoshop Receipt Template: A Practical Guide
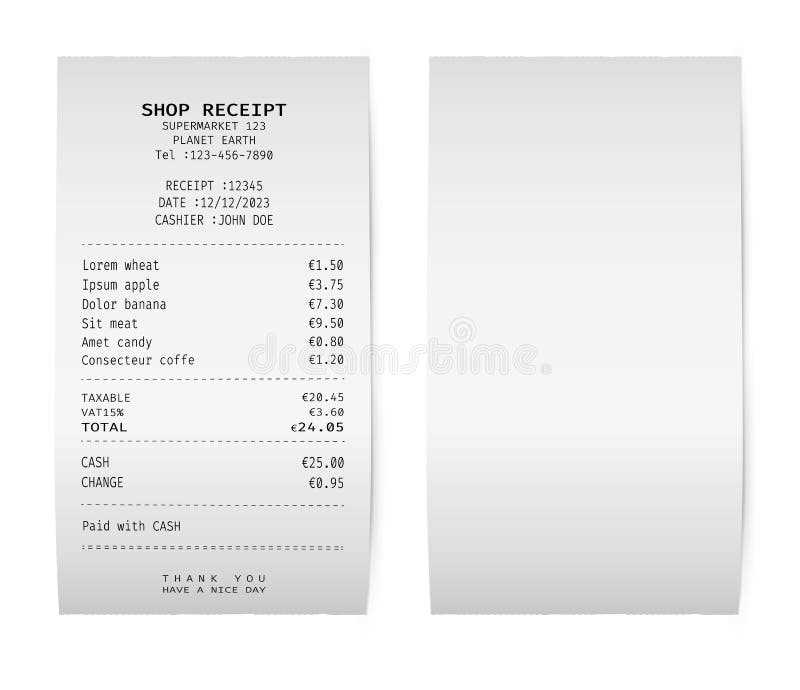
Creating a custom receipt layout in Photoshop begins with setting up the proper document dimensions. Set the canvas size to your desired receipt dimensions, typically in inches or centimeters. For a standard receipt, 3 inches wide by 8 inches tall works well. Use 300 DPI resolution for sharp print quality. If you plan on using this template for multiple designs, save it as a Photoshop PSD file, ensuring all elements are easily editable.
Using Photoshop Layers for Structured Design
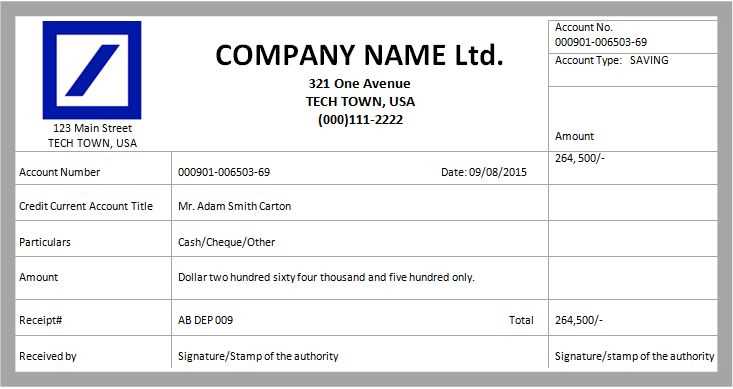
Layer management is key to creating a well-organized receipt template. Start by adding separate layers for each component: the header, the transaction details, and the footer. Group related elements like logos, store names, and date information under one layer to maintain clarity. Use text layers for labels like “Item”, “Price”, and “Total”. Adjust each layer’s opacity for effects like shadows or highlights to enhance readability. You can also apply layer styles, such as stroke or drop shadows, for a professional touch.
Saving and Exporting Your Template for Printing
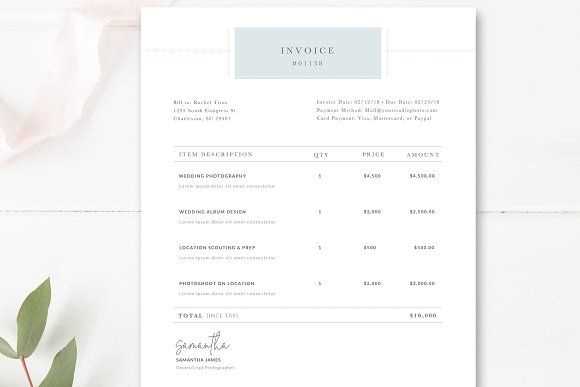
Once your design is complete, save your work in both PSD and PDF formats. The PSD format retains all your layers, allowing for easy future edits. For printing, export the document as a PDF with a high-quality setting, ensuring the resolution remains at 300 DPI. This will preserve the crisp details of your receipt when printed. Always test the printed template to make sure everything aligns and is legible.


