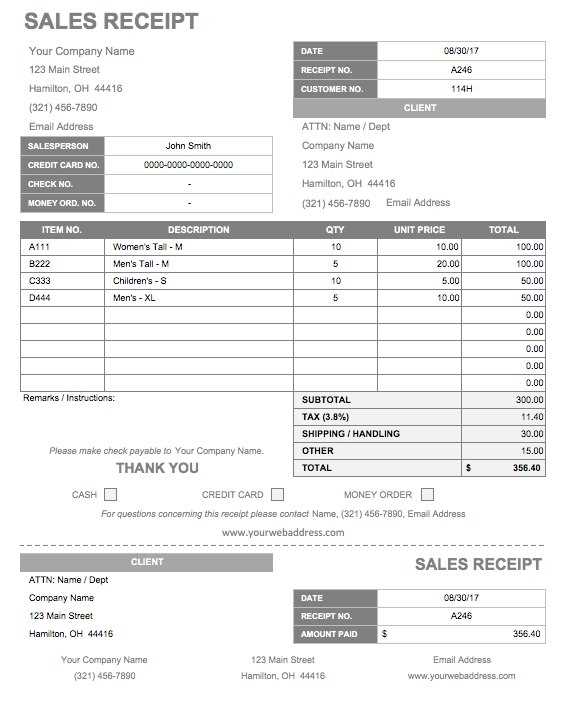
To create a well-structured alterations receipt, include clear sections for the client’s details, service description, cost breakdown, and payment status. This provides transparency and helps avoid confusion down the line. Each part should be concise yet informative.
Client Details: Always start with the customer’s name, address, and contact information. This ensures both parties have a record of the transaction. In case of any future issues, these details will help in communication.
Service Description: Describe the alterations done in simple terms. Whether it’s hemming pants or resizing a dress, be specific. Include the fabric type, color, and any other relevant details to make the description clear.
Cost Breakdown: Itemize each service, including labor and materials used. This gives the client a clear understanding of the pricing. Don’t forget to mention taxes and other potential charges if applicable.
Payment Status: Indicate whether the client has paid or if there’s an outstanding balance. If they haven’t paid yet, note the due date and preferred payment method.
Alterations Receipt Template
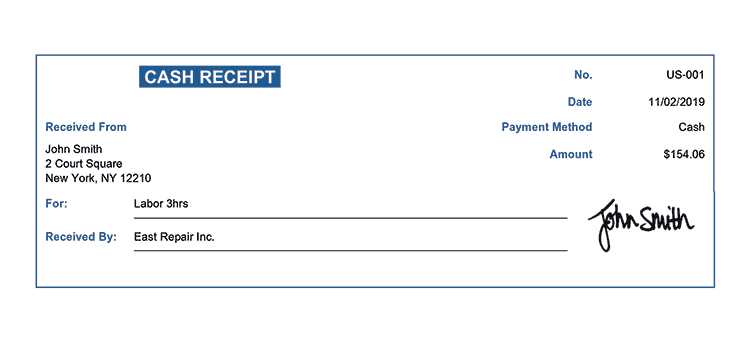
Provide a clear and concise receipt for each alteration completed. Ensure all details are accurate to prevent confusion and maintain professionalism. Include the client’s name, contact details, and the specific service provided, such as hemming, resizing, or repairs.
Key Elements to Include
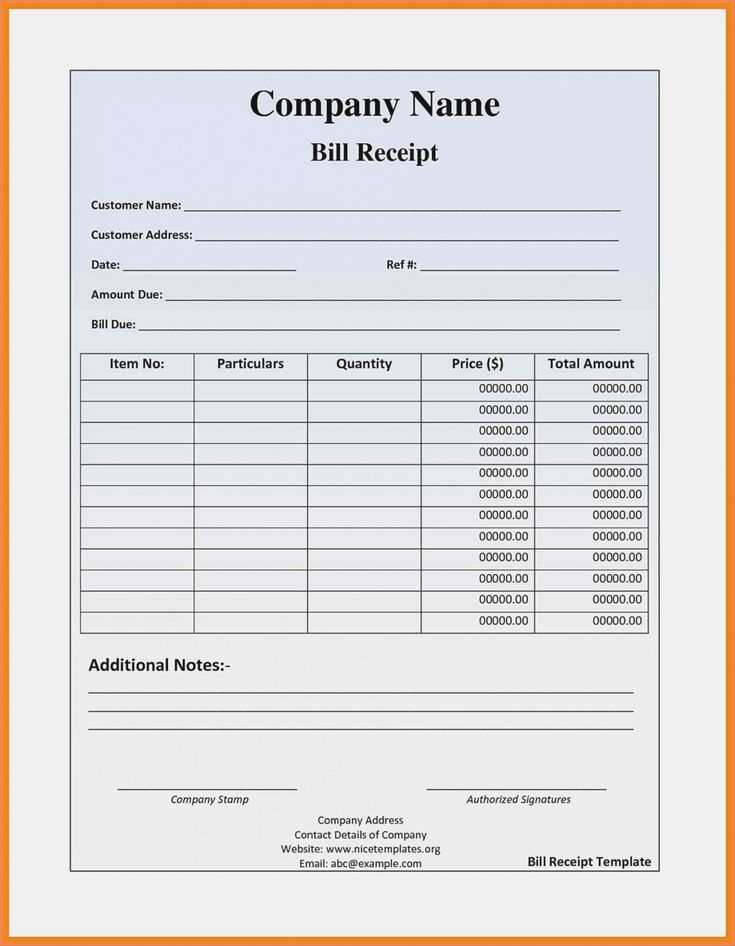
Start with the receipt header, listing your business name, address, and contact information. Include the date of the alteration and a unique transaction number. A description of the alteration, including the item type, fabric, and any specific measurements or adjustments made, should follow.
Payment Information
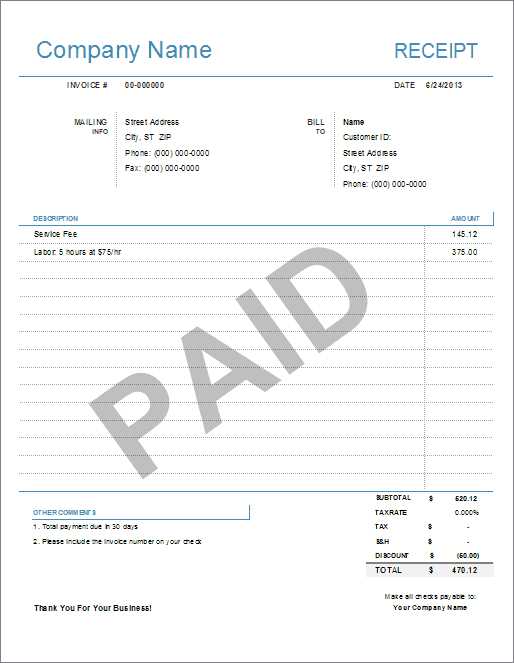
Clearly state the total amount charged, any deposits paid, and the remaining balance, if applicable. Include a payment method section for transparency, such as cash, card, or online payment. Add a space for the customer’s signature to confirm receipt of the service.
How to Create a Custom Alterations Receipt Template
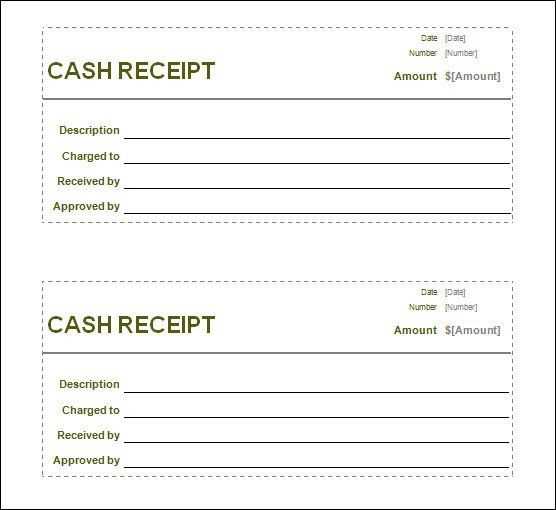
Begin with a clear layout. Place your business name, address, and contact information at the top, followed by the customer’s details such as name, phone number, and address. Make sure there’s a section to list items brought in for alterations, including brief descriptions, the requested changes, and a price for each item.
Include a space for the date of receipt and a unique receipt number for tracking purposes. Ensure the total amount is clearly displayed at the bottom, including taxes if applicable. Add a section for payment details, noting the payment method used.
For clarity, add a short note on policies regarding alterations, refunds, and pick-up instructions. End with a thank you message or a customer satisfaction note to encourage repeat business.
Key Information to Include in Your Receipt
Clearly state the transaction date and time to provide accurate context. This helps both you and the customer keep track of their purchase. Always include the name of your business and its contact information, ensuring customers can reach out if needed.
List the specific items or services purchased, including quantities and prices. This gives transparency and allows customers to verify their purchase. Don’t forget to mention any discounts or promotions applied, as this adds clarity to the final amount charged.
Indicate the total amount paid, including taxes, fees, or any other relevant charges. This prevents confusion and ensures the customer understands the complete cost breakdown. If a payment method was used, include the type of payment (credit card, cash, etc.) for further reference.
Finally, provide a unique receipt or transaction number. This serves as a reference for any future inquiries or returns and guarantees the transaction is easily identifiable.
Best Practices for Formatting and Printing Alterations Receipts
Use a clean and legible font when designing alterations receipts. Stick to standard fonts like Arial or Times New Roman, and choose a font size that ensures clarity, typically between 10-12 points. This helps customers read the details easily.
Layout and Organization
- Include the date of the alteration and a unique receipt number for tracking purposes.
- Clearly outline the alterations performed with brief descriptions for transparency.
- Ensure the price for each service is listed separately along with the total amount at the bottom.
Additional Information
- Provide a space for customer information such as name, contact details, and order number.
- Include any policies regarding refunds or alterations to set proper expectations.
- Ensure the receipt includes clear contact details of the business for future inquiries.
For printing, use high-quality paper to avoid smudging or fading, especially if customers need to keep receipts for warranty or returns. Test print before printing in bulk to ensure everything aligns correctly.


