If you’re looking to streamline your receipt creation process, downloading a Microsoft Office receipt template is an excellent option. These templates allow you to quickly create professional receipts for any business or personal transaction without starting from scratch.
The templates are compatible with popular Microsoft Office applications like Word and Excel, providing flexibility depending on your preference. In just a few clicks, you can customize the template with your company logo, payment details, and specific item descriptions.
Choosing the right template will save you time and ensure consistency in your financial documentation. There are a variety of templates available to match your needs, from simple invoices to more detailed purchase receipts. If you prefer to maintain a clear and organized format, using these templates ensures all key information is properly formatted and easy to read.
Once downloaded, you can edit and save the template on your computer for future use, ensuring you’re always prepared for any transaction. Whether you’re running a small business or need a receipt for personal use, these templates are a quick and convenient solution.
Here’s the corrected version without repetitions:
To streamline the process of creating professional-looking receipts, Microsoft Office offers easy-to-use templates. Downloading these templates ensures consistency in design and data presentation. It eliminates the need to start from scratch every time you need to generate a receipt.
Choose the Right Template

Select the receipt template that best suits your business needs. Microsoft Office offers options for different industries, such as retail, services, and freelance work. Make sure to customize the fields according to your specific requirements for accurate record-keeping.
Customize Your Template

Personalize the downloaded template with your logo, business name, and contact information. Adjust the payment and item details to reflect the specifics of each transaction. This customization not only adds professionalism but also ensures clarity for both you and your clients.
- Microsoft Office Receipt Template Download
If you need a simple way to create professional receipts, the Microsoft Office receipt template is an ideal solution. These templates offer an easy-to-use structure, allowing you to fill in necessary details like date, payment amount, and buyer information quickly. You can download them directly from the official Microsoft website or use templates available within Microsoft Office applications like Word or Excel.
Here’s how to get started:
- Open Microsoft Word or Excel on your computer.
- In the search bar, type “Receipt” to find available templates.
- Browse through the available options and choose the one that best fits your needs.
- Click on the template you prefer, then select “Download” or “Create” to start editing.
- Fill in the necessary details and customize the design if needed.
You can also adjust the template’s layout, fonts, and colors to match your branding or personal preferences. Microsoft Office templates are designed to be straightforward, allowing you to create a receipt in just a few steps.
Additionally, templates for receipts are available in various formats, such as invoices, donation receipts, and purchase receipts, ensuring there’s a template for any situation. Once you’ve made your adjustments, save the document and print or send it digitally as required.
To find receipt templates in Microsoft Office, open any Office application such as Word or Excel. Click on the “File” tab and select “New.” In the search box, type “receipt” and press Enter. A list of available receipt templates will appear. Choose the template that fits your needs and click on it to open. Once open, you can customize the template by adding your business details, logo, and other necessary information.
Using Templates in Word

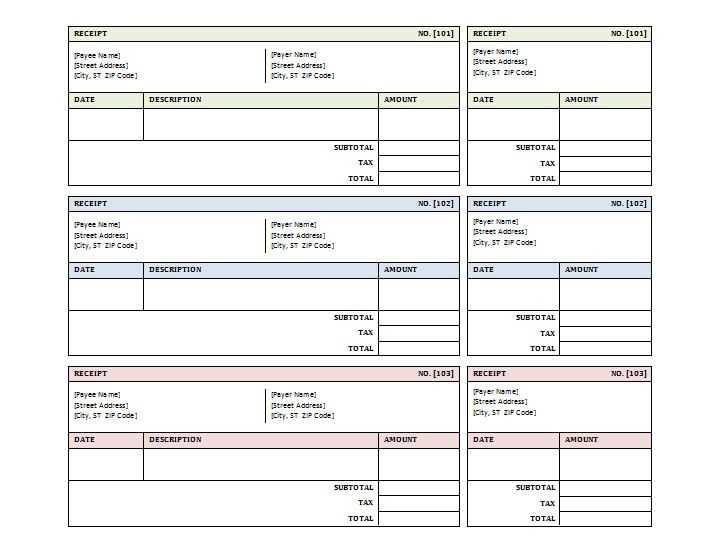
In Word, you will find a variety of receipt templates designed for different purposes. Some templates are simple, while others are more detailed and include fields for items, amounts, and taxes. After selecting the template, make sure to modify any pre-filled information to match your transaction specifics.
Using Templates in Excel

Excel also offers receipt templates, especially if you want to track sales, payments, or receipts over time. You can easily calculate totals or apply formulas to your receipts. This is ideal for businesses that need to generate multiple receipts or keep track of financial data.
| Template Name | Application | Customization Options |
|---|---|---|
| Sales Receipt | Word | Add logo, update pricing |
| Service Receipt | Word | Modify contact info, adjust payment details |
| Receipt with Tax | Excel | Change tax rates, item details |
After making the necessary adjustments, save your template as a new file. You can also use it as a default template for future receipts, streamlining your workflow.
Adjust templates to match your specific requirements in just a few steps. First, open the template and identify areas that need customization, such as text fields, logos, or colors. Here’s how to get started:
- Edit text fields: Replace placeholder text with your own. Use a clear, readable font and adjust the size for consistency.
- Modify the layout: Rearrange sections to suit your content. You can easily drag and drop text boxes, images, and tables within Word, Excel, or PowerPoint templates.
- Customize design elements: Change colors, fonts, and styles to reflect your brand or personal preferences. Most templates allow you to adjust these settings through the design tab.
- Insert logos or images: Add your company logo or any relevant images to personalize the template. Resize and position them appropriately to maintain balance in the document.
- Adjust table structures: If the template includes tables, modify column widths, rows, and borders to make the content more readable or better fit your data.
By following these steps, you can make any Microsoft Office template work for your project, saving time while maintaining a professional appearance.
Keep your receipt templates clear and consistent. Ensure each receipt includes key details such as transaction date, item description, price, and payment method. This clarity helps both your team and clients stay organized.
- Customize templates for specific needs. Include additional fields that cater to your business model, such as taxes, discounts, or shipping details. This adds a personalized touch and meets business-specific requirements.
- Use consistent branding. Include your company logo, contact information, and website URL on each receipt to reinforce your brand identity. Consistency creates a professional image.
- Organize receipts in digital format. Store receipts in a cloud or secure database for easy retrieval. This minimizes paper clutter and supports efficient bookkeeping.
- Update templates regularly. If your business undergoes changes, such as new services or updated legal information, reflect these in your receipt templates. This keeps all information relevant and accurate.
- Ensure templates are mobile-friendly. Many customers access receipts on mobile devices, so design templates that display well on all screen sizes. This improves accessibility and customer satisfaction.
Creating a Simple Receipt Template in Microsoft Office

Download a receipt template in Microsoft Office to streamline your billing process. Start by opening Microsoft Word or Excel and accessing the template gallery. Search for “receipt” and select one that suits your needs. These templates are pre-designed with fields for item details, prices, and totals. Simply fill in your information and adjust the layout to fit your branding.
For customization, adjust the font, color scheme, and logo placement. Excel offers additional functionality by allowing you to set up formulas for calculating totals and taxes automatically. Once your template is ready, save it for repeated use or share it with clients directly.
If you prefer creating a template from scratch, set up a table with rows for products or services, and use formulas to calculate the total amount. Ensure to include a professional header with your business name, contact details, and receipt number for easy tracking.