A fillable receipt invoice template helps streamline the process of documenting transactions. With a pre-designed layout, this tool allows you to input key details like buyer and seller information, itemized lists, and payment methods. Save time on manual calculations and ensure accuracy in every transaction.
Using a fillable template means you can quickly generate invoices tailored to your business needs, minimizing the chance of errors. By filling in the required fields and adjusting the design to match your branding, you ensure each document remains professional and organized. You can create invoices on demand without having to start from scratch, making it a practical solution for businesses of all sizes.
The ability to edit the template on your computer or mobile device adds convenience. Whether you’re dealing with a one-time client or recurring orders, this flexibility allows you to manage receipts without hassle. No need for complicated software or manual updates–everything is ready to go with a few clicks.
Fillable Receipt Invoice Template
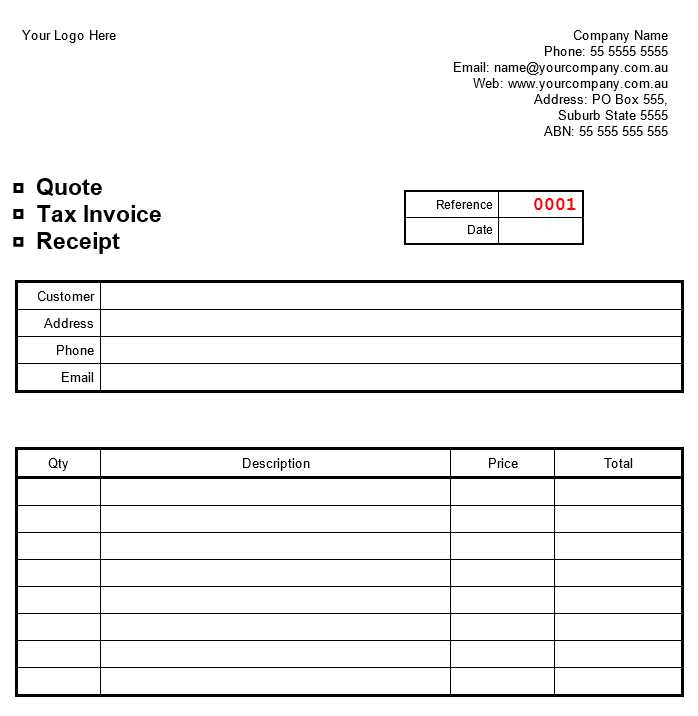
A fillable receipt invoice template allows you to quickly generate receipts and invoices without the need for manual entry. It enables customization, saving time while ensuring accuracy. Start with a template that includes necessary fields like company name, address, itemized list of services or goods, and payment details.
How to Use a Fillable Template
Download a fillable receipt invoice template from a trusted source. Open it in a PDF editor or a word processor that supports form fields. Fill in the required information such as customer name, product or service provided, and total amount paid. Make sure to include tax calculations if needed. Once filled out, save and send the document to your client.
Benefits of Fillable Templates
Fillable receipt invoice templates reduce manual errors and improve workflow. You don’t have to create invoices from scratch each time. These templates can be reused, customized, and saved for future reference. By having a template ready, you save time and ensure consistency in your invoicing process.
How to Create a Customizable Fillable Invoice Template
Open a word processor or spreadsheet application like Microsoft Word or Excel. Begin by setting up the basic layout for your invoice. Add fields for client details, invoice number, dates, and service description. For a customizable format, ensure each section is clearly marked for easy editing, such as using placeholders like [Client Name] or [Service Description].
Next, define the structure of the table for the items or services provided. Include columns for quantity, rate, and total. For flexibility, leave enough space between rows to accommodate various amounts of items. Add formula fields where applicable, such as for automatic total calculations in Excel.
Designate sections for payment terms, including accepted methods, due dates, and any other specifics. Keep these sections uniform so they can be easily updated without altering the overall format. Consider adding a space for notes or additional comments if needed.
Once the structure is in place, convert your document into a fillable format. In Word, this can be done through the ‘Developer’ tab, enabling form fields like text boxes and drop-down menus. In Excel, you can use data validation for dropdown lists and allow users to type in numerical values.
Lastly, save the template in a format that allows for easy sharing and editing, such as a .docx or .xlsx file. You can also create a PDF version with fillable fields for clients to complete directly on their devices. This provides a professional look while allowing for maximum customization when generating invoices.
Steps to Add Interactive Fields for Easy Client Entries

Begin by choosing a PDF editor or form builder tool that supports interactive field creation. Adobe Acrobat, for instance, is a reliable option for this purpose. Open your receipt invoice template in the editor.
Next, locate the tool for adding form fields. In Adobe Acrobat, this is under the “Prepare Form” option. Select the area where you want to insert a field (e.g., customer name, email, or total amount). Then, choose the type of field that fits: text box for simple entries, dropdown for predefined options, or checkboxes for selection items.
Setting Field Properties
Each field added will have properties you can modify. For example, you can set a default value, limit character length, or mark a field as required. These settings help streamline data entry and ensure no critical information is missed.
Testing Your Template
Once the fields are added, test the form by filling in sample data. Ensure the fields are functional, and that the form appears clear and organized. Check for alignment and spacing, adjusting as needed to ensure ease of use for clients.
Integrating Payment Methods and Calculations in a Fillable Invoice

For a smooth transaction process, integrate various payment methods directly into a fillable invoice template. Include fields for credit card details, PayPal, bank transfers, or other popular options. This provides recipients with a seamless way to settle payments without the need for external actions.
Setting Up Payment Options
- Credit Card Fields: Add fields for card number, expiration date, and CVV code.
- PayPal Integration: Include a PayPal button link for direct payment processing.
- Bank Transfer Details: Provide space for bank account numbers, routing information, and payment instructions.
Calculating Totals and Taxes

Ensure the invoice automatically calculates totals based on inputted items and taxes. Use formulas within the document to handle this calculation, simplifying the user’s job. Fields like quantity, price per unit, and discount can be set up to trigger total values. Incorporate a tax field that calculates based on the subtotal and applicable tax rates.
- Itemizing Costs: List each service/product with quantity, unit price, and any applicable discounts.
- Tax Calculation: Add a formula to calculate tax based on local rates. Ensure this updates if the subtotal changes.
- Total Amount: Display the final amount, including tax and any adjustments (e.g., discounts or extra charges).