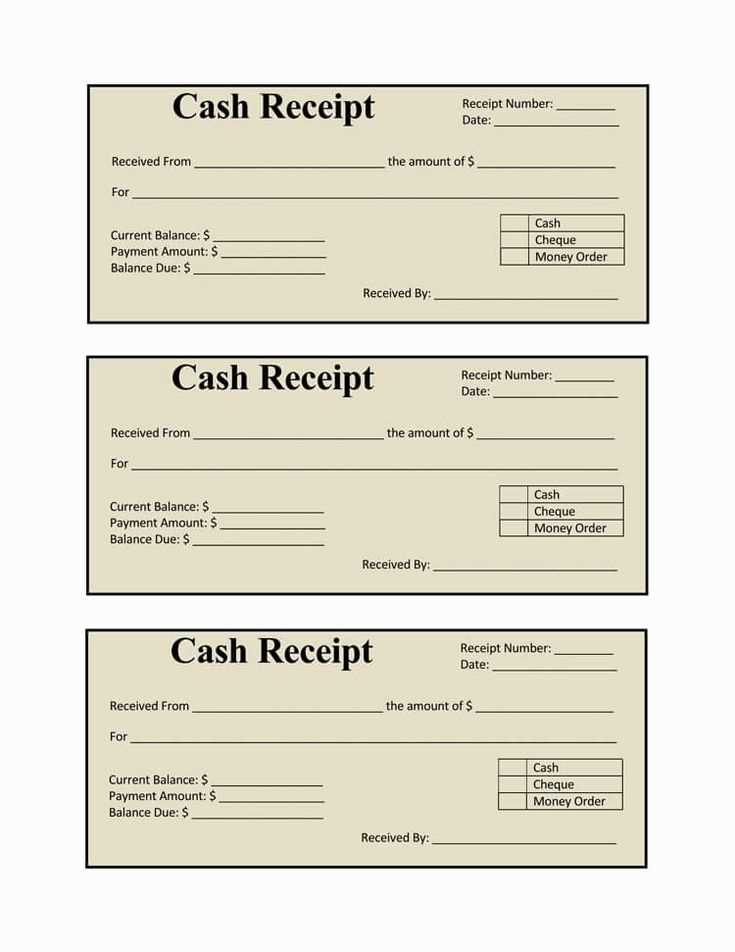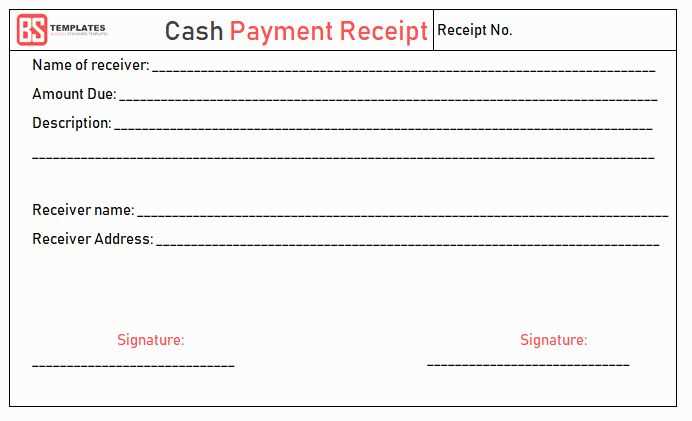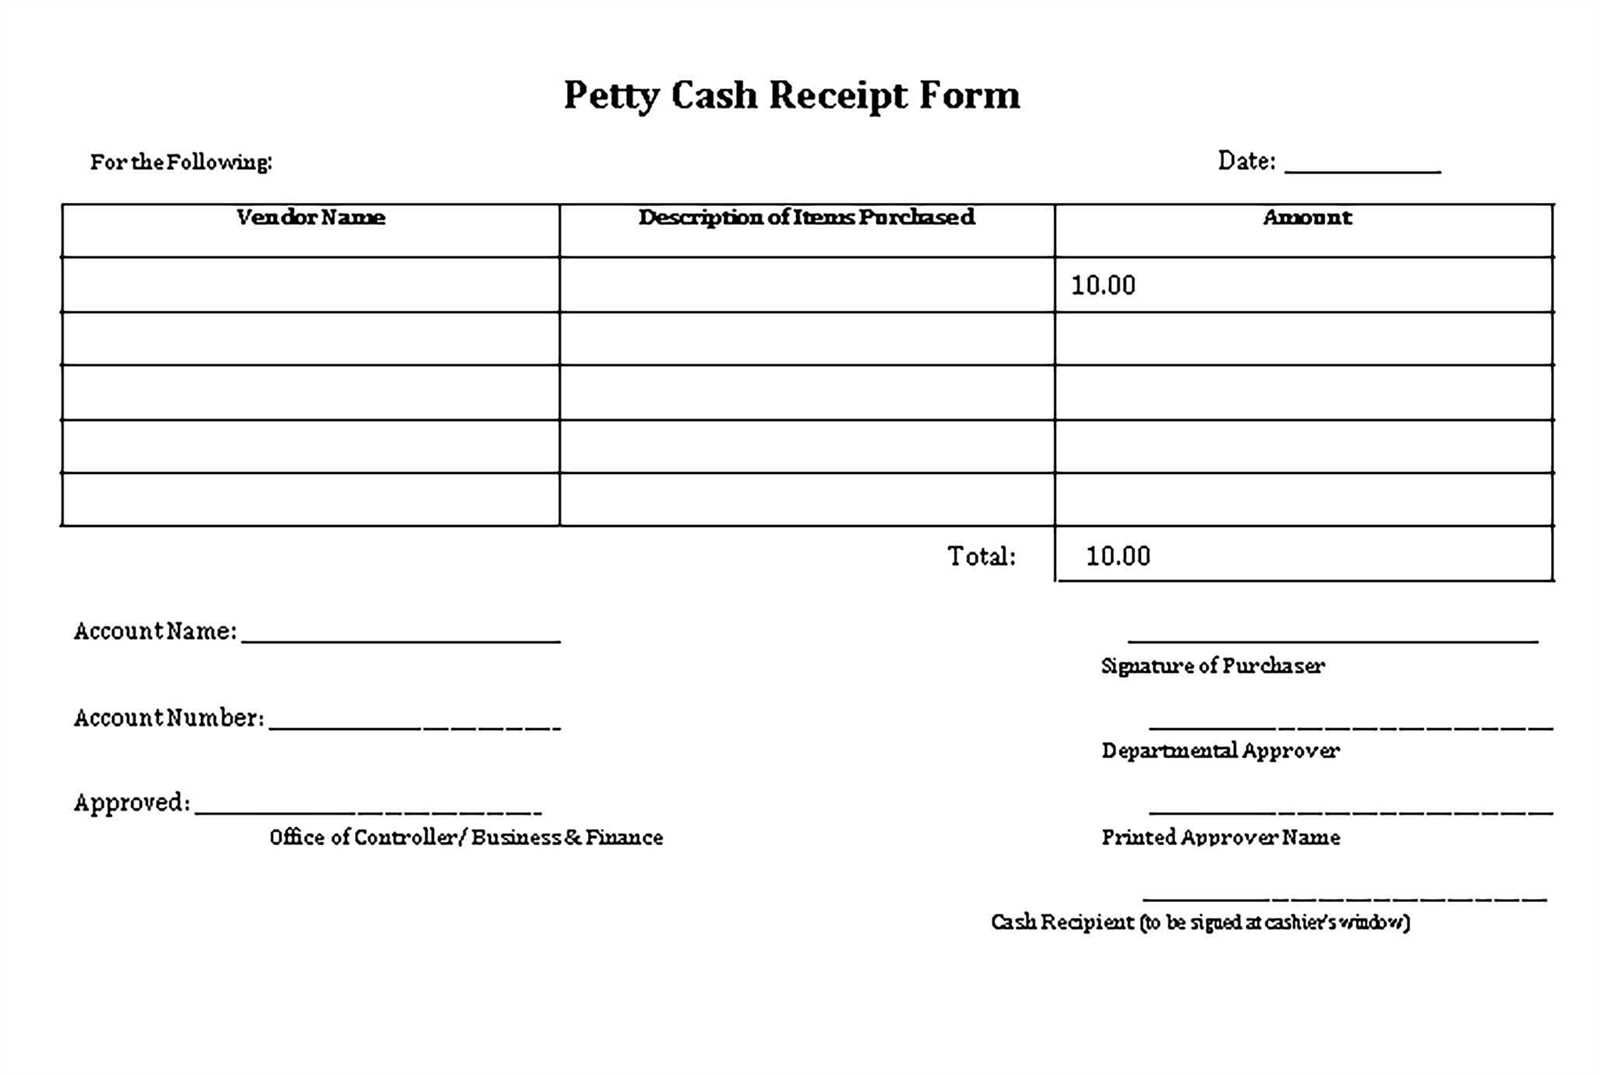
If you need to create a cash receipt for any transaction in India, it’s important to include key details for both legal and record-keeping purposes. A simple, clear format can ensure that both the payer and the payee have the necessary information at hand. Start by including the date of the transaction, the amount received, and the method of payment. It’s also advisable to specify the purpose of the payment, whether it’s for goods or services, to avoid any confusion down the line.
Make sure to add fields for the payer’s and payee’s names and contact information. This ensures transparency and allows both parties to reach out in case of any future discrepancies. A receipt number can also be useful for tracking purposes, especially for business transactions. Including the GST number, if applicable, will help in case of audits or tax assessments. Additionally, adding space for both signatures provides extra security and accountability.
For ease of use, it’s best to use a template that follows these guidelines. Many downloadable templates are available, or you can create your own based on these core elements. Keep the language simple, but precise, to ensure no important details are overlooked. A well-structured receipt can save both time and potential issues, so make sure it includes all necessary information upfront.
Here are the corrected lines:
When updating an Indian cash receipt template, make sure all the key sections are clearly defined and error-free. The layout should include a section for receipt number, date, payer’s name, amount, mode of payment, and a signature or acknowledgment section. Below are the specific corrections to be made for optimal clarity and functionality:
| Field | Correction |
|---|---|
| Receipt Number | Ensure that the receipt number is unique and sequential to avoid duplication. Add a prefix (e.g., “RC-“) to the number for better identification. |
| Date | Format the date as DD/MM/YYYY to align with the standard used in India. Ensure this field is not left empty. |
| Payer’s Name | Include a full name field, not just initials. This adds more formality and makes the document more official. |
| Amount | Break down the amount in both words and figures. Example: “Five thousand rupees only (₹5000)”. This avoids ambiguity. |
| Mode of Payment | Specify the mode of payment clearly. Use terms like “Cash”, “Cheque”, or “Bank Transfer”. For cheques, include the cheque number and bank name. |
| Signature | Include a line for the payer’s signature as well as the recipient’s. This adds authenticity to the receipt. |
By following these steps, you’ll ensure your cash receipt template is accurate, professional, and complies with common practices. Adjusting these elements will help avoid errors and make the receipt more user-friendly for both parties involved.
- Indian Cash Receipt Template: A Practical Guide
The Indian cash receipt template should clearly record the payment details. It must include specific fields like the payer’s name, the date of the transaction, the amount received, and the purpose for which the payment is made. Ensure that each receipt includes a unique receipt number for tracking purposes. You can customize the template to reflect your business or personal needs, but these core details are mandatory for compliance with Indian accounting standards.
In addition to the basic information, a description of the goods or services provided should be included to avoid ambiguity. This helps to maintain transparency, especially in case of audits or disputes. If applicable, mention any taxes that were collected as part of the payment, such as GST. Clearly mark whether the payment is in cash or another form like cheque or electronic transfer.
For businesses, adding a company logo and contact information enhances professionalism and ensures that the receipt is easily identifiable. Using clear, legible fonts and appropriate formatting ensures that all the information is easy to read and understand. To maintain consistency, it’s a good idea to use the same template for all transactions, whether they are from individuals or companies.
Ensure you keep a copy of each receipt for your records, either digitally or in physical form. Many businesses opt to issue receipts in duplicate, with one copy given to the payer and the other retained by the issuer. This helps in maintaining a proper record and can be important for accounting and tax purposes.
Lastly, if you are issuing receipts in bulk, consider automating the process using accounting software that allows you to generate cash receipts quickly. This will save time, reduce human error, and streamline your accounting operations.
Start by including your business name, address, and GSTIN at the top of the receipt. This is important for legal and tax purposes, making it clear who issued the receipt and ensuring tax compliance. For small businesses, these details are crucial for maintaining a professional image.
Invoice Number and Date

Each receipt should have a unique receipt number, which helps in tracking payments and maintaining proper records. Add the date and time of the transaction to make it easier to reference in the future. This step adds clarity and prevents confusion for both you and your customers.
Itemized List of Products or Services
Provide a detailed breakdown of the products or services purchased. Include item descriptions, quantities, and the cost of each item. Make sure to list the applicable GST or other taxes separately, showing the total amount payable. Clear itemization ensures transparency and helps in case of any future disputes.
Finally, indicate the total amount received, noting the payment method (whether cash, card, or digital transfer). Including the payment method provides further clarity, making it easier to reconcile accounts later. Add your contact information at the bottom and a polite thank-you note for the customer’s business.
In India, receipts must comply with legal standards, especially for tax purposes. Ensure every receipt issued contains the seller’s GSTIN (Goods and Services Tax Identification Number) if applicable. Businesses with a turnover exceeding ₹40 lakhs (₹20 lakhs for service providers) are mandated to register for GST and issue GST-compliant receipts. These receipts must detail the amount paid, the applicable tax rate, and the GST amount, with a clear breakdown of goods and services.
GST Compliance
Receipts should reflect GST charges for transactions involving taxable goods and services. The receipt must include the GSTIN of both the supplier and recipient in cases of B2B transactions. Failure to issue a GST-compliant receipt can lead to penalties and tax liabilities. Additionally, businesses should maintain records of all receipts for at least 6 years as part of the GST audit requirements.
Income Tax Considerations
Receipts serve as evidence for business income and expenses when filing income tax returns. Keep detailed records of receipts to justify income reported, especially for cash transactions, to avoid scrutiny by tax authorities. Proper documentation can protect businesses from tax audits and claims of underreporting income.
Creating a receipt in Excel is straightforward and ensures a professional output. Follow these steps:
- Open a New Excel Workbook: Launch Excel and start with a blank workbook. You’ll have a clean slate to work with.
- Set Up Your Receipt Layout: In the first few rows, create headers for your receipt. This can include fields like “Receipt Number”, “Date of Issue”, “Received From”, “Amount”, and “Payment Method”. You can customize the labels based on your needs.
- Merge Cells for Clarity: Use the “Merge & Center” function for titles like “Receipt” at the top of your document. This keeps everything neat and easy to read.
- Insert Data Fields: In the rows below the title, insert the required details. For example, under “Receipt Number”, manually input the number or use a formula to auto-generate it. For “Amount”, input the sum of money paid, and adjust the currency format.
- Insert Formulas for Calculations: If there are discounts or taxes to include, use formulas in Excel to calculate them automatically. For example, use the SUM function to calculate totals and apply percentage formulas for tax or discounts.
- Format the Receipt: Adjust column widths to fit all data neatly. Bold headings, use borders, and apply different text alignments for a structured appearance. You can also highlight key areas like the “Total Amount” for visibility.
- Save and Issue the Receipt: Once you’ve entered all the information, save the document. If you’re issuing the receipt digitally, save it as a PDF for easy sharing. For physical copies, print the receipt directly from Excel.
By following these steps, you’ll create and issue a well-organized receipt tailored to your specific needs in no time.
How to Structure an Indian Cash Receipt Template
To create an effective Indian cash receipt template, ensure that the document includes key elements such as the date, payer’s name, amount, purpose, and signature. Keep the format clear and organized for both the recipient and the payer.
Key Components

- Receipt Number: Start with a unique receipt number for tracking purposes.
- Date of Transaction: Clearly state the transaction date.
- Payer’s Information: Include the name and contact details of the person making the payment.
- Payment Amount: Specify the exact amount paid, preferably in words and figures.
- Purpose: Describe the reason for the payment (e.g., service rendered, product sold).
- Signatures: Both the payer and recipient should sign for acknowledgment.
Formatting Tips
- Use a simple, legible font for easy reading.
- Ensure proper alignment and spacing for clarity.
- Avoid overloading the receipt with unnecessary information.


