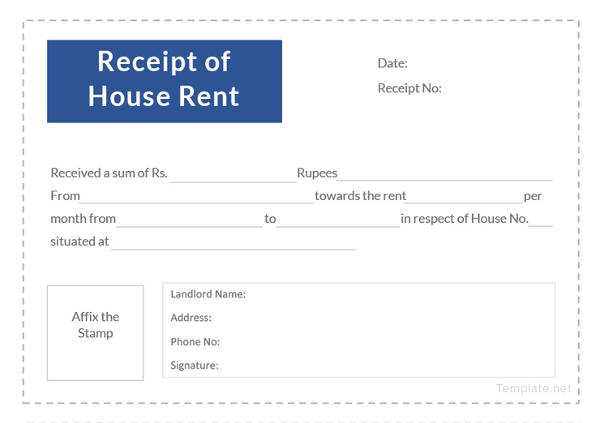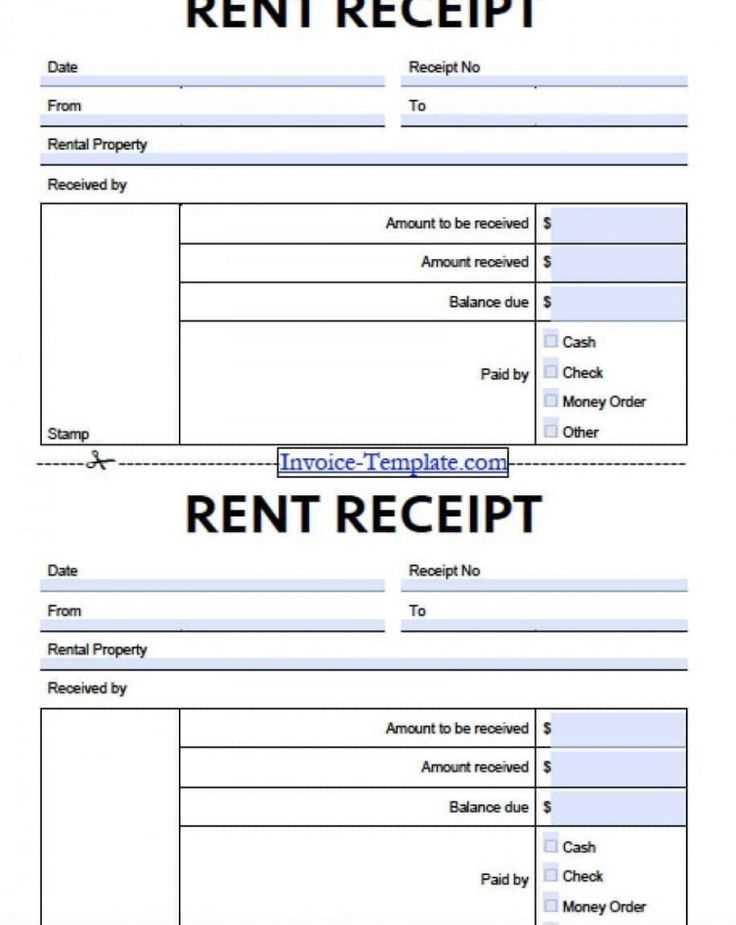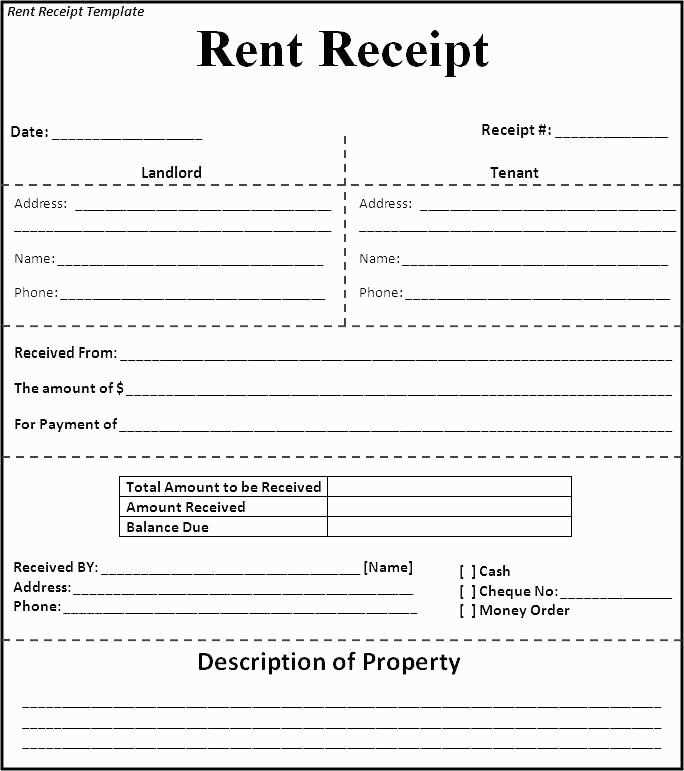
When you need a clear, professional record of a rent payment, having a printable template at hand makes the process smooth and organized. A well-crafted rent receipt not only serves as proof of payment but also ensures that both parties, tenant and landlord, have a mutual understanding of the transaction. The key is simplicity and accuracy, ensuring all necessary details are included without any unnecessary clutter.
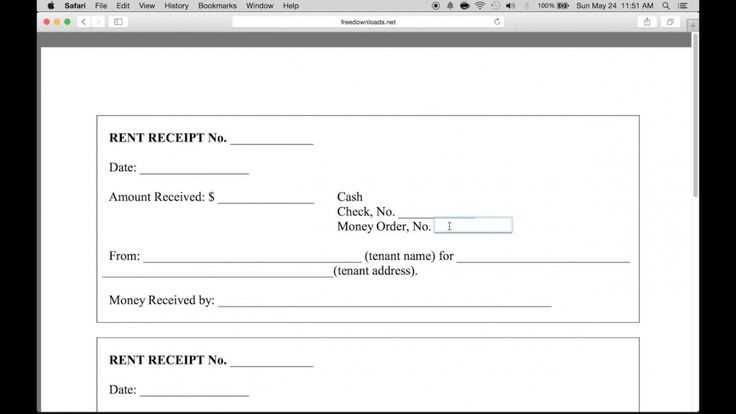
Use a template that includes fields like the tenant’s name, the rental property address, payment date, amount paid, and the payment method. Make sure to add a unique receipt number for easy reference, especially when dealing with multiple payments. By filling out these fields, you’ll ensure that every receipt is consistent and professional.
By keeping a printable receipt template handy, you can save time and avoid errors when documenting payments. You don’t need to worry about complex designs–clarity should be the priority. After completing the details, simply print and provide the receipt to your tenant for their records. This ensures both transparency and accountability in every rental transaction.
How to Create a Custom Rent Payment Receipt
Creating a rent payment receipt is straightforward. The key is to include all the necessary details while maintaining clarity. Here’s a step-by-step guide to help you craft a personalized receipt.
Step 1: Add Basic Information
- Tenant’s Name: Include the full name of the tenant making the payment.
- Landlord’s Name: Your full name or the management company’s name should be included.
- Property Address: Mention the address of the rented property to specify which unit the payment is for.
Step 2: Specify Payment Details
- Payment Amount: Clearly list the total amount paid for the rent.
- Payment Date: Record the exact date when the payment was made.
- Payment Method: Indicate the method used, whether cash, check, or online transfer.
Step 3: Include a Unique Receipt Number
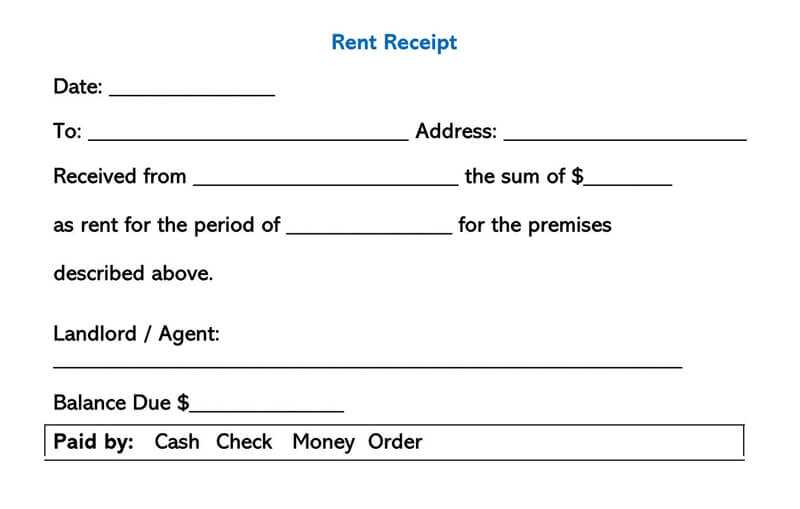
Each receipt should have a unique number for easy reference. This can be as simple as a sequential number or a combination of letters and numbers that correlate with the rental agreement.
Step 4: Add a Brief Description (Optional)
- Rent Period: If applicable, mention the specific month or rental period covered by the payment.
- Late Fees: If any late fees are included in the payment, list them separately.
Once these details are added, double-check for accuracy and provide the tenant with a copy of the receipt. You can create this document using a word processor or design software for easy printing.
Where to Find Reliable Printable Rent Receipt Templates
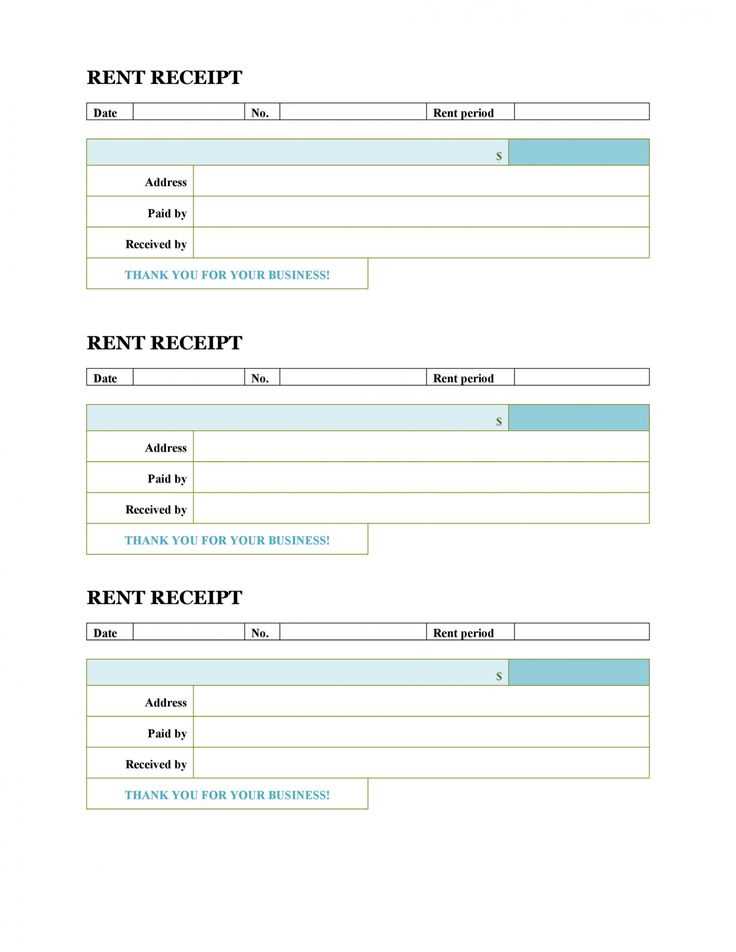
Reliable printable rent receipt templates are available from various sources that offer free and paid options, ensuring convenience for both landlords and tenants. You can find them on websites dedicated to legal forms, property management, and accounting tools.
Free Online Resources
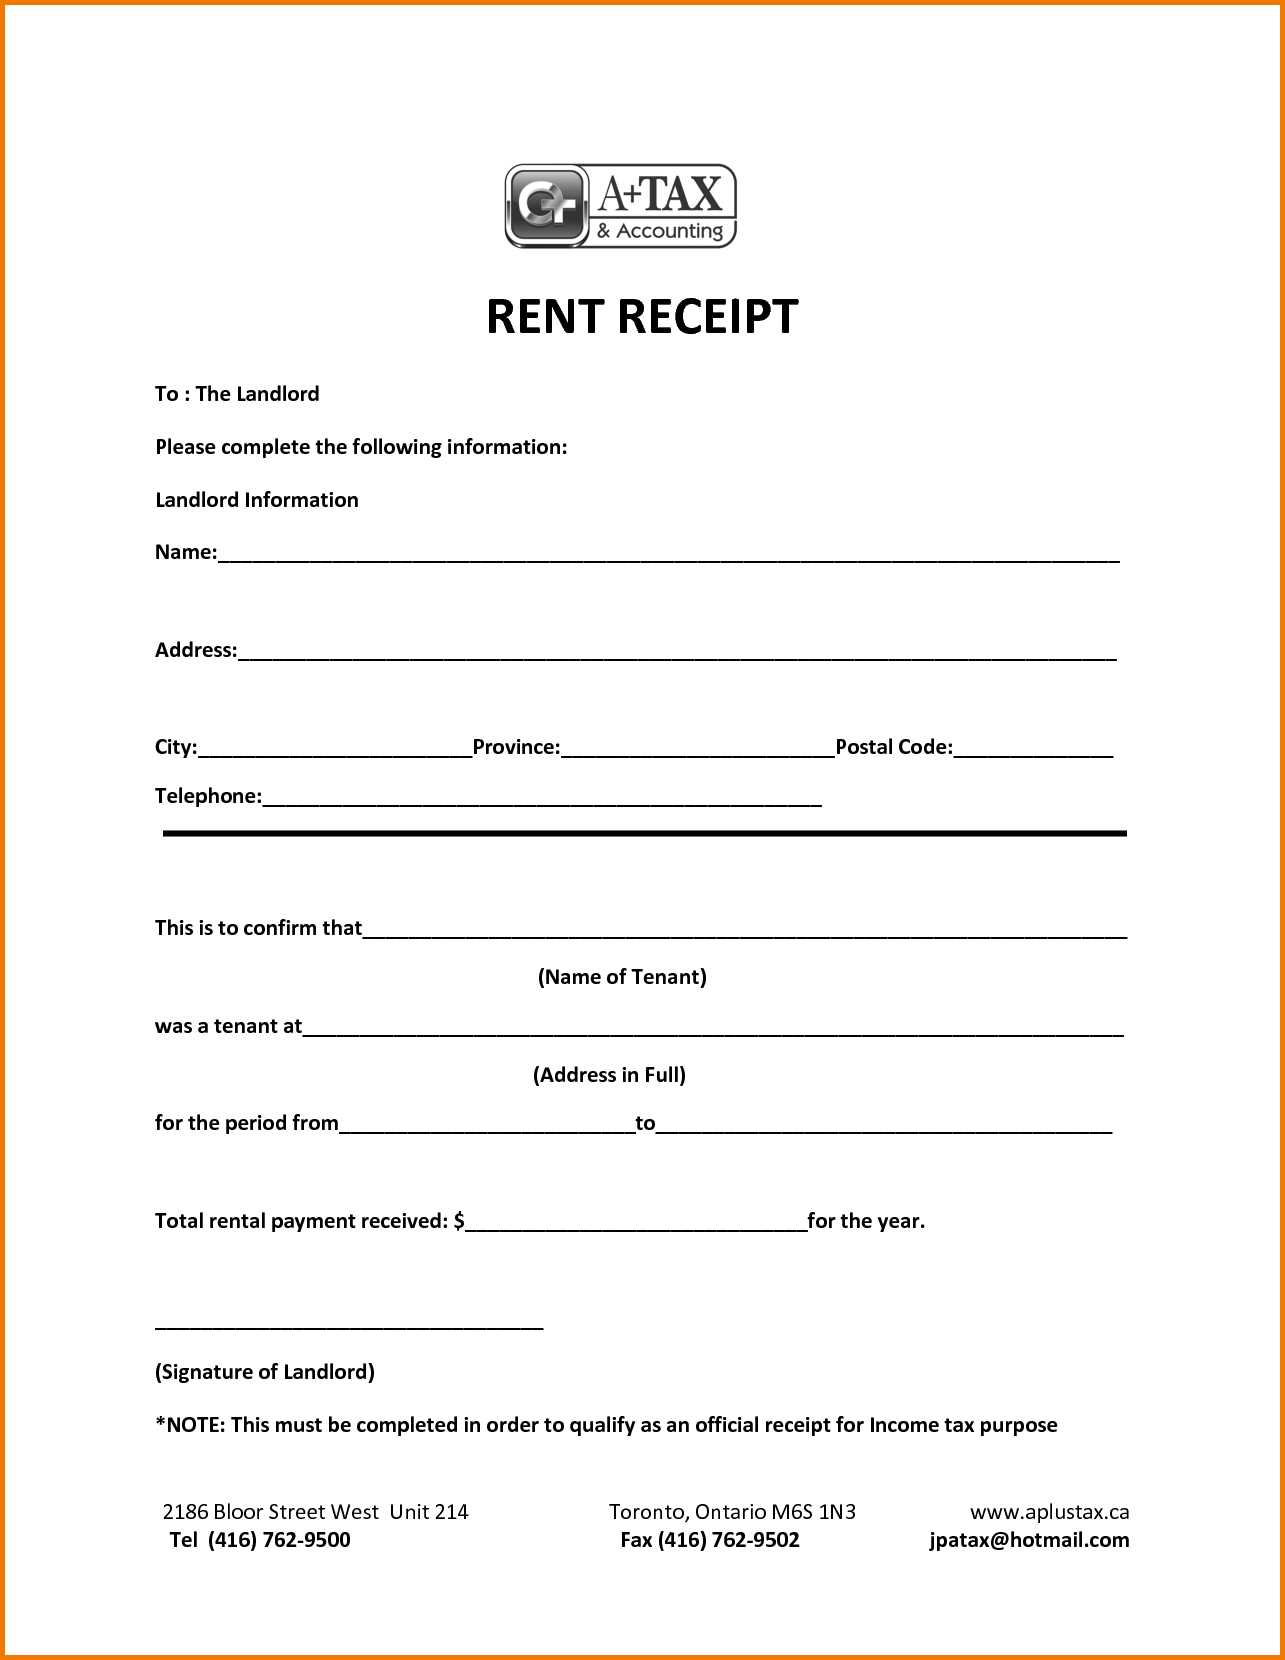
Several websites provide free printable rent receipt templates that are customizable and easy to download. Sites like Template.net and Jotform allow you to fill in necessary details and print them without any charges. Many of these templates are designed to meet basic rental receipt requirements, such as date, payment amount, and tenant information.
Paid Options with Advanced Features
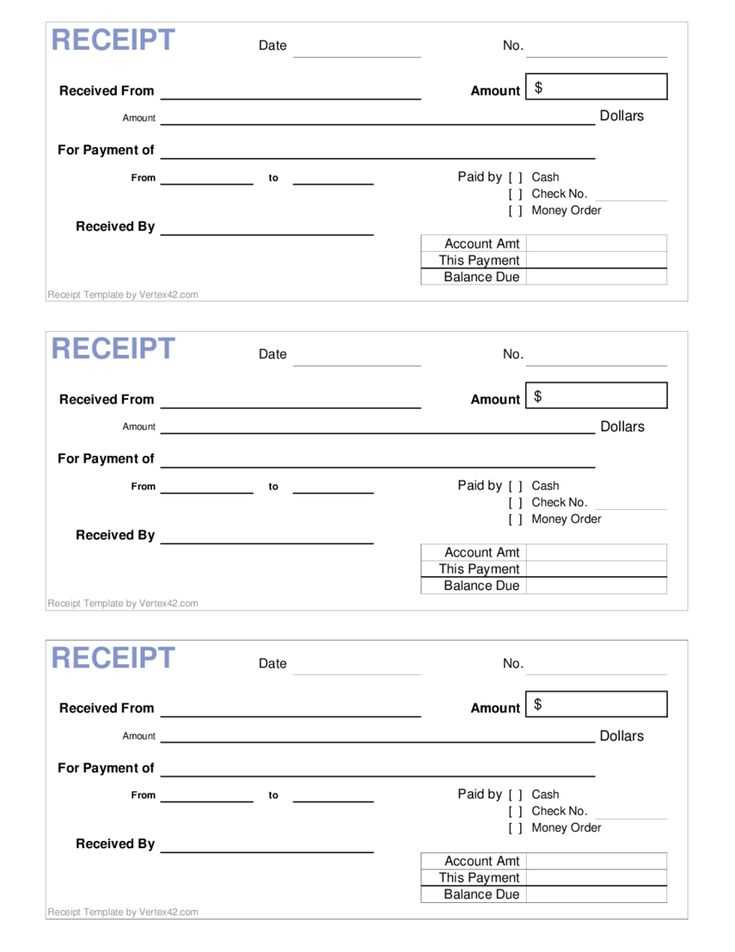
For more features, such as automatic calculations and integration with property management software, check out platforms like Rentec Direct or QuickBooks. These services provide tailored templates for landlords who manage multiple properties and need more functionality like record-keeping and tax reporting.
For tenants or landlords seeking more specialized templates, checking websites offering industry-specific tools or software like TurboTax or LegalZoom can provide professionally designed templates that also meet legal standards in many states.
How to Fill Out and Issue a Rent Payment Receipt
To fill out a rent payment receipt, ensure you include the following details: the tenant’s name, the landlord’s name, the property address, the rental period, and the payment amount. Be specific about the payment method (cash, cheque, bank transfer, etc.). Include the date of payment, and note if it’s for partial or full payment.
Step-by-Step Process
Start by entering the tenant’s full name and the address of the rental property. Specify the rental period that the payment covers–whether it’s monthly, quarterly, or another duration. Next, write the exact amount received and the date the payment was made. If applicable, indicate if the payment was made in cash, via bank transfer, or another method. Finally, sign the receipt to confirm the transaction.
What to Include for Clarity
For additional clarity, include a receipt number or reference code. This helps both the landlord and tenant keep track of payments over time. It’s also beneficial to provide a note or comment section for any special instructions, like late fees or early payment discounts.
