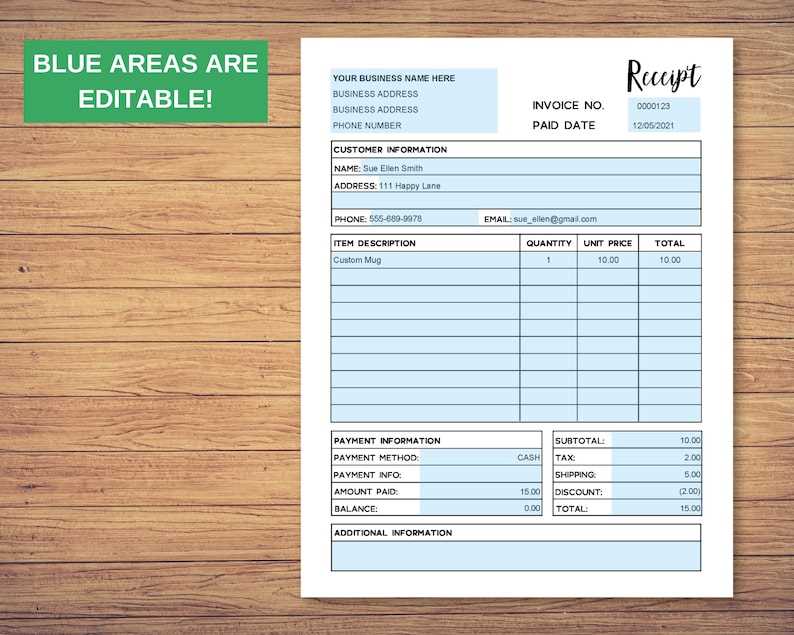
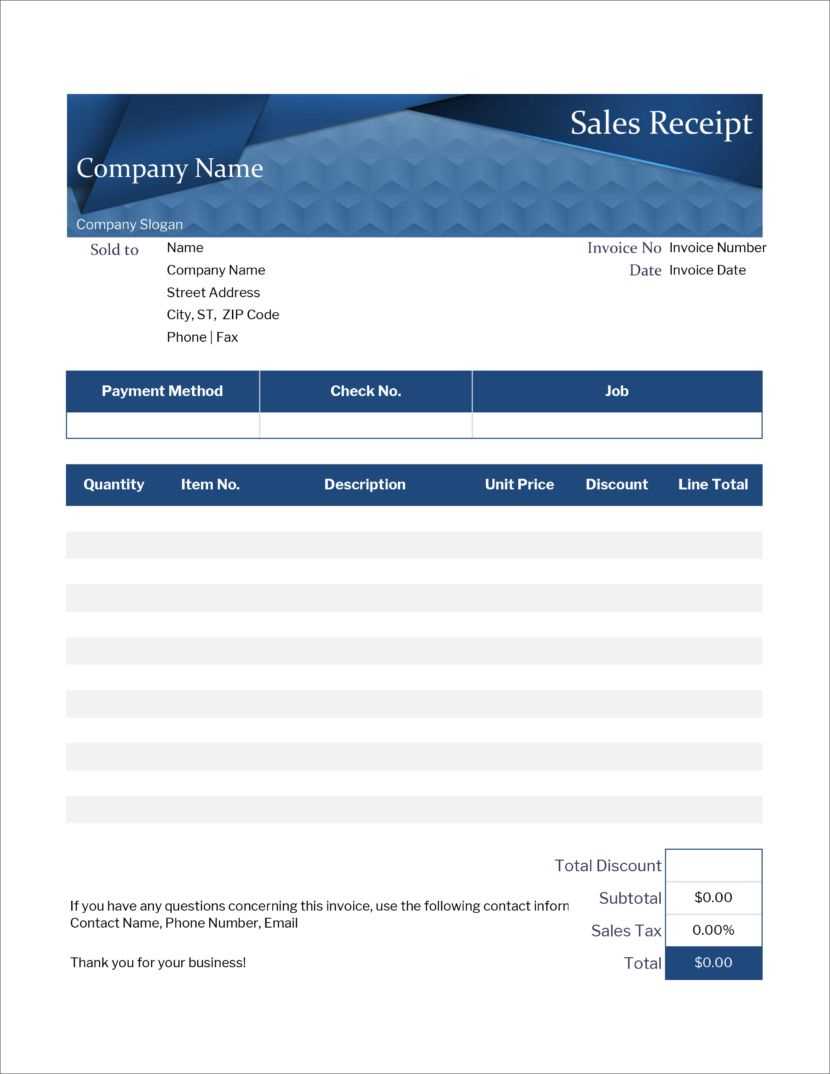
Creating a customized receipt template is a practical way to streamline your business operations and enhance your branding. By tailoring the design to reflect your company’s style, you create a more professional and cohesive experience for your customers. A personalized template ensures that your receipts are not just functional but also serve as a marketing tool.
Start by defining the key elements that should be included in every receipt. This typically includes your company’s name, logo, transaction details, and contact information. However, you can go beyond the basics by adding custom messages, promotions, or even social media links. The more your receipt aligns with your business identity, the stronger the impression it leaves.
Consider incorporating your branding colors and fonts to keep the receipt consistent with your overall aesthetic. This not only strengthens recognition but also makes the receipt feel like part of the customer’s overall experience with your brand. With easy-to-use software tools available today, creating and editing these templates has never been simpler.
Make sure the design is clear and easy to read. Avoid cluttering the template with unnecessary details, and focus on the most important information. You can experiment with the layout and structure, but always keep in mind that clarity and simplicity are key to providing a pleasant customer experience.
Customized Receipts Template: Practical Guide
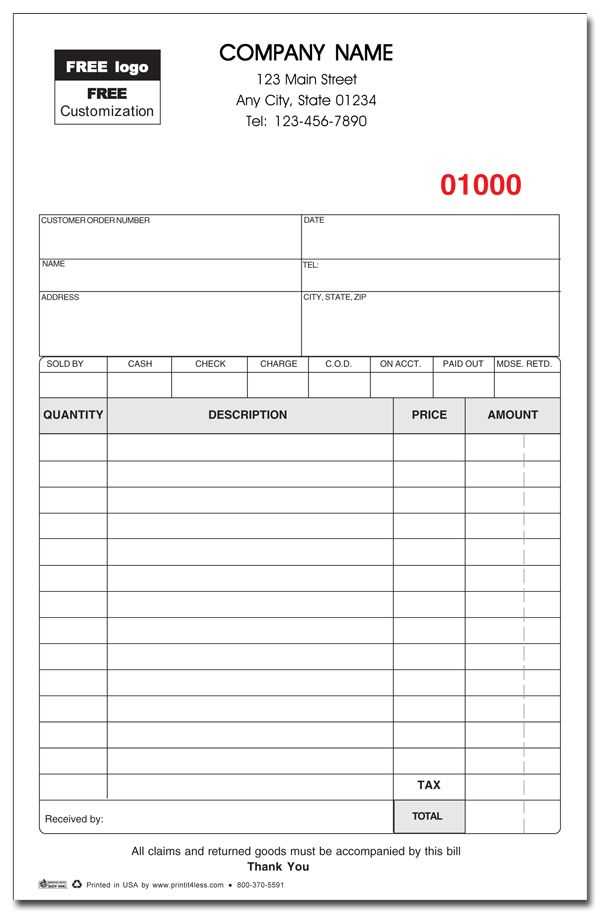
Creating a customized receipt template allows you to provide clear, professional, and tailored receipts that match your business identity. A well-designed receipt gives customers trust and helps maintain accurate records. Here’s how to make your own:
1. Choose the Right Software
Select a tool that suits your needs. Simple options include Word or Excel, while more advanced tools like Google Docs or specialized receipt software offer more features and customization options.
2. Define Key Elements
Make sure your receipt includes these basic details:
- Business name and logo
- Contact information (address, phone, email)
- Date and time of the transaction
- Itemized list of products or services
- Total amount paid
- Payment method (cash, card, etc.)
- Transaction or receipt number
3. Design with Clarity
Keep the design clean and easy to read. Use appropriate fonts, avoid clutter, and ensure each section is well-spaced. Balance aesthetics and functionality.
4. Customize for Branding
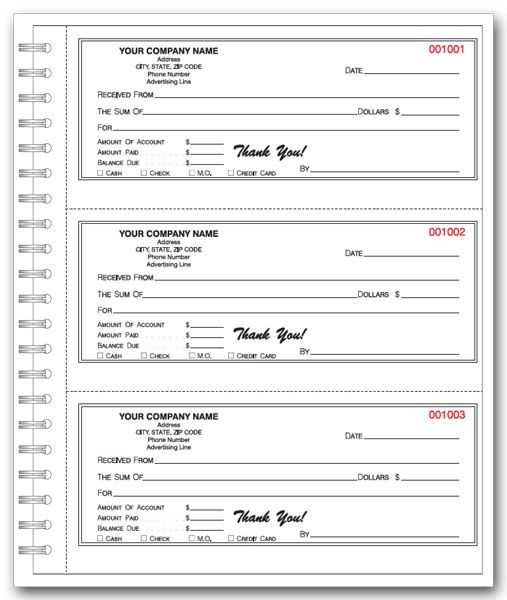
Incorporate your brand colors, font, and logo to make your receipts instantly recognizable. Customize the layout to reflect your business style while keeping it professional.
5. Automate the Process
Use software that allows for automatic generation of receipts after a transaction. This saves time and minimizes the chance of human error.
6. Test and Refine
Before using your template, test it with real transactions. Ensure the format is user-friendly and all key information is included. Adjust if necessary.
Choosing the Right Software for Creating Customized Receipts
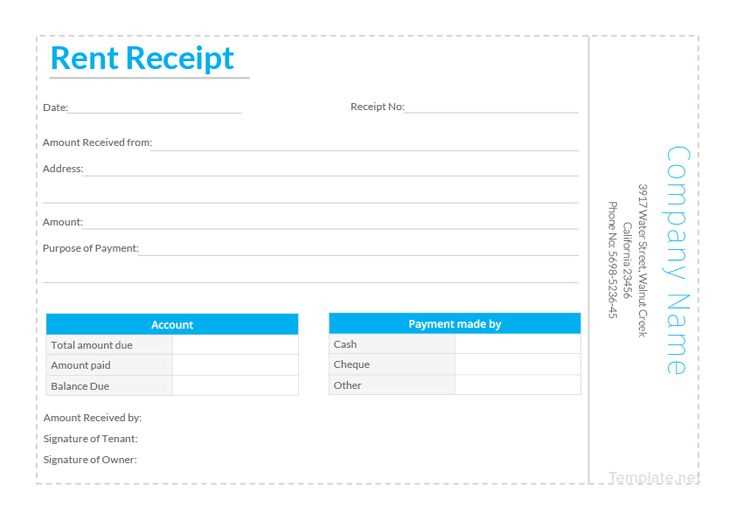
Selecting the right software depends on the features you need, the type of business you run, and the level of customization required. Focus on tools that offer flexibility in design, ease of use, and compatibility with your existing systems.
Key Features to Look For
Start by considering the customization options. Some software offers pre-made templates that can be easily adjusted, while others allow full design control. Look for tools that provide features like custom logos, color schemes, and personalized fields to ensure your receipts match your branding.
Next, ensure that the software supports multiple formats for output, such as PDF or email, for easy distribution to customers. Integration with accounting or inventory systems is another valuable feature, as it reduces the time spent on manual data entry.
Popular Software Options
| Software | Customization Options | Integrations | Price Range |
|---|---|---|---|
| Square | Basic templates with logo and color customization | Accounting, Inventory, POS | Free to $60/month |
| Zoho Invoice | Highly customizable with advanced design tools | Accounting, CRM, Payment Gateways | $9/month to $29/month |
| FreshBooks | Customizable invoices with branding options | Accounting, Time Tracking, Payment Processing | $15/month to $50/month |
Check customer reviews and trial versions before committing. Software with an intuitive interface will make your life easier, especially when adjusting settings or creating complex templates. Consider your budget and scalability needs as well–some tools offer a free version with limited features, which could be sufficient for small businesses.
How to Personalize Your Receipt Template for Different Business Needs
Tailor your receipt template to match your business type by focusing on what matters most to your customers. For a retail store, include product descriptions, quantities, and prices. Make sure the total is clearly visible, as well as any applicable taxes or discounts. If you run a service-based business, emphasize the details of the service provided–such as hours worked, the type of service, and labor costs. Include any relevant notes like warranty or follow-up instructions.
If you are a restaurant owner, add space for tips and special instructions. You may also want to feature your branding prominently, using your logo and colors. For businesses dealing with online transactions, include payment methods, delivery options, and tracking numbers. For subscription-based services, highlight the next payment due date and the billing cycle.
Adjust the layout for clarity and functionality. Use a clean and simple design to ensure all necessary details are visible. You can use bold text for headings or totals, and include hyperlinks for any follow-up actions like feedback forms or customer support. Don’t forget to add your business contact information and legal disclaimers where necessary.
Remember: The goal is to create a receipt that not only meets your operational needs but also enhances your customers’ experience. Whether it’s building trust or making transactions easier to track, every detail counts. Adapt the content of your receipt to reflect the nature of your business and provide the most value to your customers.
Integrating Payment Methods and Taxes into Your Customized Receipt
Include clear sections on payment methods and taxes in your customized receipt to ensure accuracy and transparency for both you and your customers. Start by adding a “Payment Method” field where you can specify the type of payment used, such as cash, credit card, or mobile payment. This helps track different transaction methods and makes the receipt more informative.
For tax integration, ensure that you list the specific tax rates applied to the purchase. Create a dedicated area for “Taxes” or “Sales Tax,” displaying the percentage or flat rate and the total amount calculated. This not only helps with record-keeping but also ensures compliance with tax regulations.
If your business operates in multiple regions, include the ability to specify different tax rates based on location. This will require a dynamic system that adjusts the tax details depending on where the sale occurred.
To enhance readability, break down the total amount into itemized costs, taxes, and any discounts. This approach provides a clear view of how the final price is calculated, fostering trust with your customers.
Finally, always include a “Total Amount” line that reflects the final price, incorporating taxes and any additional charges. Make sure that this is clearly distinguished from other amounts, so there’s no confusion about the payment due.


