Creating a Rental Receipt Template in Excel
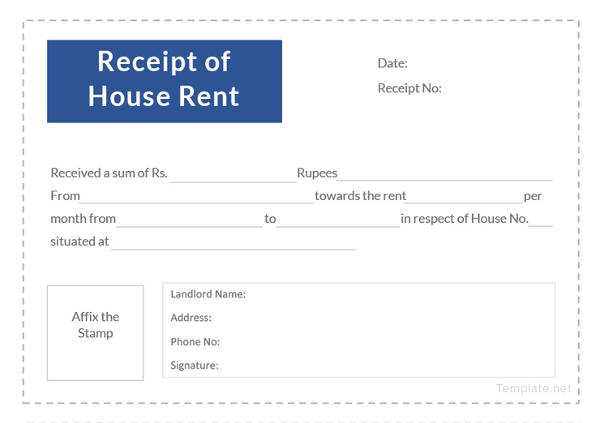
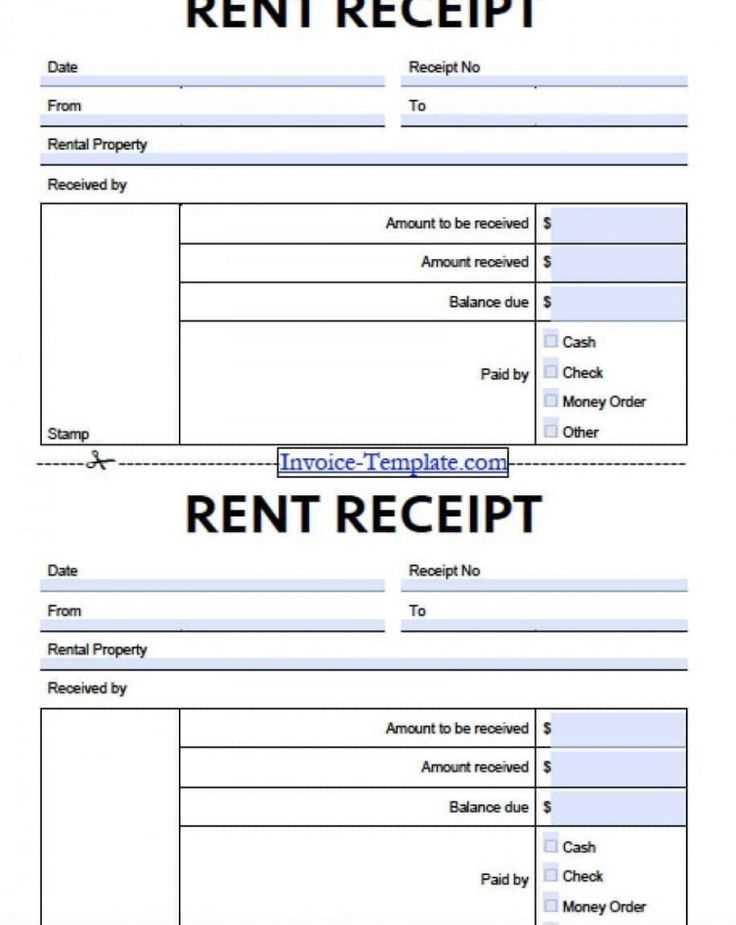
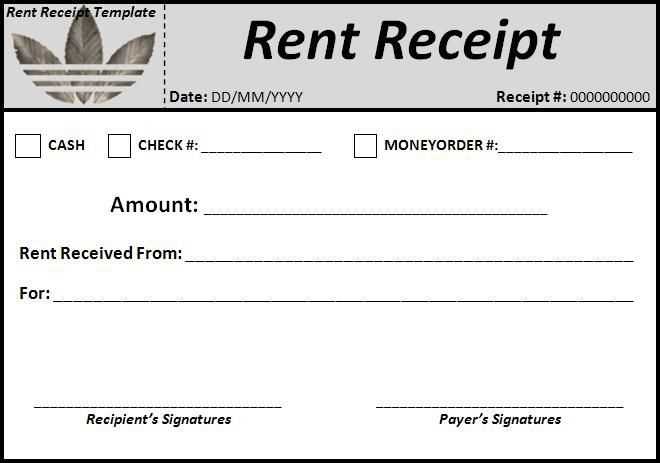
To create a rental receipt template in Excel, begin by setting up a clean sheet with clear headers. Use columns like “Tenant Name,” “Rental Property Address,” “Rental Amount,” “Payment Date,” and “Payment Method.” Add a “Receipt Number” section to keep track of each transaction for easy reference. Utilize Excel’s cell formatting to ensure everything is legible, with bold headers and sufficient space between sections.
Basic Structure of the Rental Receipt
- Tenant Information: Name, contact details, and address of the rental property.
- Receipt Number: A unique number for each receipt to simplify tracking.
- Rental Details: Date of payment, payment method (cash, cheque, bank transfer), and rental amount.
- Additional Information: Any other relevant notes such as late fees, security deposit, or upcoming rent due date.
- Signature Line: A place for both tenant and landlord signatures (if necessary).
Excel Functions for Improved Efficiency
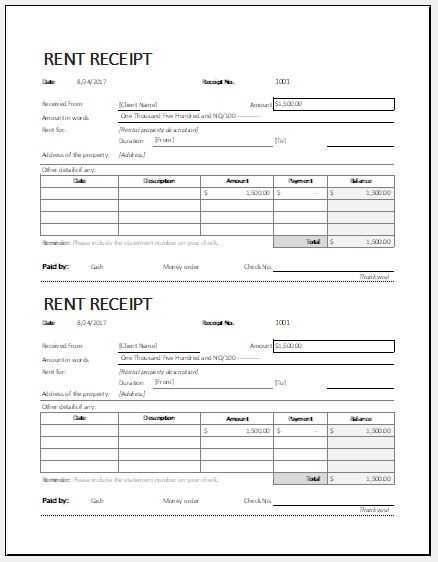
Take advantage of Excel functions to automate certain fields. Use SUM to calculate the total payment when adding multiple payments for a single tenant. Apply DATE for consistent date formatting. A VLOOKUP function can be handy for pulling tenant information from another sheet based on the receipt number.
Customizing Your Template
Make the receipt personalized by adding your logo or company name in the header. Customize the font size and colors to reflect your brand, ensuring it looks professional yet easy to read. For added convenience, protect the sheet to prevent accidental changes, while allowing your users to input the necessary data.
Once the template is set up, save it as an Excel template file (*.xltx) so you can reuse it for multiple transactions without needing to rebuild the format each time.
Excel Template Rental Receipt Guide
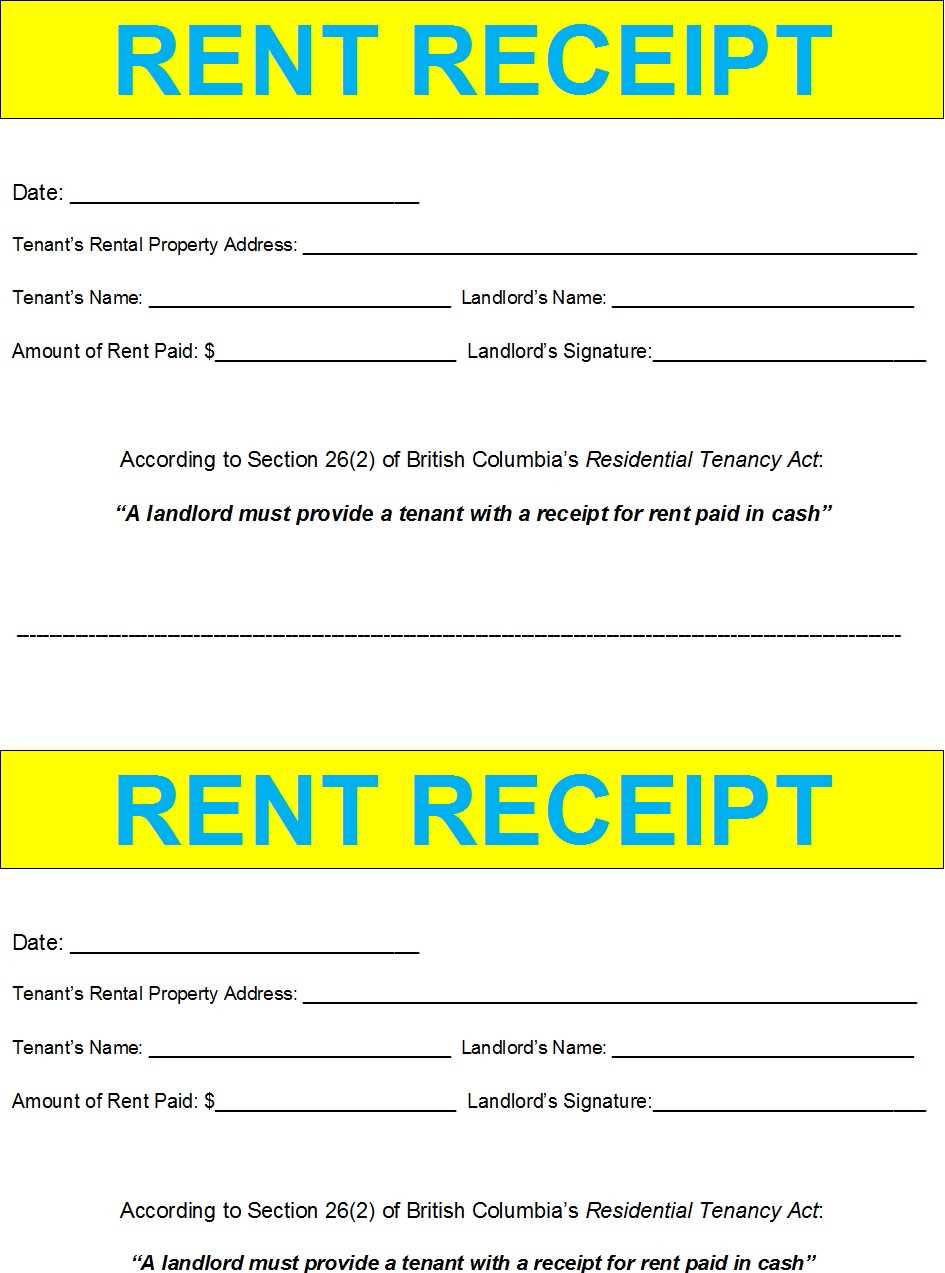
Creating a customizable rental receipt template in Excel requires a simple structure that can be easily adapted to different rental scenarios. Start by setting up columns for basic information such as the tenant’s name, rental item, rental period, payment details, and due date. Use Excel’s formatting tools to clearly label each section and ensure that your template is user-friendly. You can also add spaces for notes, discounts, or additional charges. To make your template dynamic, incorporate Excel formulas to automatically calculate totals based on the rental duration and the item cost.
Incorporating Tax and Extra Fees into Your Excel Template
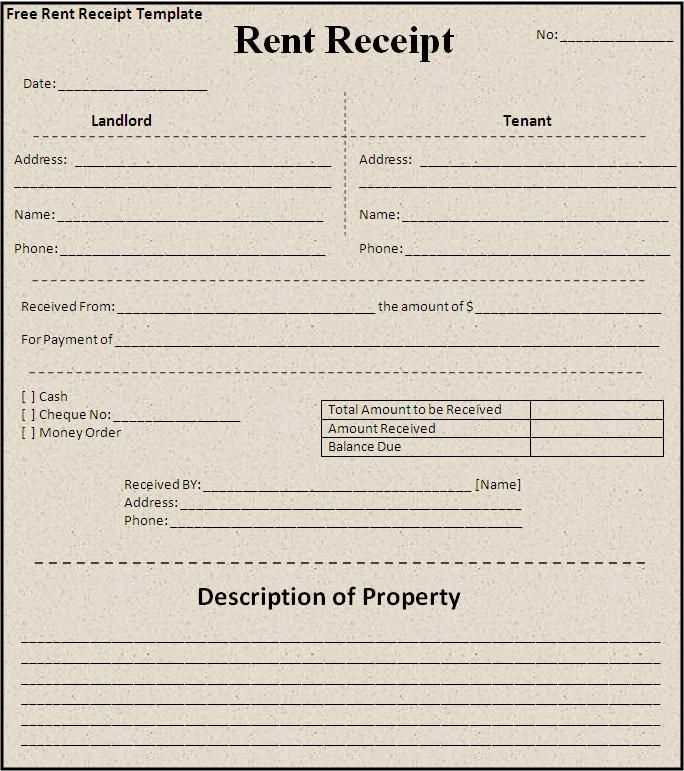
Include a section for tax calculations by applying a formula that multiplies the subtotal by your local tax rate. Excel’s built-in tax formulas can simplify this, but make sure to adjust them according to your area’s specific tax rules. If extra fees apply (such as delivery or late fees), create columns for each of these charges and use a SUM function to automatically add them to the total amount. This makes it easy for users to see a complete breakdown of their rental charges at a glance.
How to Automate the Rental Process with Excel
To streamline the rental process, automate common tasks such as calculating rental durations or generating due dates. Excel’s date functions allow you to automatically calculate the due date based on the rental period entered. You can also set conditional formatting rules to highlight overdue payments or discounts applied. To save time, create a template that pre-fills customer details based on a database, allowing for quick generation of rental receipts with minimal input.
