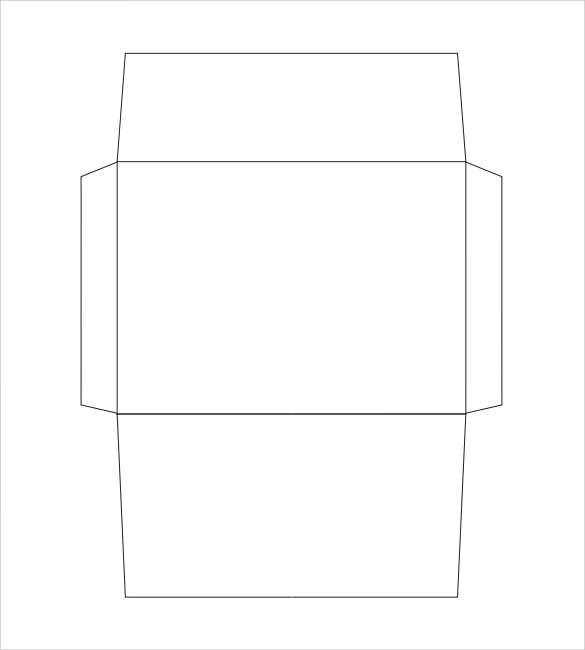
Creating a well-structured envelope for receipts is simple and can help keep your documents organized. Start by selecting the right size template to ensure your receipts fit comfortably. A standard envelope, sized around 4 ⅓ x 9 ½ inches, is usually perfect for most receipts. Ensure that the design allows for clear labeling of the recipient’s details and the return address. This will help in quick identification and improve overall organization.
For the envelope design, focus on clarity and simplicity. Use a clean, readable font for the address section. Avoid cluttering the envelope with unnecessary details. Include a designated area for the receipt or multiple receipts, leaving enough space to seal the envelope without damaging the contents. A template with perforated or foldable edges can enhance ease of use, ensuring the envelope is secure once sealed.
Lastly, you can find free printable templates online that offer precise measurements. Customize the template with your branding or other personal touches if needed. Whether it’s for business or personal use, a well-crafted envelope for receipts will keep everything neat and accessible.
Envelope Template for Receipts
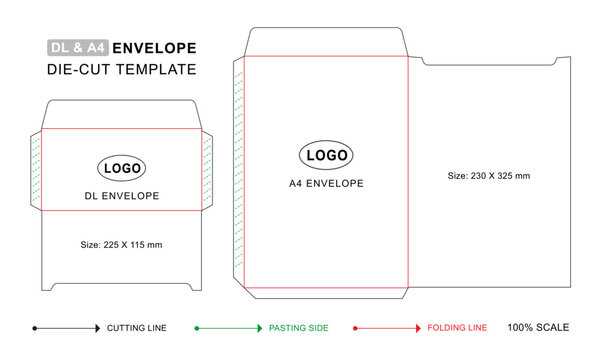
Choose a clean and simple envelope template to ensure receipts are neatly organized and professional. It should be designed to hold receipts securely while maintaining a clear and concise layout. The template should have an easily identifiable section for the date, amount, and store or company name. A minimalist design is ideal for readability.
Key Features
Ensure the envelope is large enough to fit the average receipt size without folding. Include spaces for essential details such as transaction number, customer name, and itemized list if necessary. A pocket or foldable flap can be added for extra security to keep receipts from falling out.
Customizing the Template
For a personalized touch, consider including your logo or brand name at the top or bottom of the envelope. This creates a professional impression while maintaining functionality. Use clear and legible fonts to ensure readability, especially for small text.
How to Choose the Right Envelope Size
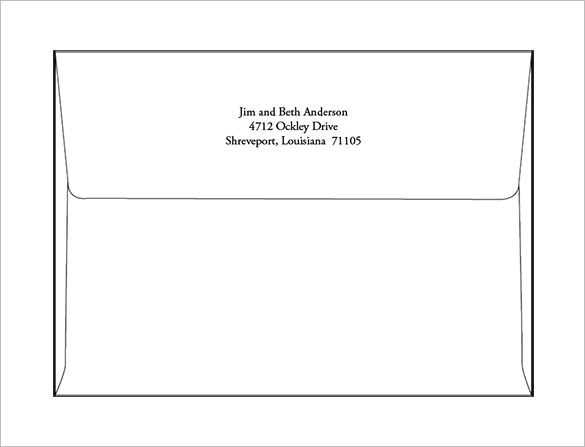
Select an envelope size that fits your receipt comfortably without excessive space. The most common envelope sizes are #10 (4 1/8″ x 9 1/2″) and A7 (5 1/4″ x 7 1/4″). These sizes accommodate typical receipt dimensions. If your receipt is larger, consider using an A6 envelope (4 3/4″ x 6 1/2″). For smaller receipts, opt for a smaller size like A2 (4 3/8″ x 5 3/4″).
Standard Envelope Sizes
Measuring for a Perfect Fit
Step-by-Step Guide to Creating a Custom Envelope Template
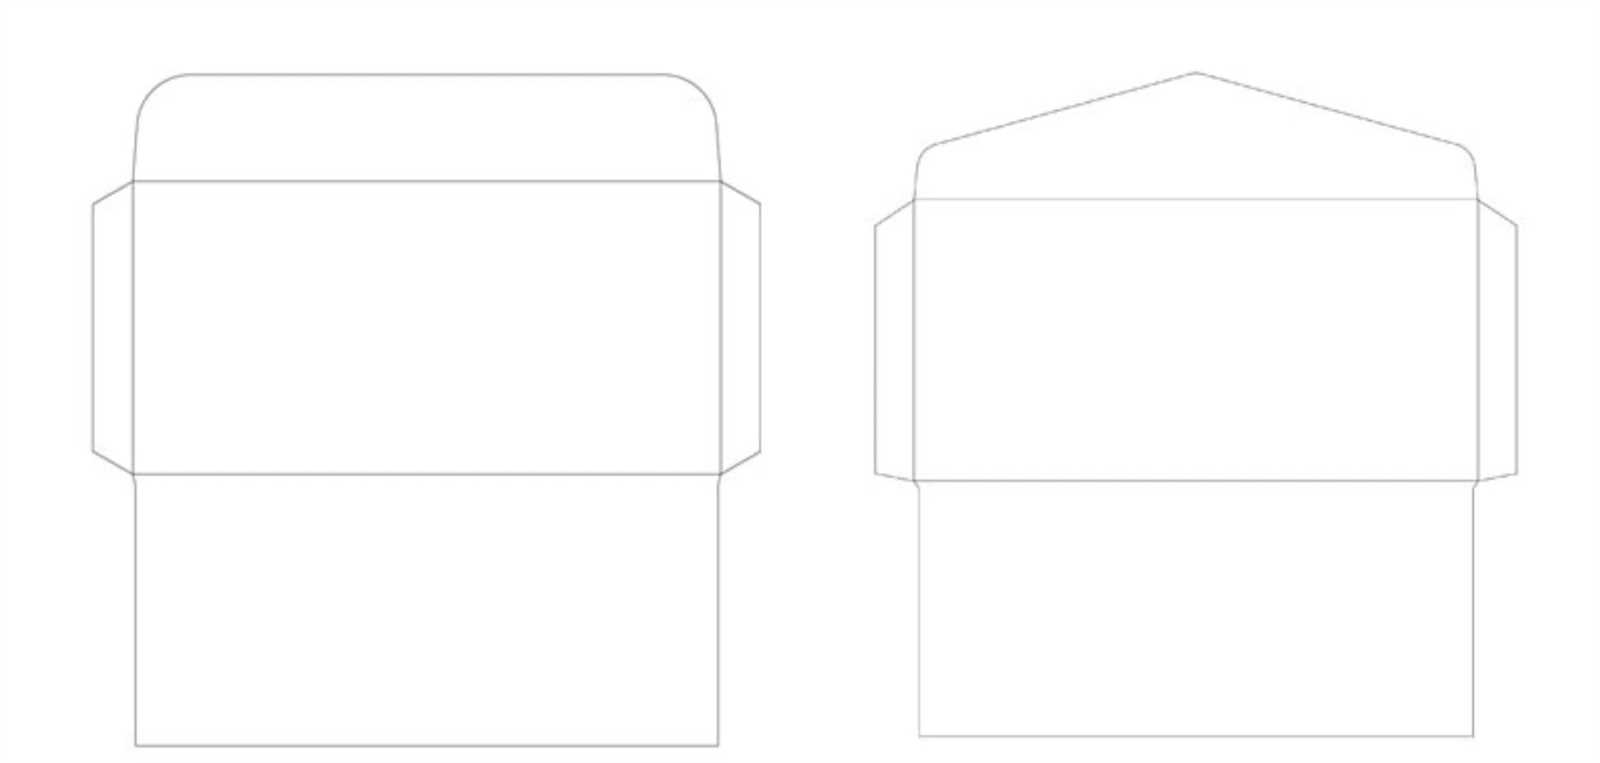
Open your design software and create a new document. Set the document size to the dimensions of your desired envelope. Standard envelope sizes include #10 (4.125 x 9.5 inches) or A7 (5.25 x 7.25 inches). Adjust the width and height accordingly.
Next, add margin guides. These will help maintain proper spacing for text and logos inside the envelope. Typically, a 0.25-inch margin on all sides is standard, but you can adjust this depending on your design preferences.
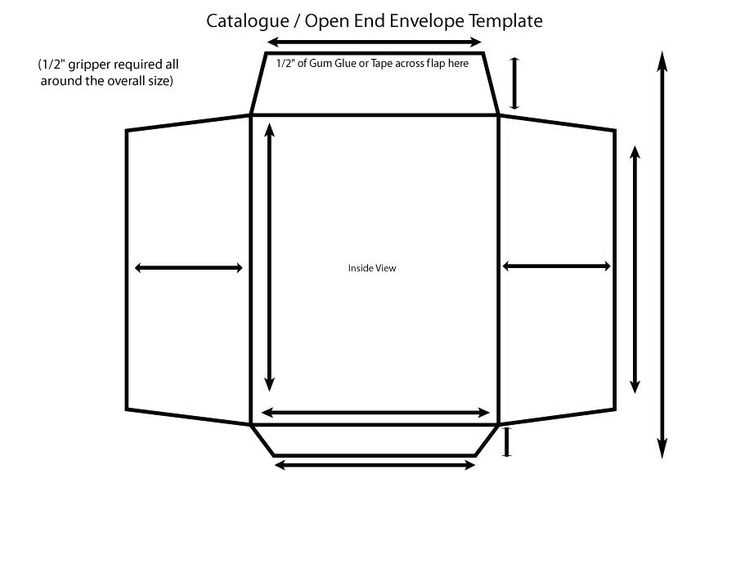
Draw the envelope shape. Use the rectangle tool to create the basic envelope shape. If your software allows, use a shape that has rounded corners or customize the corners manually for a unique look.
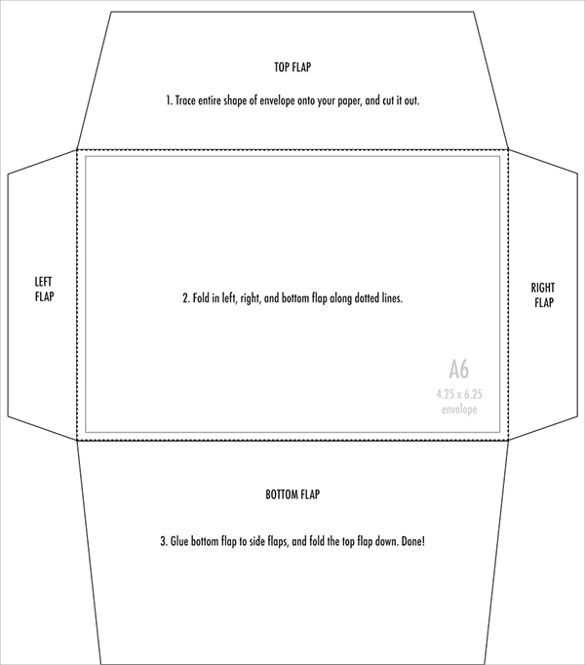
Design the fold lines. Mark the fold lines to ensure the template can be folded properly. These lines will guide you when folding the paper. You can use a dotted line or another subtle indicator to mark these areas.
Next, add placeholders for the return address and recipient’s address. For best results, align these areas based on your envelope’s layout. Ensure the address fields are large enough to be legible and centered to maintain a professional appearance.
Customize the flap design. Use the polygon tool or pen tool to create the flap. Make sure the flap is large enough to cover the opening and align with the back portion of the envelope.
Insert any graphics, logos, or text you’d like to feature on the envelope. Ensure the design elements do not interfere with the address sections. Keep the text within the safe zone defined by your margin guides.
Before finalizing, check for alignment and proportions. Ensure the flap and body of the envelope fit together seamlessly when folded. Adjust the fold lines as needed to ensure the envelope folds correctly without distorting the design.
Once satisfied with your design, save the template in a format suitable for printing, such as PDF or PNG, depending on your printer’s requirements.
Best Practices for Printing and Assembling Receipts
Use high-quality paper that is durable and resistant to fading. The durability ensures receipts last longer without compromising legibility. A common choice is thermal paper, which doesn’t require ink but still maintains clarity for a long period.
Printer Settings and Maintenance
Ensure that your printer is calibrated properly to produce clear, readable receipts. Regularly clean the print head to avoid smudging and maintain print quality. Set the correct print resolution to avoid pixelated text, which can lead to confusion.
Receipt Layout and Information Placement
Maintain a clear, structured layout with important information such as business name, date, items purchased, and total prominently displayed. Align text to avoid clutter, using enough white space between sections to enhance readability.
- Keep font sizes large enough to be readable, especially for the total price and date.
- Use bold or underlined text for essential details, like discounts or taxes, to draw attention.
- Ensure that all information fits within the margins to avoid cutting off text.
Review receipts for accuracy before printing, as errors in prices or details can lead to customer dissatisfaction and return issues.


