How to Create a Simple Sale Receipt Template
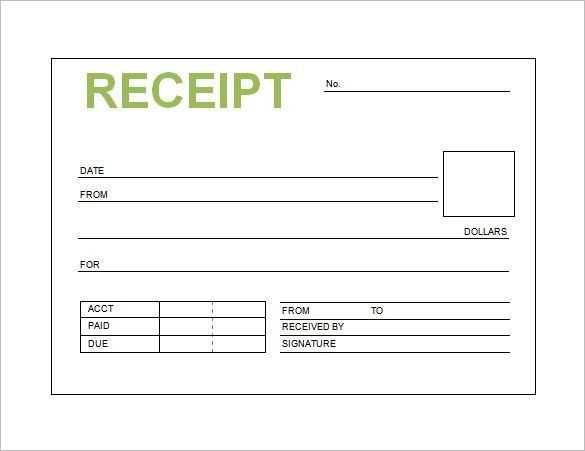
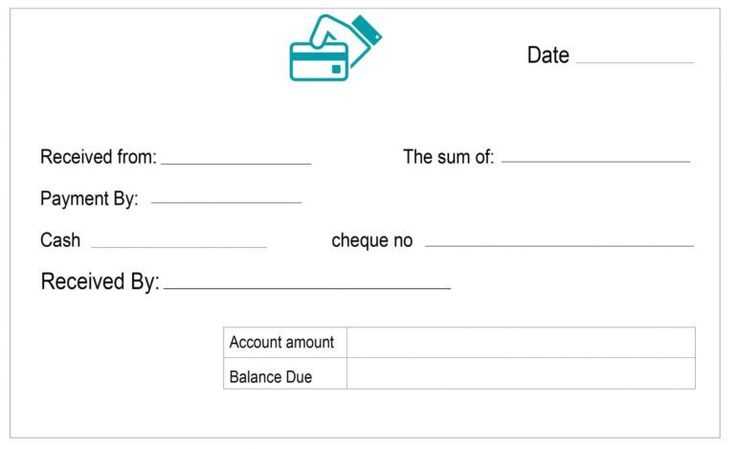
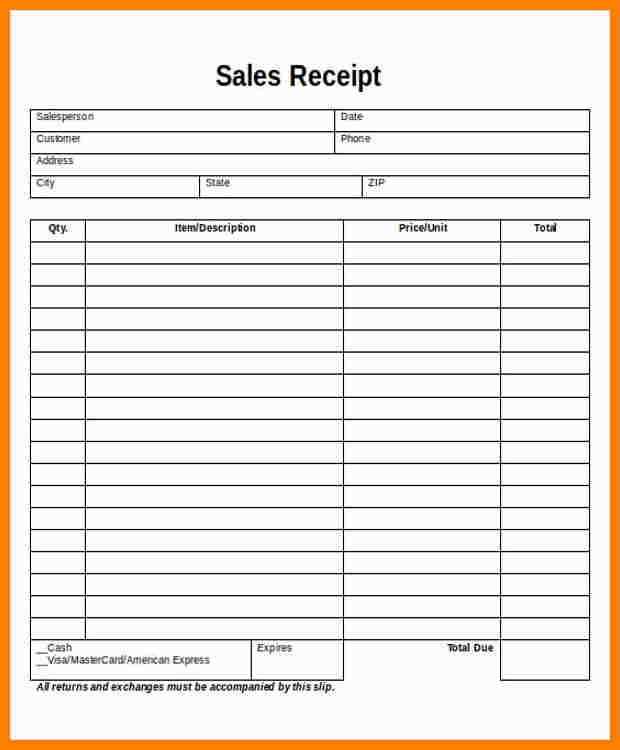
If you need a quick way to create a sale receipt, a blank template with name and address print can be a great solution. This template allows you to input necessary details while maintaining a clean, professional format. Here’s how to structure it:
1. Basic Structure
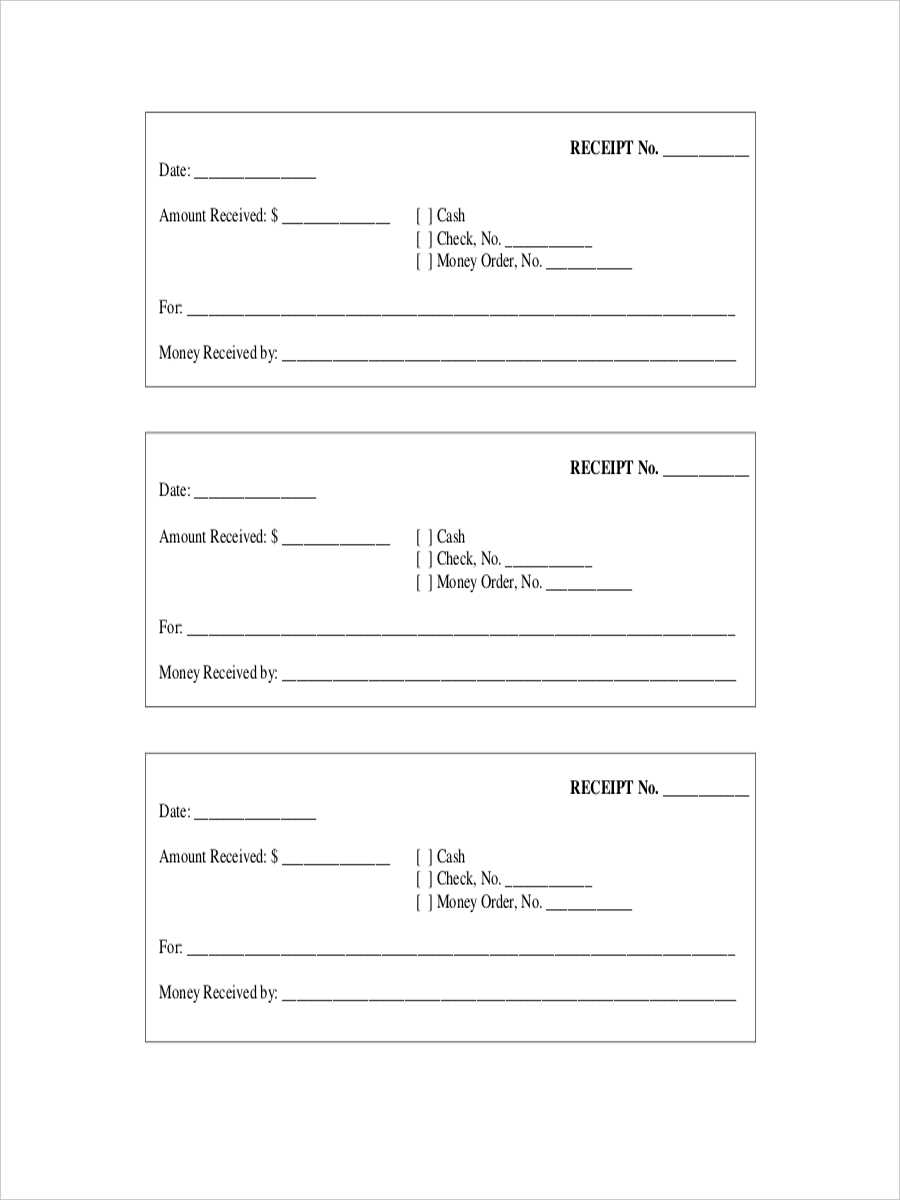
- Header: Include the business name, logo, and contact information at the top of the receipt. This ensures customers can easily reach out if needed.
- Transaction Details: Below the header, place the date of the transaction, receipt number, and a clear label indicating it’s a sale receipt.
- Items Sold: List each item with a description, quantity, price per unit, and total cost.
2. Customer Information Section
For clarity and to ensure proper communication, add space for customer details. This can be done in the following format:
- Customer Name: Leave a field for entering the name of the buyer.
- Customer Address: Include fields for the street address, city, postal code, and country.
3. Total Amount and Payment Method
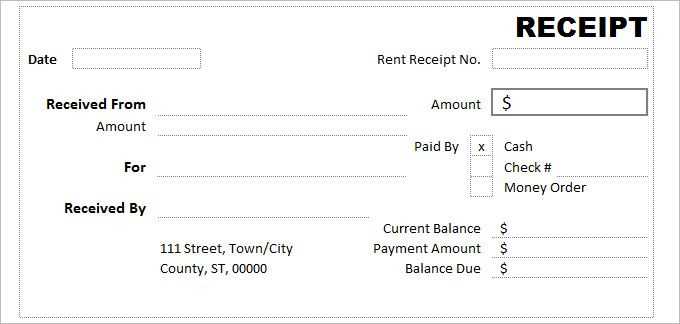
End the template by displaying the total amount paid, including any taxes or discounts. Additionally, add a section for noting the method of payment, such as credit card, cash, or bank transfer.
Additional Tips
- Design: Keep the design simple with clear fonts and sufficient space between each section to make the receipt readable.
- Format: Use a word processing program or spreadsheet software that allows easy customization of the template.
- Printing: Ensure the template is compatible with standard paper sizes for easy printing.
Blank Template for Sale Receipt with Name and Address Print
Choosing the right format for your sale receipt is crucial for clear communication and efficient business practices. A clean, well-structured template should feature the customer’s name and address, along with transaction details. This ensures that both parties have accurate records of the sale.
Including Key Details: Name, Address, and Transaction Data
Make sure your template includes fields for the customer’s full name, address, and contact information. Clearly display transaction data, such as the items purchased, price, tax, and total amount. This provides all necessary information for both the business and the customer to refer back to later.
Customizing Fonts and Layout for Convenient Printing
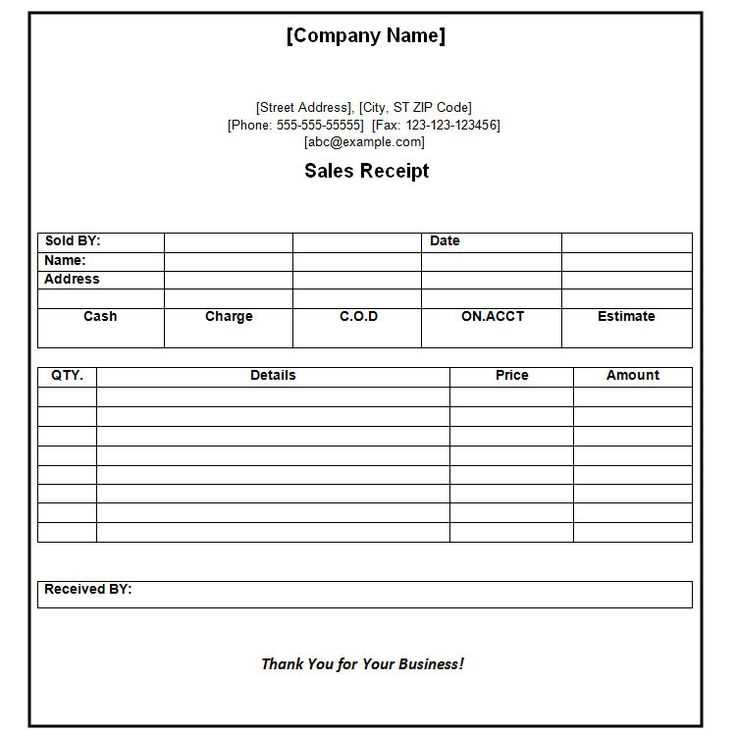
Choose easy-to-read fonts and adjust the layout to fit your printer’s capabilities. A clean layout with sufficient white space between sections ensures your receipt is legible and professional-looking. Customizing the font size and style to match your branding while keeping the text readable is key.
Ensure the receipt template is compatible with common printers and fits standard paper sizes, such as A4 or letter size. Check printer settings to avoid any printing issues.
Don’t forget to include relevant tax and payment information, such as tax rate, payment method, and any discounts or promotions applied to the transaction.
Save the completed template for future use, so you can quickly generate receipts for new transactions without the need to recreate the document each time.
