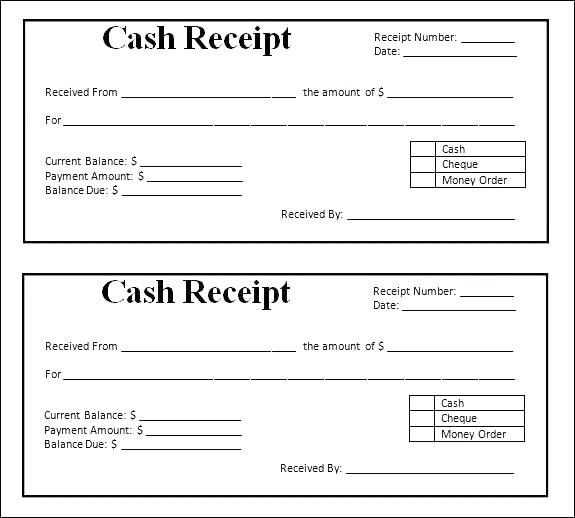
Open Microsoft Word and choose a blank document to begin designing your receipt. Select the appropriate paper size, typically 8.5 x 11 inches, and set the margins to your preferred size. This ensures your template will print correctly on standard paper.
Use tables to structure the receipt. A simple table with columns for date, item description, quantity, price, and total cost makes it easy to organize the information. Merge cells where needed, especially for header sections like the company name or address.
For a professional look, include your company’s logo and contact details at the top. Add bold text for headings such as “Receipt” or “Invoice,” ensuring that these are easily noticeable. This adds clarity and makes the receipt easier to read.
Finally, include a footer with payment details, such as payment methods or terms. Customize the template to match your brand, whether that means adjusting fonts or adding color to certain sections.
Creating a Receipt Template in Word
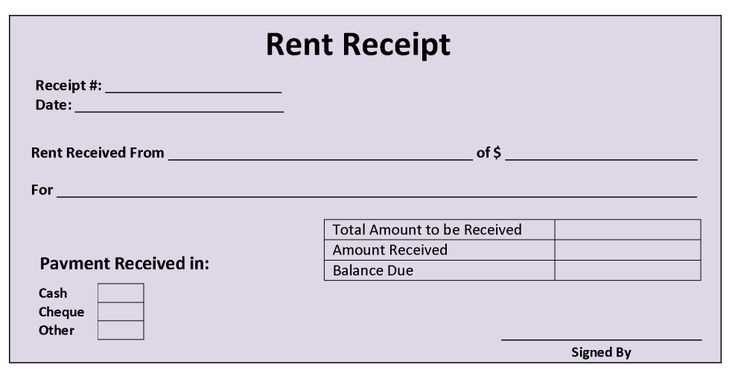
To create a receipt template in Word, begin by selecting a clean, simple document layout. Set the margins to narrow for more space, ensuring the content is well-organized. Add the key elements: your business name, address, and contact information at the top, followed by the date and receipt number for tracking purposes.
Setting Up the Table for Itemized Details
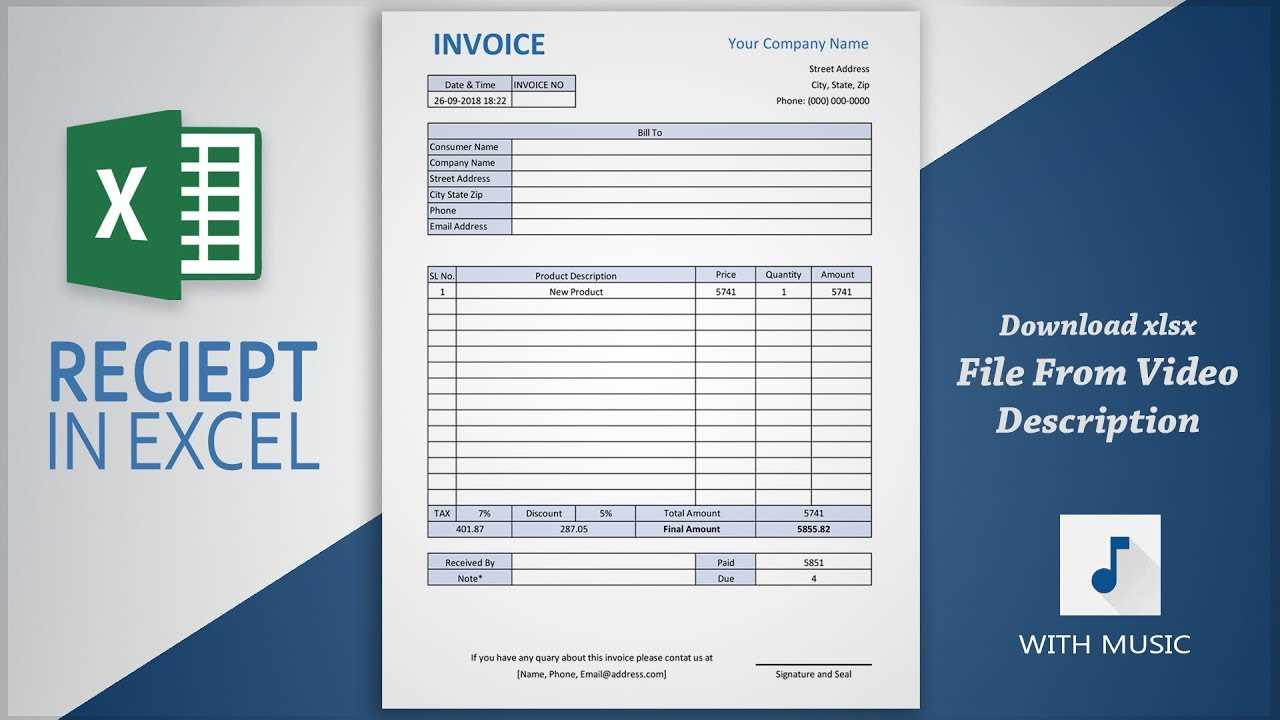
Insert a table to list the items or services provided. Include columns for item descriptions, quantities, unit prices, and total costs. Use the table formatting options to adjust column widths for readability. To calculate totals, use Word’s built-in formula feature or manually add the amounts.
Formatting for Clarity and Professionalism
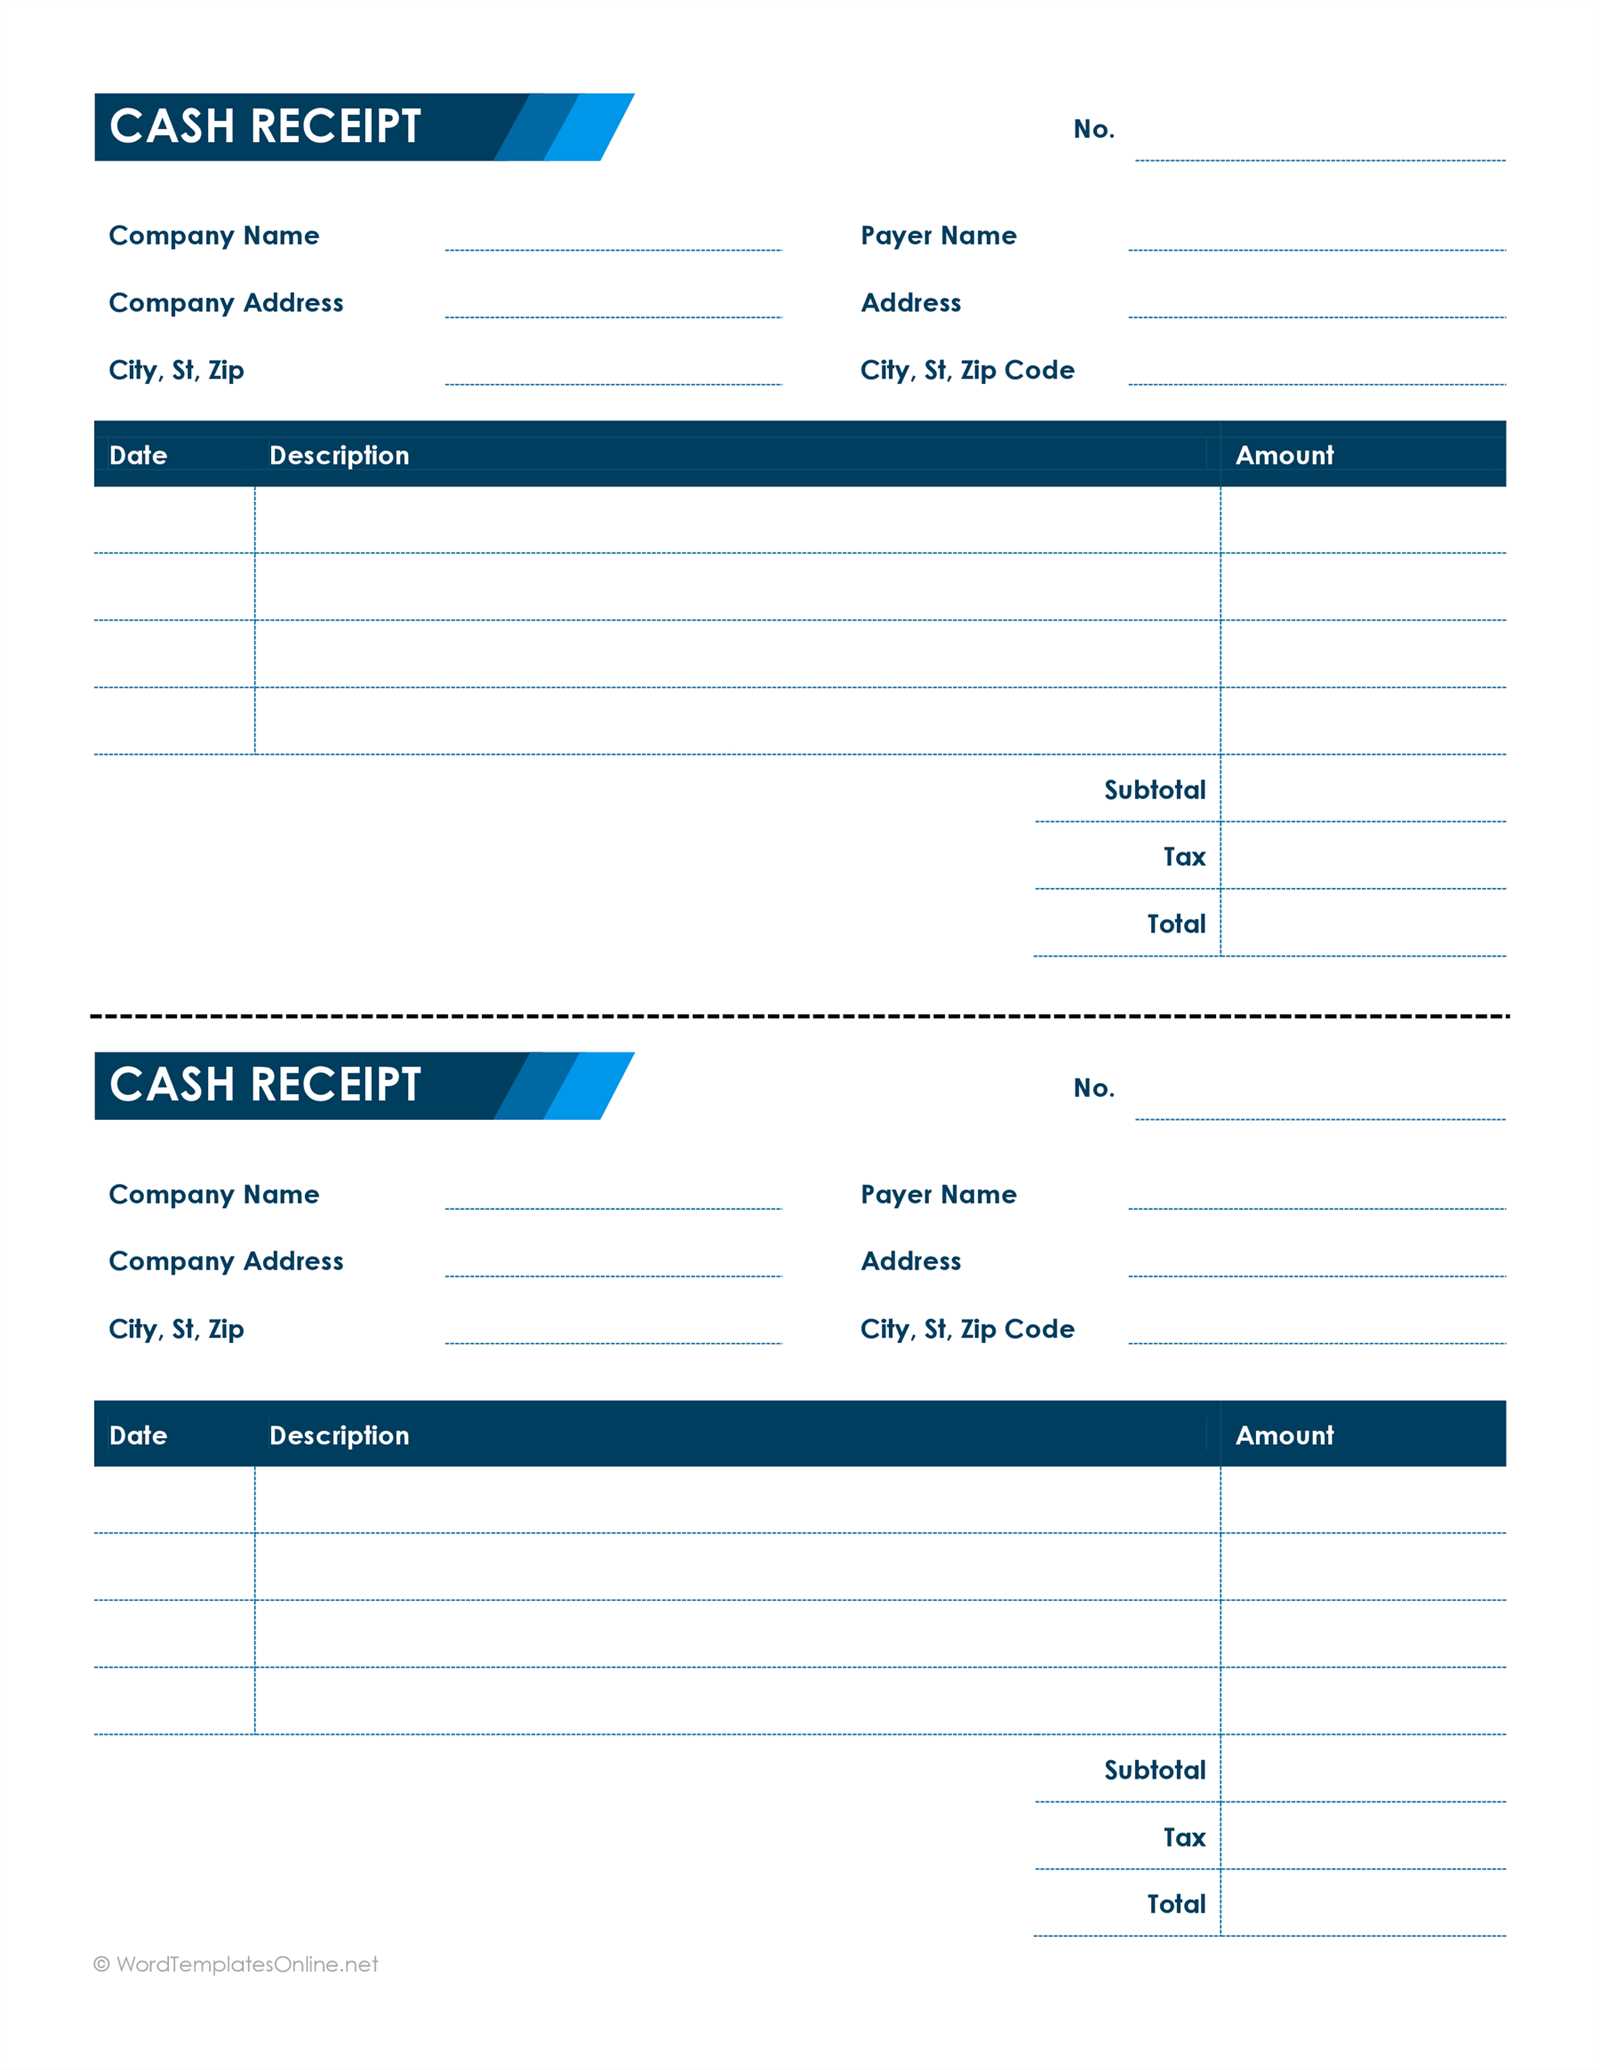
Adjust font sizes and styles to make the receipt easy to read. Choose a clear, professional font like Arial or Calibri. Highlight the total amount due using bold text or a larger font size. Add a thank-you note at the bottom or any relevant business policies or terms. Keep the layout clean to ensure clarity and a professional look.
Finally, save the template for future use, making it easy to generate new receipts quickly without starting from scratch each time.
Customizing Your Template for Different Business Needs
To tailor your receipt template, consider your specific business requirements. Start by adjusting the layout to include your company logo and contact details prominently. This ensures customers can quickly identify your brand. Modify the sections to suit the type of transactions you handle–whether you’re selling products, offering services, or dealing with subscriptions. Add or remove fields such as item descriptions, quantities, or service fees depending on your needs.
Adjusting the Design for Various Business Models
If you’re running a retail business, ensure your receipt clearly lists individual items with prices and totals. For service-based businesses, focus on labor costs and hours worked. For subscription-based models, make space for recurring billing information and payment periods. Tailor the font size, column width, and spacing to keep the layout neat and readable, regardless of the data you include.
Incorporating Custom Features
Consider adding fields for customer feedback or loyalty program codes if relevant to your business. For certain industries, you may also want to include tax rates, discounts, or payment method details. Customizing these features makes the receipt more informative and relevant to your business operations.
Formatting Tips for a Professional Look
Use clear, readable fonts like Arial or Calibri for easy reading. Stick to font sizes between 10 and 12 for the body text and slightly larger (14-16) for headings. This ensures your receipt is legible while maintaining a polished appearance.
Align Text Properly
Left-align the body text to create a clean, organized structure. Avoid centering long blocks of text, as it can look messy. For totals or headings, center them for a more balanced feel, but keep the rest aligned to the left.
Incorporate White Space
Space between sections enhances readability and keeps the design from feeling crowded. Use margins and padding around text, especially for the receipt total and payment methods. This adds a sense of order and professionalism.
Adding Automated Calculations and Date Fields
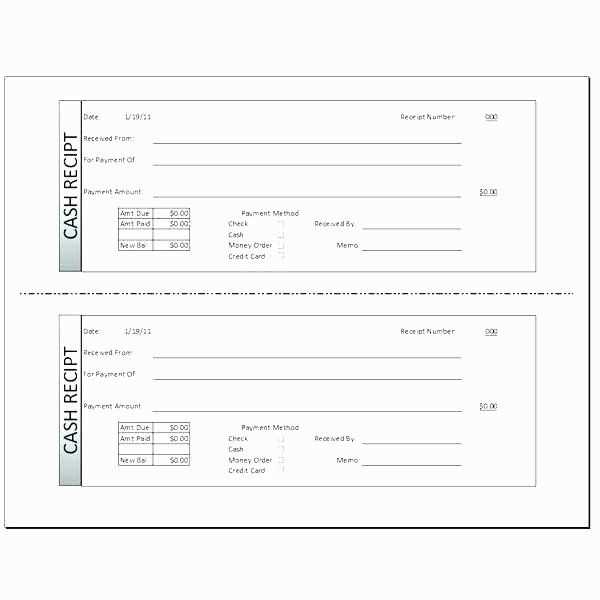
To streamline receipt creation, use Word’s built-in features to add automated calculations and date fields. These tools can help minimize manual work and ensure accuracy.
Adding Automated Calculations
Start by inserting a table to organize items and costs. To perform calculations, follow these steps:
- Click on the cell where you want the result to appear.
- Go to the “Layout” tab and click “Formula” in the Data group.
- In the Formula dialog box, select the desired calculation type, such as SUM or PRODUCT.
- Click “OK” to insert the formula, and Word will automatically calculate totals or other values.
If you need to adjust the formula later, right-click the cell and select “Update Field” to refresh the calculation. You can also use different functions, like subtraction or division, by typing them directly into the formula box.
Inserting Date Fields
For automatic date insertion, Word provides a quick method to add today’s date or a specific date format:
- Place the cursor where you want the date to appear.
- Press “Ctrl + F9” to insert a field code.
- Type “DATE” between the curly braces, then press “F9” to update the field.
- To customize the format, right-click the date field, choose “Toggle Field Codes,” and modify the formatting to your preference.
This method ensures your receipts always include the correct, up-to-date date. For invoices or ongoing receipts, you can also set the date field to update automatically when opening the document.


