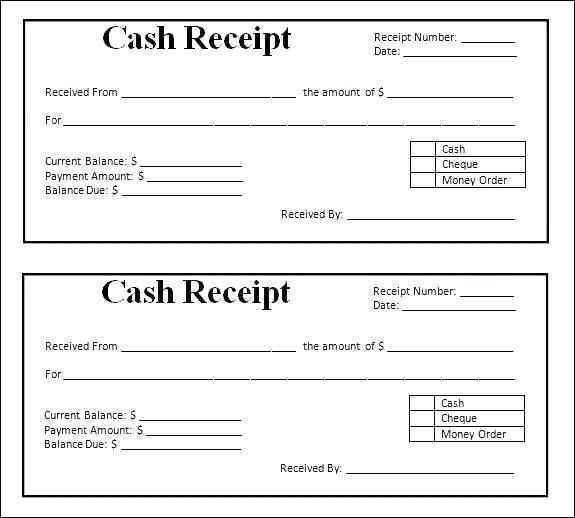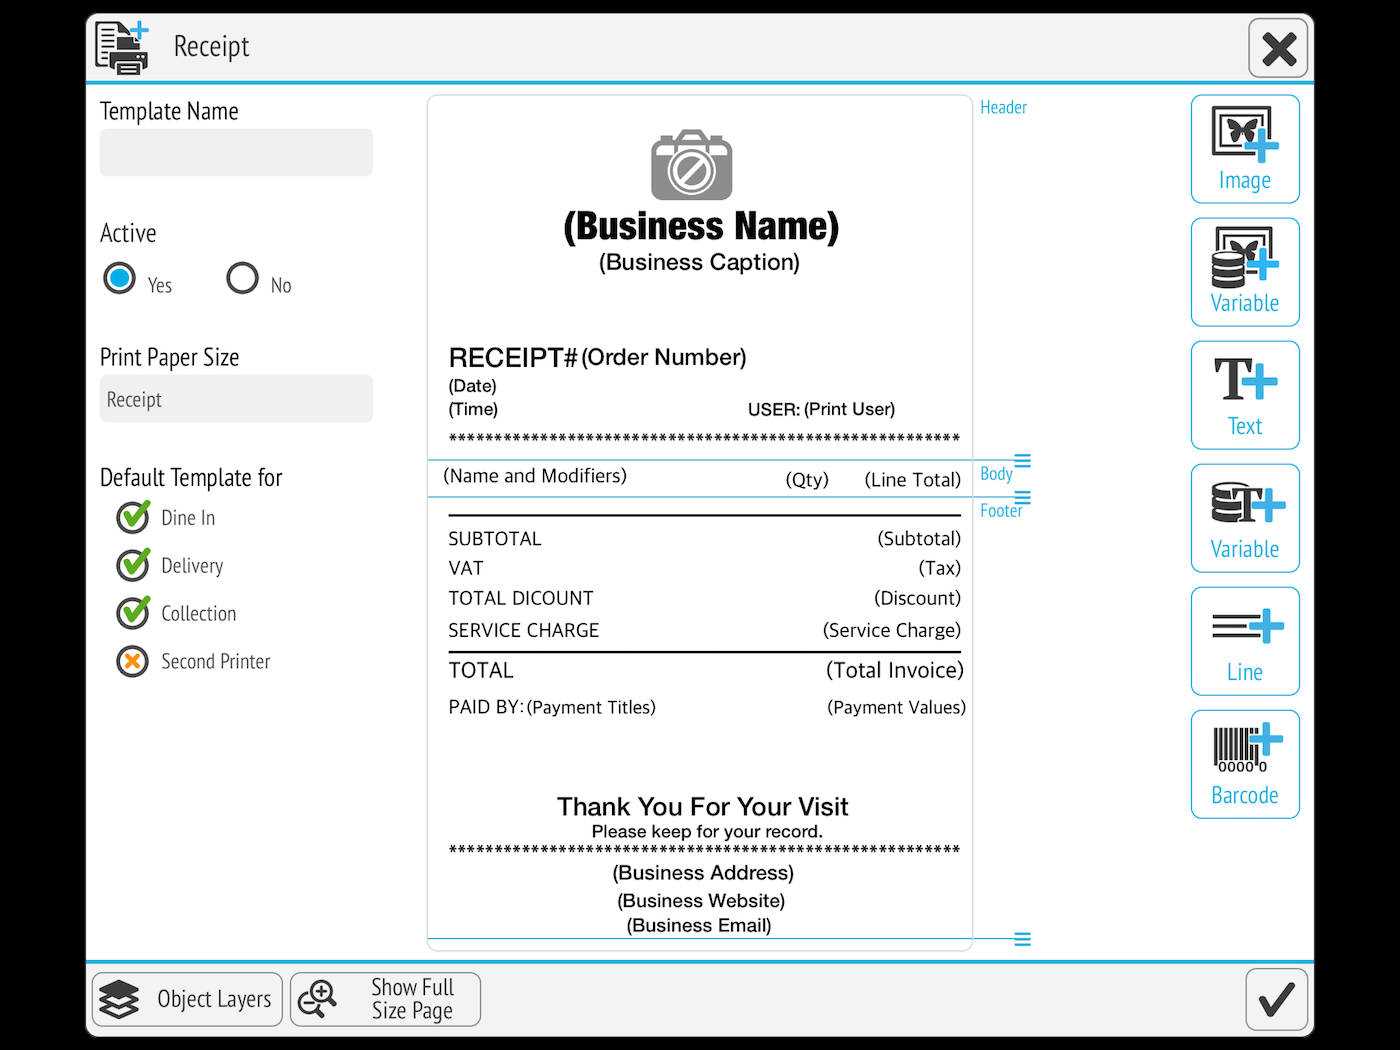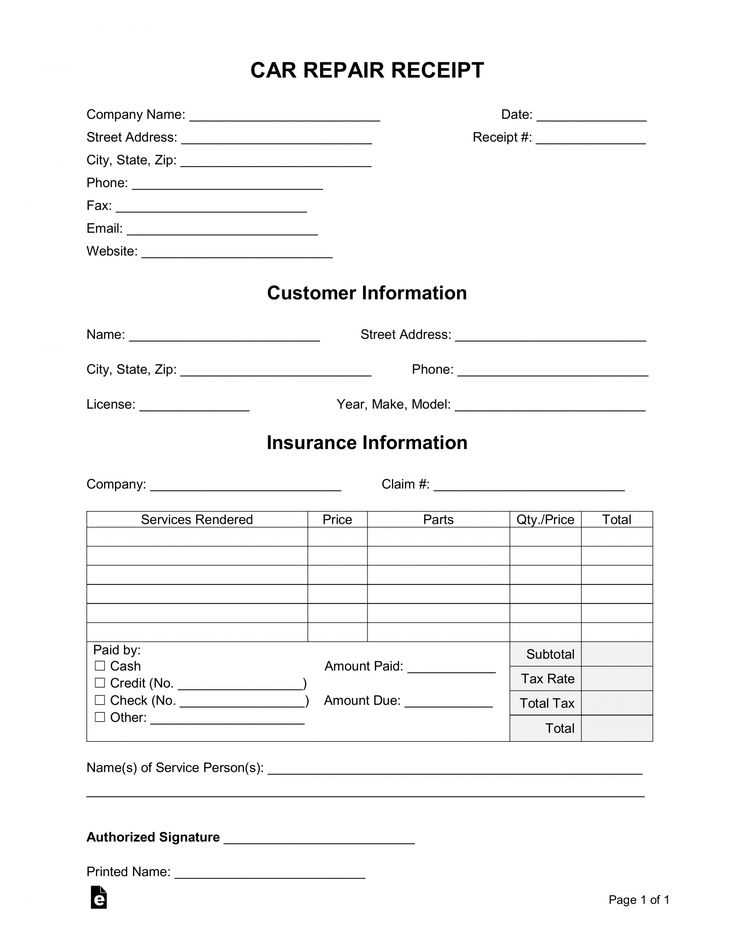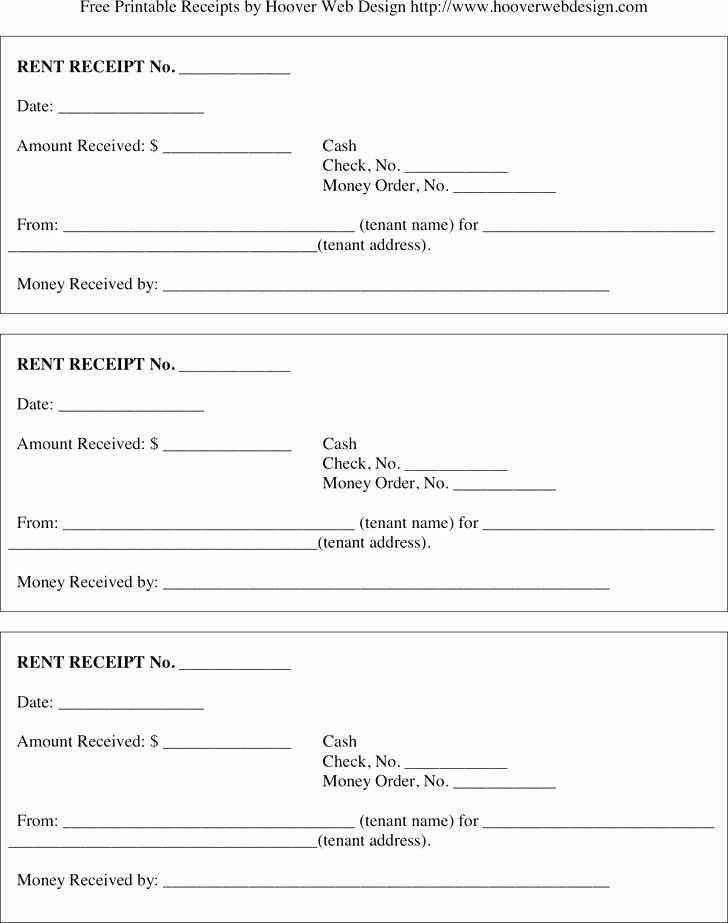
For a quick and hassle-free way to create professional-looking receipts, using a printable template is the best choice. Choose a format that suits your business needs, whether it’s a simple sales receipt or one with itemized details. Keep the layout clean, with spaces for the store or company name, date, and transaction details.
A clear structure will ensure that all necessary information is easily accessible. Include sections for the purchaser’s details, items purchased, taxes, and the total amount paid. A footer with contact details or return policies can be a helpful addition, but avoid cluttering the template with unnecessary text.
Make sure the template is customizable so it can fit various printer settings and is easy to modify. Tools like Word or Google Docs allow easy editing, or you can use specialized software for more complex designs. Simple and direct layouts work best for printing receipts that maintain a professional look every time.
Receipt Template to Print
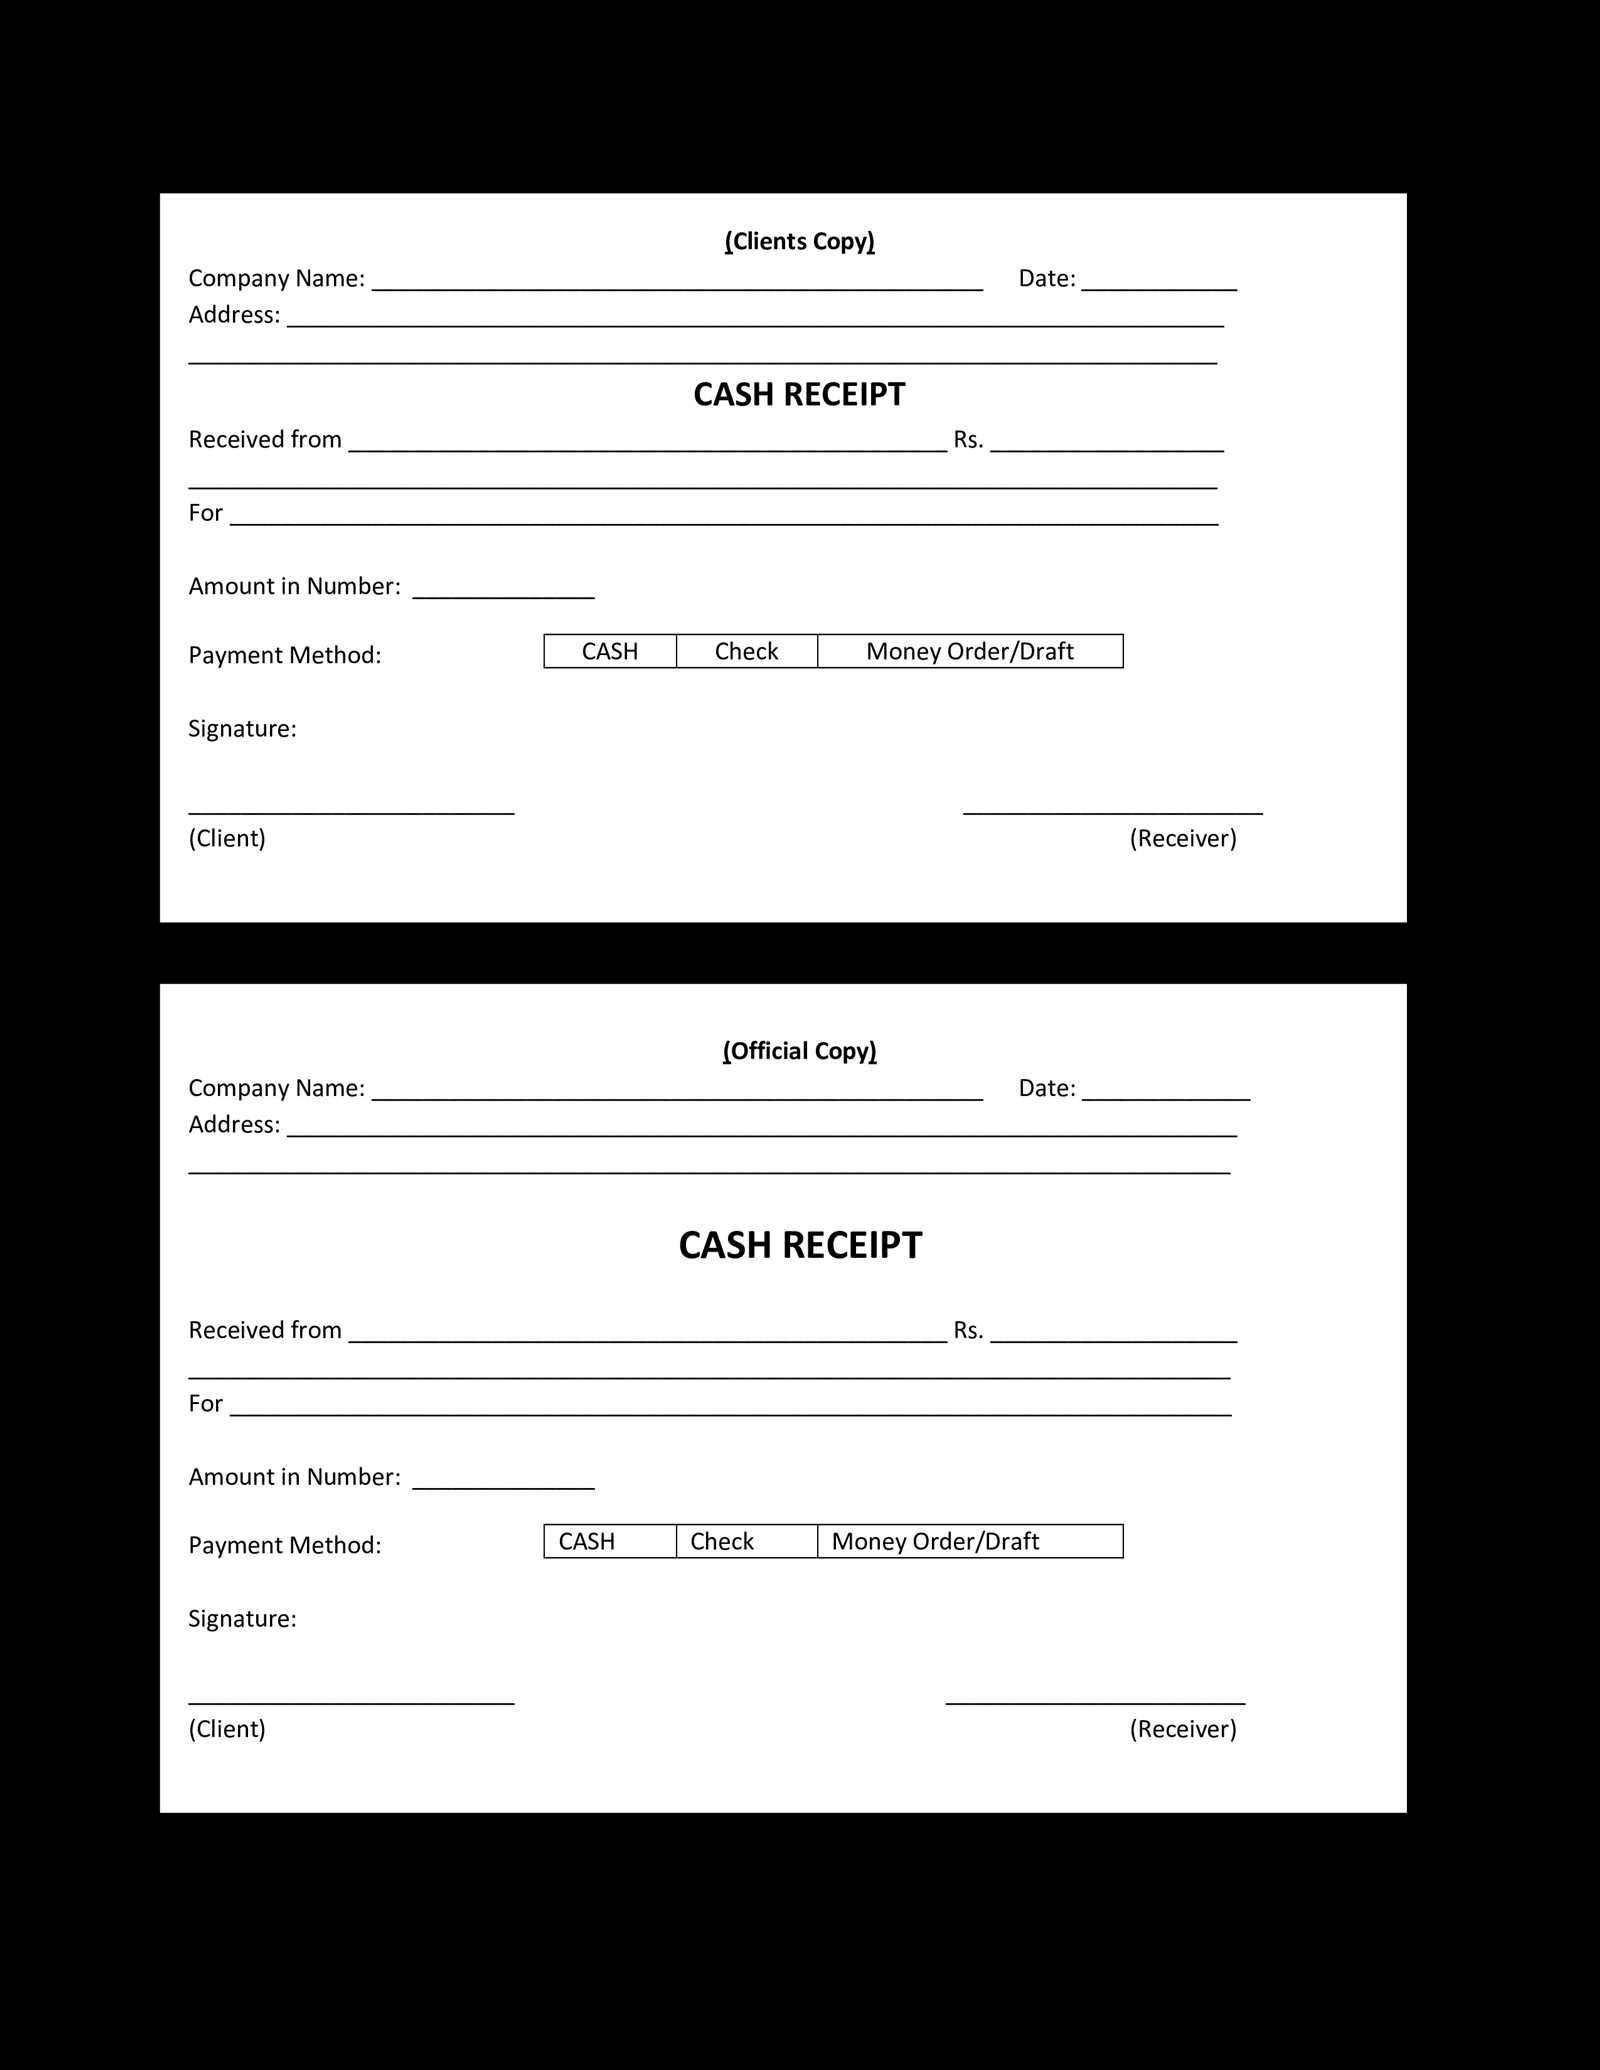
Choose a clean, simple layout with clear sections for easy readability. Start with the business name, followed by contact details, and then list items with prices. Make sure each item is clearly separated with enough space. Provide a subtotal, tax, and total at the bottom, and include the payment method used. Finish with a thank-you note or a call to action if needed.
Key Elements to Include
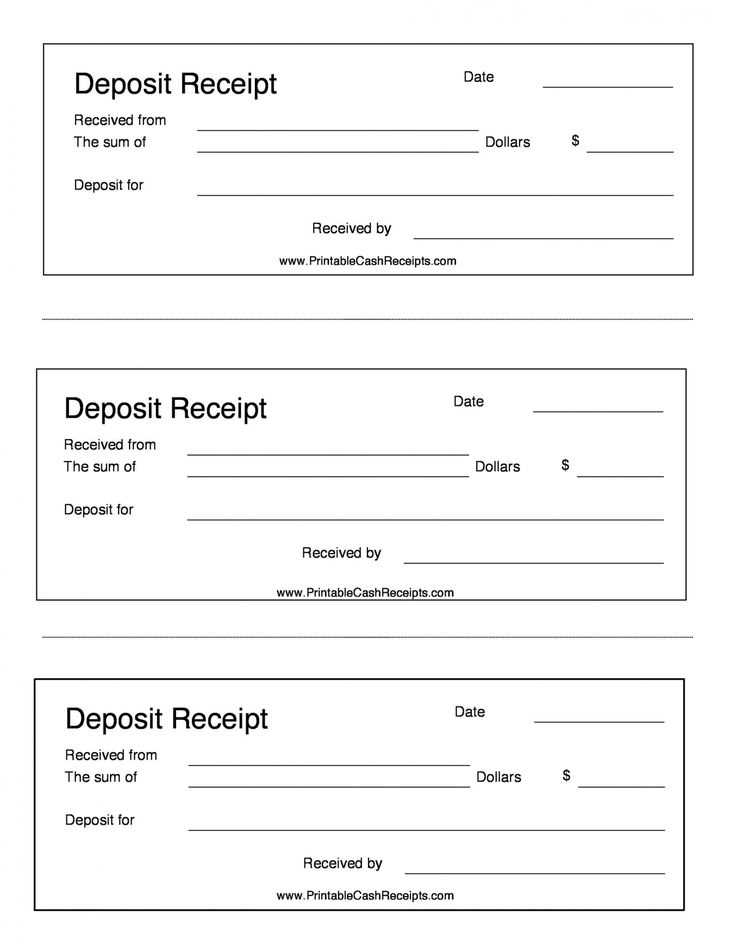
Each receipt should have these components: date, transaction number, and clear pricing breakdown. Ensure the text is legible and the font size is consistent. Including a receipt number helps track transactions easily. If applicable, include any discounts or promotions used during the transaction.
Tips for Customization
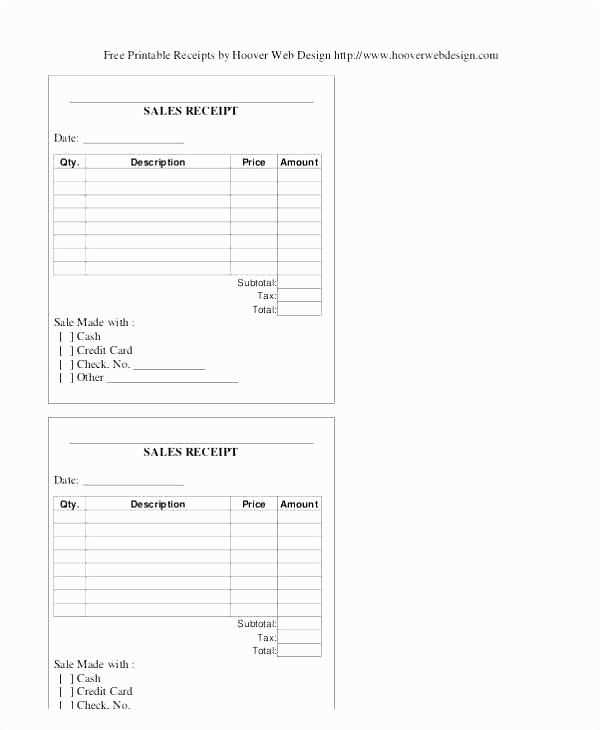
Adjust the template to suit your business style by adding a logo or custom colors. Keep the design simple and professional, avoiding unnecessary details that might clutter the space. Test the print layout to make sure everything aligns properly on the paper size you’re using.
Choosing the Right Layout for Your Receipt Template
For a functional receipt template, focus on clarity and ease of reading. Keep the layout simple yet informative, ensuring all necessary details are easily accessible.
- Prioritize essential elements: Ensure the template includes key information, such as the business name, transaction date, list of items purchased, prices, taxes, and total amount. Place these elements in a logical order that follows the customer’s experience.
- Consistent spacing: Use uniform margins and padding around each section. This avoids clutter and makes it easier for users to find relevant information quickly.
- Readable fonts: Select fonts that are legible, even at smaller sizes. Avoid decorative fonts that may distract from the content.
- Align items clearly: Align the product list, prices, and totals to the left or right to maintain consistency. Consider grouping items in categories for a cleaner appearance.
- Incorporate brand elements: Include your business logo and color scheme. This gives the receipt a professional touch without overwhelming the core information.
- Spacing for customization: Allow room for additional fields, such as discounts or promotional codes. This gives flexibility for different types of transactions.
- Footer design: Use the footer for additional details like return policies, contact information, or social media links. Keep this section small but legible.
By following these guidelines, you can create a receipt layout that is both functional and visually appealing.
Customizing Fields for Specific Transaction Details
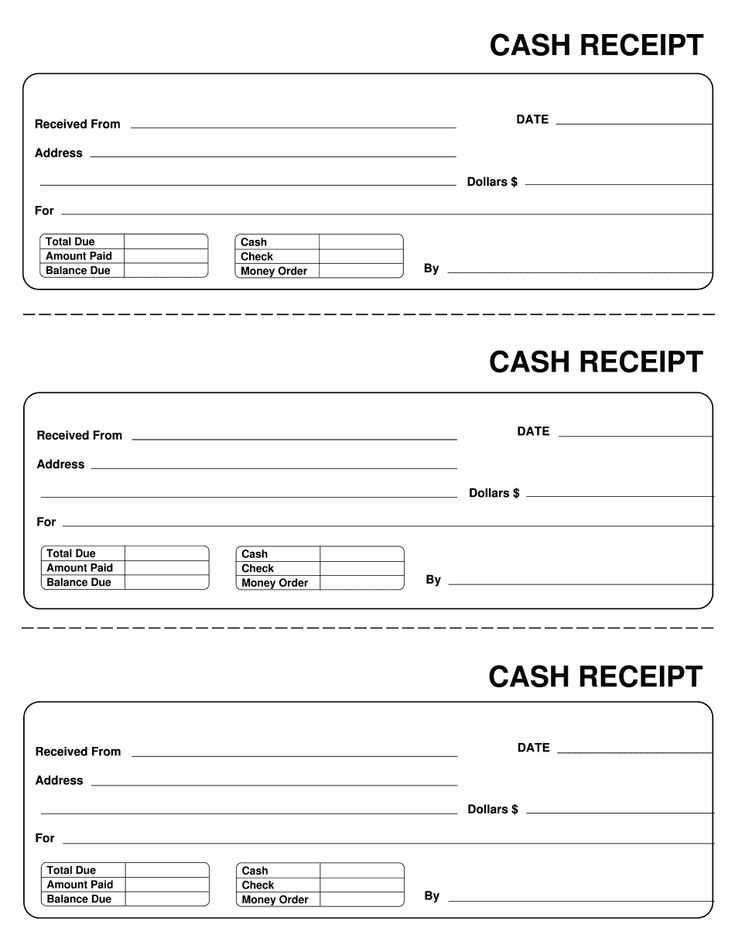
Tailor receipt templates by modifying fields based on transaction specifics. Begin by adding unique identifiers, such as transaction IDs or customer reference numbers, to the template. These details can be inserted into predefined fields to provide clarity and organization.
Transaction Identification
To improve the tracking of individual transactions, integrate fields for transaction IDs. Assign each receipt a unique identifier automatically generated by your system. This helps both you and your customers to reference the specific transaction when needed, streamlining customer support or inventory management.
Customer and Payment Information
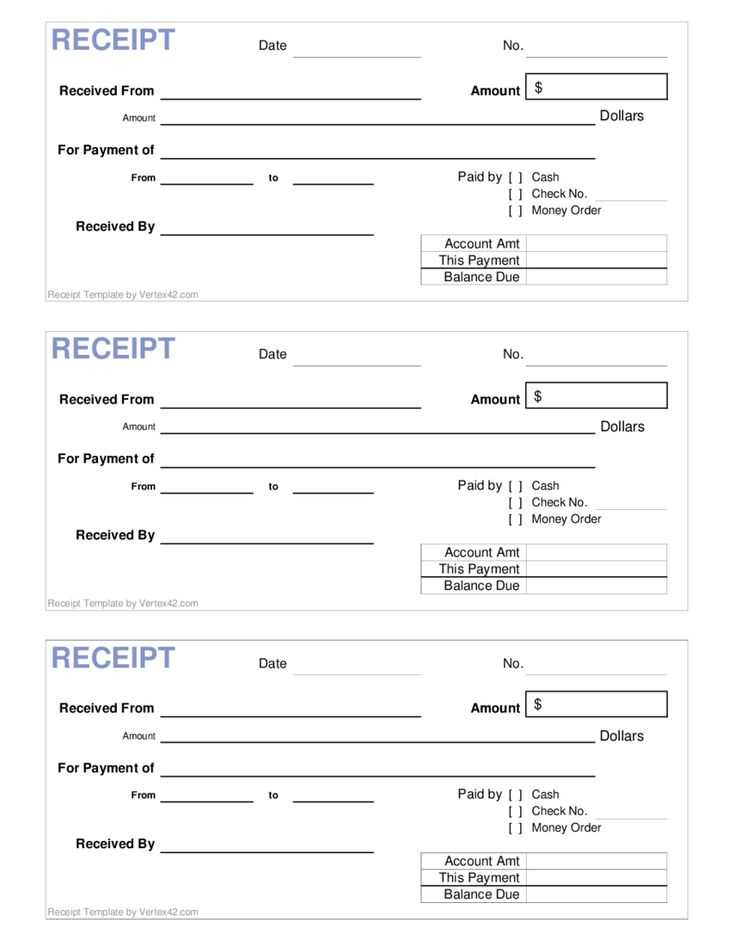
Including customer-specific fields such as name, address, and payment method can make the receipt more informative. Add fields for payment details like card type or last four digits to keep a transparent record of how the transaction was completed. This helps in cases of disputes or refunds, ensuring all parties have the necessary information readily available.
Printing and Adjusting Template for Different Paper Sizes
Choose the correct paper size before starting the printing process. Ensure the printer is set to match the paper you’re using, whether it’s A4, Letter, or any other size. In your template file, adjust the document dimensions to match the paper size. This ensures everything fits neatly on the page without cutoffs or misalignment.
If the template doesn’t automatically scale, manually adjust the margins and content layout. For larger paper sizes, such as A3, reduce the margins and resize the text and images to make the most of the extra space. For smaller paper sizes, such as receipts or tickets, increase the font size slightly for readability while keeping the layout compact.
For customized paper sizes, set the dimensions in the print dialog or template software. This prevents any surprises when printing, especially when using unique sizes or printing formats. Always perform a test print before committing to larger batches to make sure everything aligns as expected.
Lastly, check the paper orientation (portrait or landscape) to match your template’s design. A quick review of settings can prevent printing errors and wasted paper.
