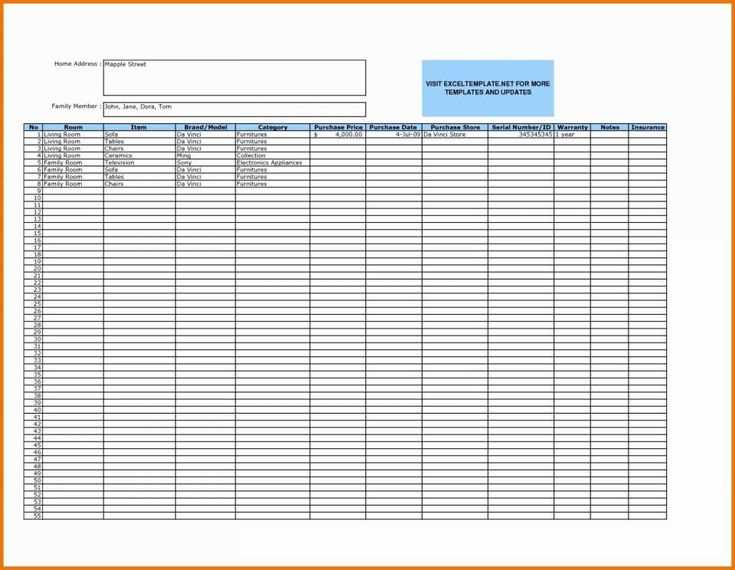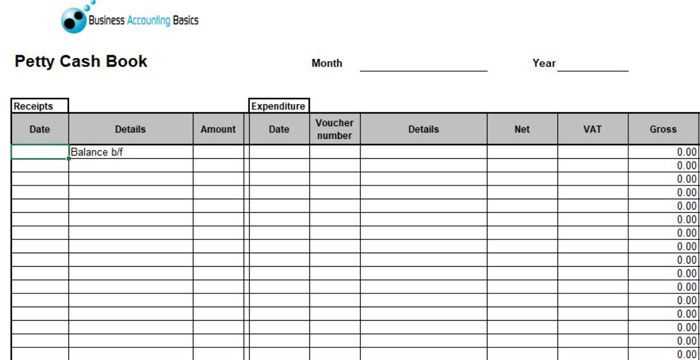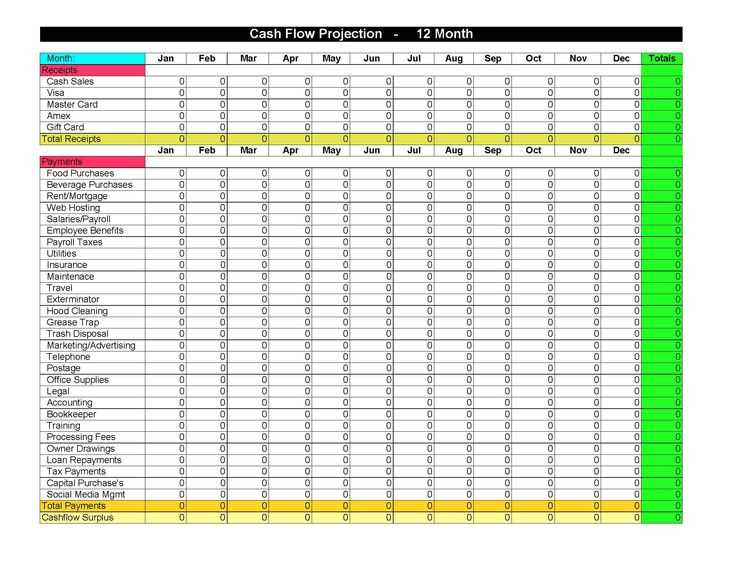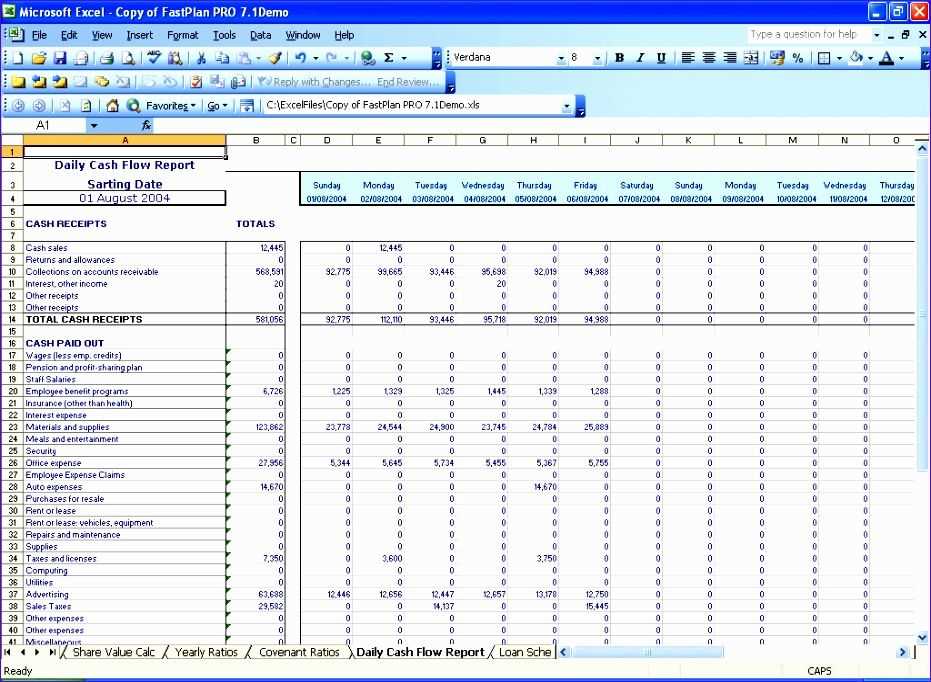
If you’re looking to manage your receipts efficiently, a spreadsheet template is a great tool. This method helps you track your purchases, categorize expenses, and maintain accurate records. You can customize the template according to your needs, making it a straightforward way to organize receipts without complicated software.
Set up your template with clear sections for the date, description, amount, payment method, and vendor. These categories provide a quick overview of your spending, allowing you to sort and filter data easily. Add columns for tax, discounts, and totals for a more detailed record, depending on your requirements.
Using a spreadsheet template also allows for easy calculations and automatic updates. With simple formulas, you can track your total expenses in real-time. This method reduces errors and helps maintain accuracy while saving time on manual entries.
By keeping everything in one organized file, you ensure that you have quick access to all your receipts, which is helpful for budgeting and tax purposes. It’s a reliable way to stay on top of your financial records without having to rely on physical receipts that can get lost or damaged.
Spreadsheet Template for Receipts

Create a receipt template using a simple spreadsheet tool to keep track of all transactions. Begin by setting up columns for the receipt date, the item or service purchased, the amount, and any tax or discount applied. You can add a unique receipt number to easily track and reference each transaction.
Columns to Include
Start by creating the following columns: Receipt Number, Date, Item Description, Quantity, Price, Tax, Discount, and Total Amount. This layout will provide all necessary details for each transaction and allow for quick calculations.
Using Formulas for Automation

Set up formulas to calculate totals automatically. For example, the total amount for each item can be calculated by multiplying Quantity by Price. You can also use a formula to calculate tax based on the total amount before tax and apply any discounts as necessary. This setup will save time and reduce errors when generating receipts.
How to Create a Receipt Template in Excel for Personal Use
To create a receipt template in Excel, start by setting up a clear layout that includes the key components of a receipt: date, receipt number, seller’s information, buyer’s information, item description, quantity, price, and total amount. Follow these steps:
- Set up headers: In the first row, create columns for “Receipt Number,” “Date,” “Seller Name,” “Buyer Name,” “Item Description,” “Quantity,” “Unit Price,” and “Total Amount.” This will help organize your data in a consistent format.
- Insert formulas for totals: In the “Total Amount” column, use a formula to calculate the total price by multiplying the quantity by the unit price. For example, in cell H2, use
=F2*G2where F2 is the quantity and G2 is the unit price. - Format for readability: Adjust column widths so all text fits without cutting off. Use bold for headers and apply borders around cells to distinguish different sections. Highlight the total amount row to make it stand out.
- Auto-fill for recurring receipts: Once the basic template is set up, you can copy the format for new entries. Excel allows you to quickly update the details like receipt number, date, and item descriptions.
- Add additional details (optional): Include fields for tax, discounts, or payment method if necessary. These can be added as extra columns with simple formulas for calculation.
Save the template as an Excel file and use it for each new receipt. You can also adjust the design or layout later to suit your preferences.
Customizing Your Spreadsheet Template to Track Various Payment Methods
To track different payment methods in your spreadsheet, add a separate column for each method. Label these columns with clear identifiers such as “Cash,” “Credit Card,” “Bank Transfer,” or “PayPal.” This structure helps easily categorize and track payments based on the method used.
For each transaction, enter the corresponding payment method in the appropriate column. If a transaction involves multiple methods, you can allocate the amounts proportionally across the relevant columns. This will help you maintain accurate records without confusion.
Additionally, consider including a column for “Payment Status” to track whether payments are completed, pending, or failed. This can be especially helpful for monitoring the status of transactions involving credit cards or bank transfers, which may require verification or follow-up.
Use filters to quickly sort transactions by payment method, making it easier to analyze and generate reports. If needed, set up conditional formatting to highlight payments made via specific methods or identify transactions that have outstanding balances.
Finally, ensure that your spreadsheet is flexible enough to accommodate new payment methods in the future. You can add new columns as your payment options evolve, keeping your template adaptable and relevant to your needs.
Steps to Automate Calculations and Organize Receipts for Tax Purposes

Use formulas in your spreadsheet to automatically calculate totals for each receipt. For example, create a formula to multiply the quantity by the unit price for each line item. Then, add a sum formula at the bottom to calculate the total for all items in the receipt.
Set up categories in your spreadsheet, such as “Business Expenses,” “Meals,” “Travel,” and “Supplies.” Assign each receipt to the appropriate category. This will help you organize your expenses and track deductions more easily during tax season.
Link your spreadsheet to an automatic data entry tool, such as a receipt scanner app, which can pull information directly into your sheet. This eliminates manual data input and ensures accuracy. Use a consistent naming convention for each receipt file to make it easy to search and find specific receipts later.
Consider using pivot tables to summarize your expenses by category. This allows you to see the total amounts spent in each category, making it simpler to file taxes and review your financial records.
Set reminders to update your spreadsheet regularly. Dedicate a few minutes each week to inputting new receipts and ensuring your calculations are accurate. This routine will prevent last-minute stress during tax season.


