Using a rent receipt template in Microsoft Office can significantly streamline your documentation process. It helps you maintain organized records of payments and provides both parties with clear, professional proof of transaction. Templates are ready-to-use, easy to customize, and can be tailored to suit your specific needs.
To start, open Microsoft Word or Excel and search for “Rent Receipt” templates. Choose a template that suits your requirements. Most templates include fields for the tenant’s name, property address, rental amount, date of payment, and method of payment. You can add additional details as necessary, like late fees or payment due dates.
If you’d like to ensure clarity and accuracy, consider adding your contact information, the tenant’s contact details, and any specific payment instructions that apply. This makes it easier for both you and the tenant to keep track of transactions over time.
With just a few adjustments, you can create a professional rent receipt that serves as a reliable record for both parties. Whether you’re using it for personal rentals or as part of a larger property management system, this tool will help you stay organized and maintain transparency with your tenants.
Detailed Guide to Creating a Rent Receipt Template in Microsoft Office
To create a rent receipt template in Microsoft Office, open Microsoft Word or Excel. Start with a simple document layout and adjust the margins to your preference. Use clear fonts such as Arial or Times New Roman with a size between 10 and 12 points for readability.
Step 1: Set up the Basic Structure
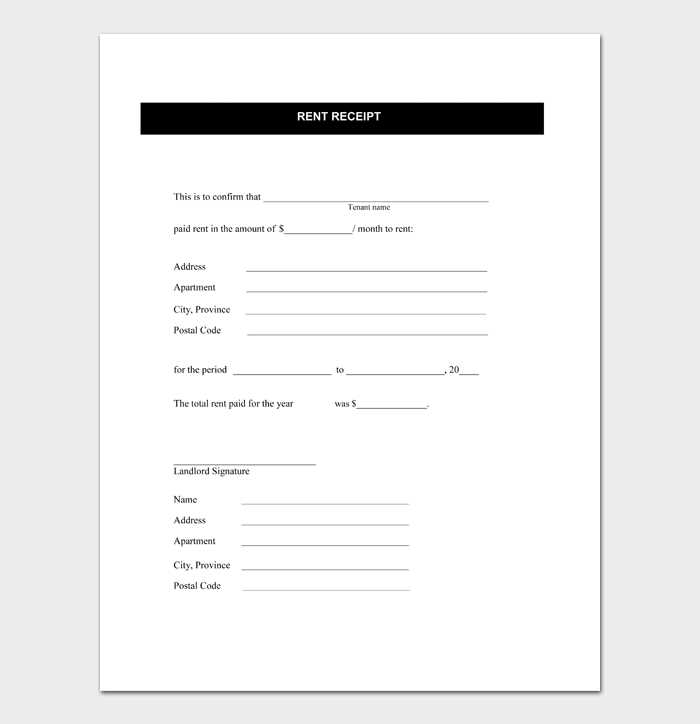
Begin by adding the title “Rent Receipt” at the top of the page. Below that, include the tenant’s name, address, and the property’s details. Use a table to organize the receipt information neatly. Divide the table into sections such as date, amount paid, payment method, and rental period.
Step 2: Add Payment Details

In the payment section, specify the amount of rent paid, the payment method (e.g., cash, check, bank transfer), and the date the payment was made. Include the due date for the rent payment and any late fees if applicable. Ensure all fields are aligned for clarity.
Finish the template by adding a signature line at the bottom for both the landlord and the tenant. You can also include any additional notes, such as payment instructions or reminders, in a small section beneath the signature area.
How to Set Up the Basic Structure of a Rent Receipt in Word

To create a rent receipt in Word, begin by opening a new document and selecting a clean, simple layout. At the top, include the title “Rent Receipt” in bold. Under this, place the date of payment, the name of the tenant, and the address of the rental property. Use clear, readable fonts like Arial or Times New Roman for clarity.
Next, list the amount paid, the payment method (cash, check, or bank transfer), and the period the payment covers. Include the total amount in both words and figures to avoid any confusion.
Below the payment details, add a section for the landlord’s signature. You can create a space for a handwritten signature or a digital signature, depending on the preference. Make sure the layout is straightforward and easy to understand.
Finally, include a line at the bottom for any additional notes or comments, such as late fees or payment reminders. Leave enough space for any future details that might need to be added.
Adding Customizable Sections for Payment Details and Lease Information

To make the rent receipt more tailored to your needs, incorporate customizable sections for both payment details and lease information. Begin by adding a section specifically for the rent amount and payment method. For instance, you can include lines to specify whether the payment was made by check, credit card, or other methods. This clarity helps both landlords and tenants easily track payments.
Next, include a dedicated area for lease-specific terms. Mention the lease start and end dates, the property address, and the names of both parties involved. This information ensures that all relevant details are captured and avoids confusion during future payments or disputes.
To create flexibility, leave spaces for additional notes or special payment agreements. You might want to include fields for late fees, adjustments, or partial payments, as these can vary depending on the lease agreement.
Finally, make sure these sections are easy to update. Use fields or placeholders in the template so that information can be quickly changed without starting over. This will save time for both landlords and tenants while maintaining accuracy.
How to Automate Rent Receipt Generation with Fields in Microsoft Excel

Automating rent receipt creation in Excel can save time and reduce errors. By utilizing fields and formulas, you can easily generate customized receipts each month.
To begin, set up your spreadsheet with columns for essential information such as tenant name, rental amount, payment date, and property address. These can be your dynamic fields.
- Step 1: Create column headers: “Tenant Name”, “Rental Amount”, “Payment Date”, “Property Address”, and “Receipt Number”.
- Step 2: In the first row under each column, input a sample data set for one tenant.
- Step 3: Highlight each field (e.g., tenant name) and click “Insert” > “Text Box” to create dynamic text areas for the receipt template.
- Step 4: For each field, use Excel formulas to auto-fill data. For example, use the formula =TEXT(A2, “mm/dd/yyyy”) to format the payment date correctly.
- Step 5: Add a formula for receipt number incrementing automatically. You can use the formula =ROW()-1 to create a unique number for each row.
With these fields set up, simply enter new payment data for each tenant, and Excel will generate the receipt with the correct information automatically. You can also use Excel’s “Print Area” feature to print only the necessary part of the sheet.
To make this even more efficient, consider adding conditional formatting to highlight late payments or unpaid amounts. This allows you to quickly identify any discrepancies without needing manual checks.