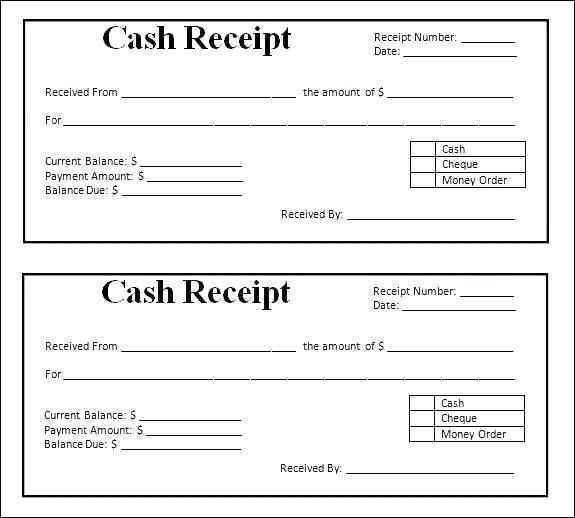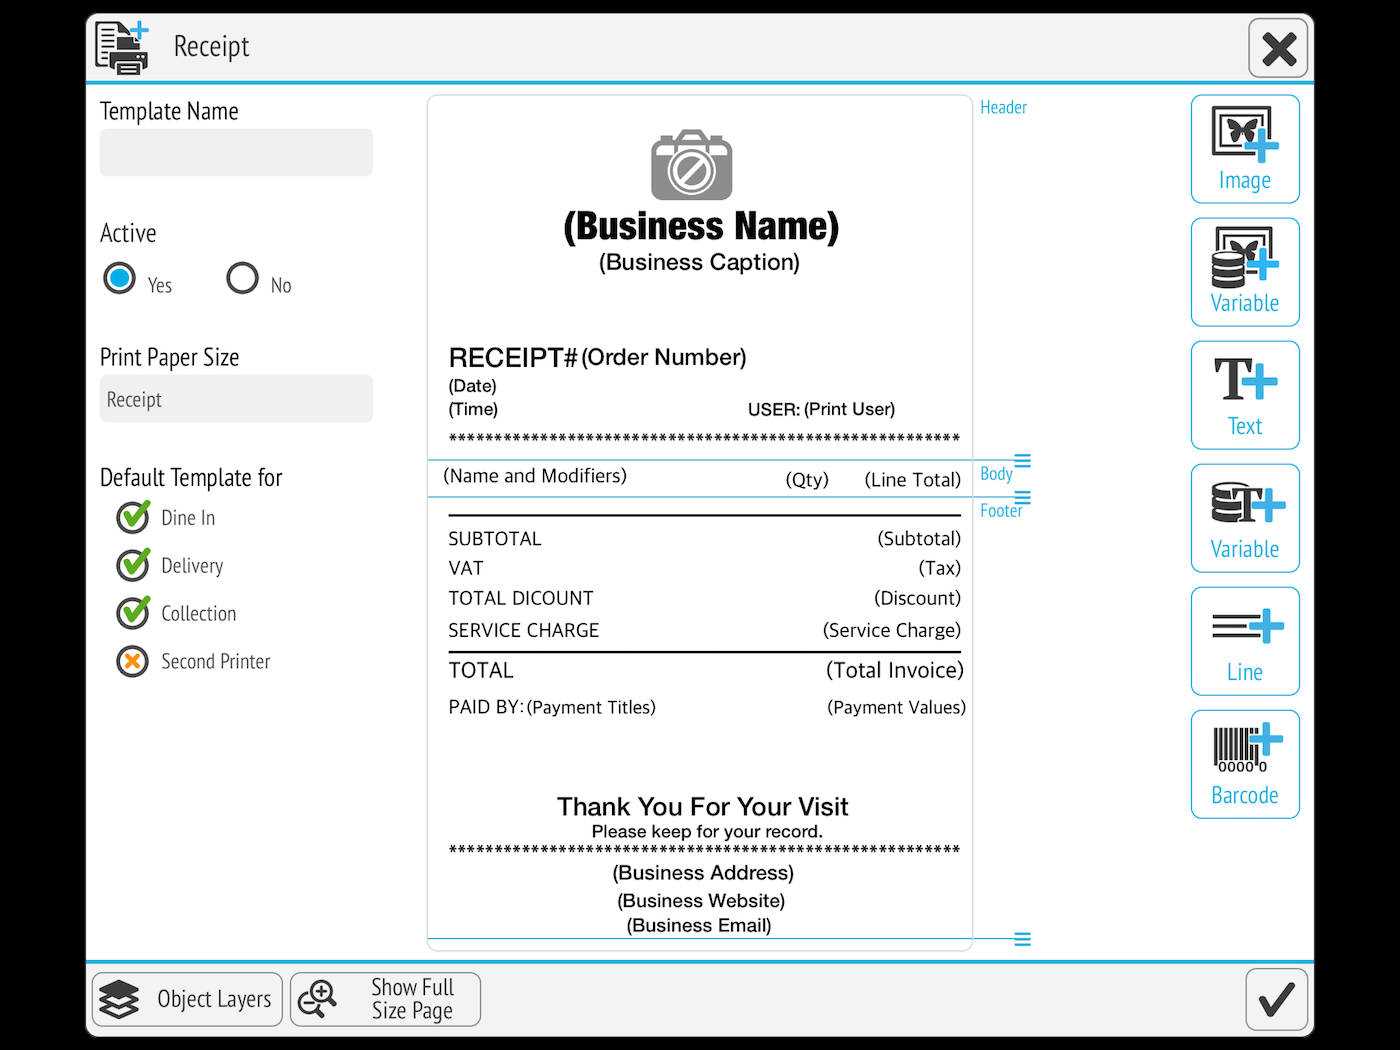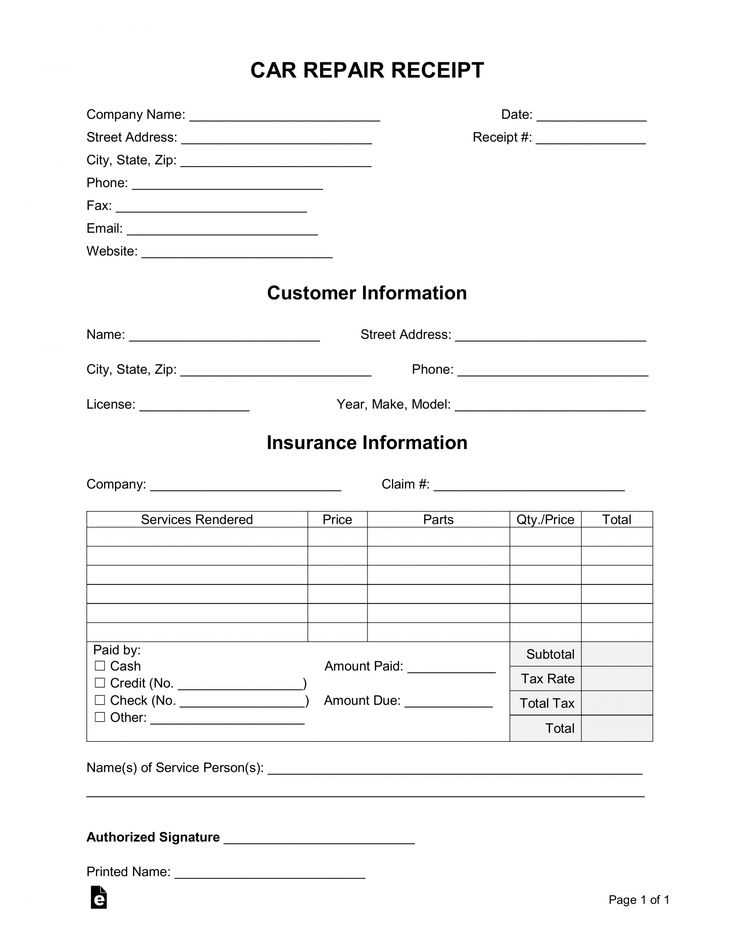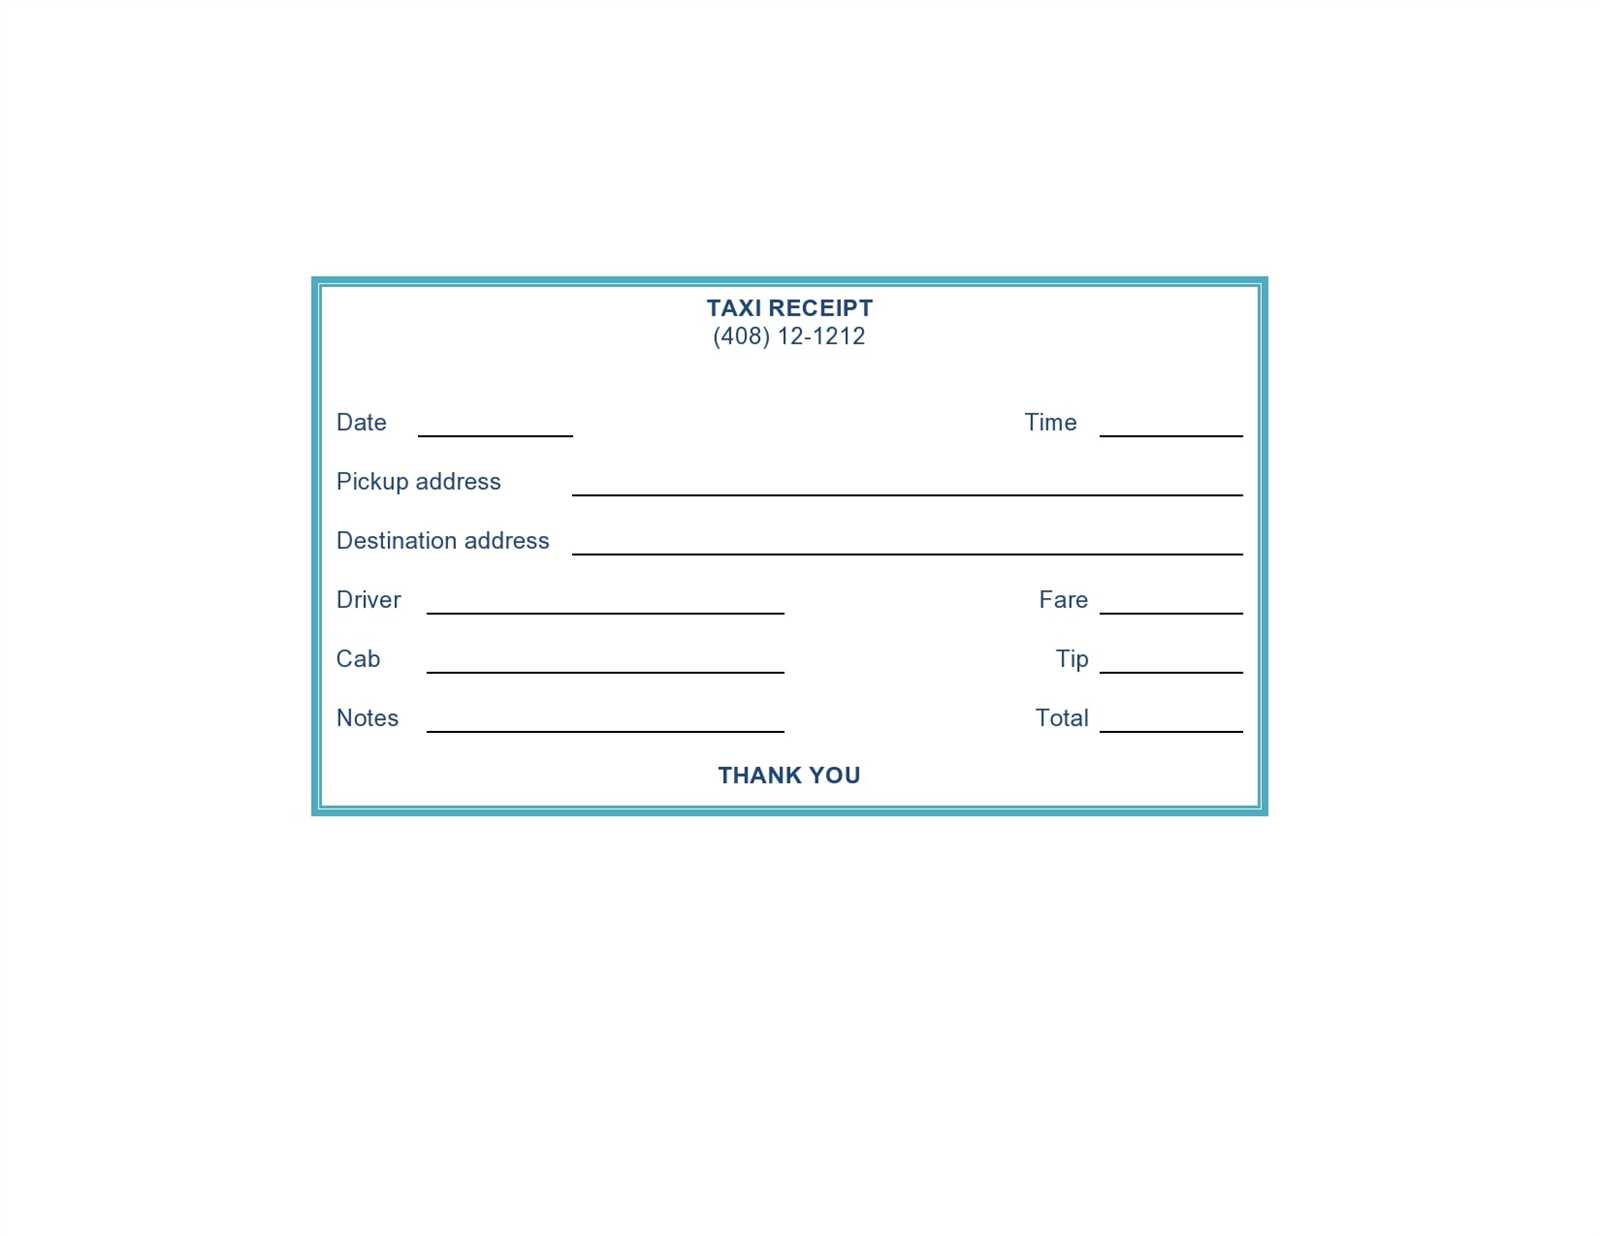
Design your receipt template to match your brand’s style and make customer transactions smooth. Begin by setting a clean, simple layout that highlights important details like the company name, transaction date, and itemized list of purchases.
Choose a font that’s legible and matches the tone of your business. Make sure to include essential payment information, such as the total amount, payment method, and any tax details. Ensure that the font size is readable, and spacing is adequate to avoid clutter.
Place your company logo prominently at the top or bottom of the receipt for easy recognition. If your business offers return policies, include a brief note on returns or exchanges. The goal is to keep the design neat but functional, allowing your customers to easily review their purchase details.
Incorporate clear lines or separators to distinguish different sections. This helps break the receipt into digestible pieces, making it visually easy to read at a glance. Always remember to test your template for both printing on thermal and standard printers to ensure the design adapts well across different formats.
Choosing the Right Format for Your Receipt
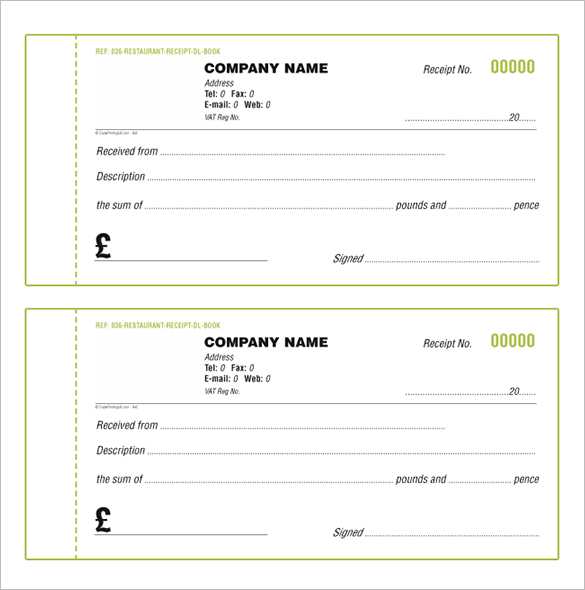
Select a receipt format that aligns with your business needs and customer preferences. If your transactions are quick, a compact layout will streamline the process. Opt for a format that includes the essential details, such as purchase items, total amount, and transaction date.
Consider the type of information you need to display. For example, if you’re running a service-based business, adding service descriptions or timestamps may enhance transparency. On the other hand, for product sales, ensure the product name, quantity, and price are clearly visible.
Ensure the format remains legible. Avoid overloading the receipt with unnecessary data. A clean, organized layout enhances readability and keeps the focus on critical transaction details.
Additionally, think about the physical size of your receipt. A compact size reduces paper waste and suits point-of-sale systems with limited space. If a more detailed receipt is required, consider a larger template with enough space for additional information like return policies or contact details.
Finally, make sure the format works with your printer’s capabilities. Some formats may not display well on all printers, so it’s wise to test a few options before settling on one that suits your setup perfectly.
Customizing Your Template for Business Needs
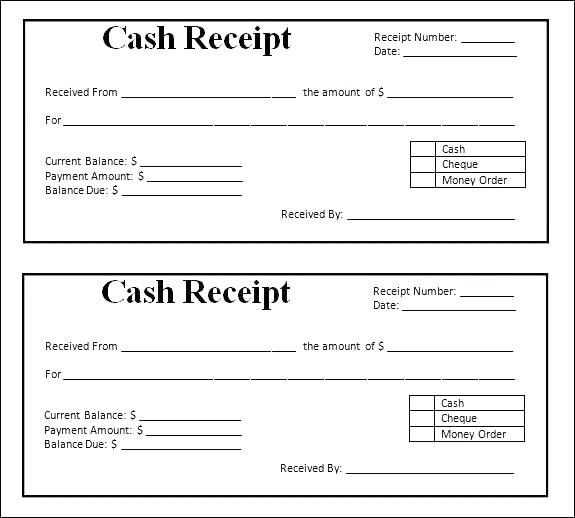
Focus on including your brand’s logo, color scheme, and contact information at the top of your receipt template. This ensures your customers recognize your business at a glance. Keep the design simple and clean to make sure important details like transaction amount, taxes, and payment methods stand out.
Adjust the layout to fit your specific business model. If you sell products, include a section for item descriptions, quantities, and prices. If you provide services, a clear breakdown of service types, rates, and total charges will make the receipt more useful for your clients.
Incorporate any legal requirements or tax information that applies to your region. Ensure that fields like tax rates, business registration number, and return policy are clearly visible to avoid confusion during returns or audits.
For added convenience, consider integrating a payment method section that reflects the payment options you accept, whether it’s cash, card, or mobile payments. This will improve the clarity of each transaction for both you and your customer.
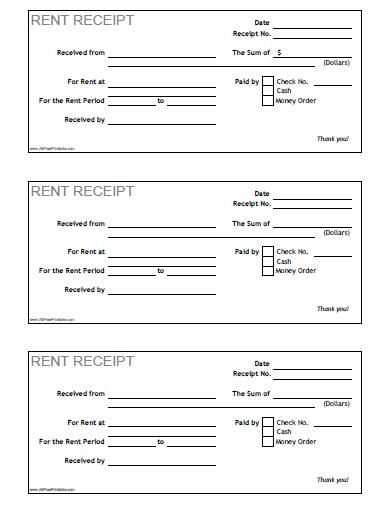
Make sure your template is flexible enough to adjust for various transaction sizes. Whether it’s a small retail purchase or a large corporate service, your receipt should still be easy to read and contain all the necessary information. Keep scalability in mind while customizing your template.
Common Issues and Troubleshooting Tips

If your printer isn’t printing receipts, check the power connection and ensure it’s turned on. Double-check the printer cable and USB connection. If the issue persists, restart both the printer and the connected device.
If the printer prints blank receipts, confirm that the paper roll is correctly installed and that the paper isn’t damaged or stuck. Make sure the print head is clean and free from obstructions, which can cause print issues.
If the receipt text is blurry or faded, replace the thermal paper roll. A low-quality or expired roll can affect print quality. Also, clean the print head using a soft cloth to remove any dirt or dust that may have accumulated.
Paper jams can happen when the paper isn’t loaded correctly or when there’s an issue with the paper path. Remove the jammed paper gently and reload the paper, ensuring it fits properly within the guide slots.
If your printer is showing an “offline” status, check your network connection if it’s connected via Wi-Fi or verify the USB cable if it’s directly connected to your device. Ensure there are no connectivity issues or network outages.
If the printer is making loud or unusual noises, it may need lubrication. Check for any obstructions in the paper feed mechanism or misalignment in the components.
