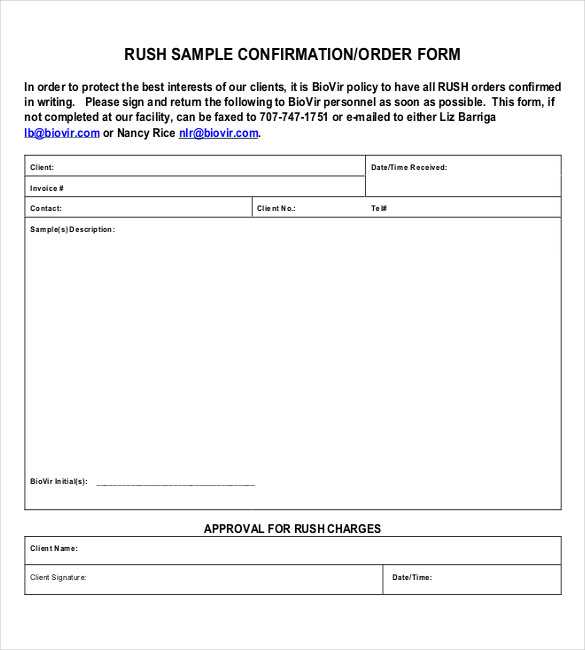
Start with clear details: A document receipt template should begin with the date of receipt and the name of the person or organization receiving the documents. Make sure this information is prominently displayed at the top to avoid confusion later on.
Specify the documents: List the documents being received in a clear and detailed manner. Be specific about the title, type, and quantity of each document. If necessary, include any reference numbers or other identifiers to ensure there is no ambiguity.
Signature section: Include space for the recipient’s signature and the date of receipt. This serves as confirmation that the documents were handed over and accepted, which can be crucial in case of any disputes.
Additional notes: A section for any relevant remarks or additional instructions may be helpful, especially if there are specific conditions attached to the documents being received. This could also include deadlines or follow-up steps, if applicable.
By including these elements, a receipt of documents template ensures clarity and prevents confusion, allowing both parties to keep accurate records of the transaction.
Creating a Document Receipt Template for Legal Purposes

Begin by clearly stating the purpose of the document receipt at the top of the template. Specify the type of document received and its intended use. Include the date of receipt and the identity of both parties involved. A signature line for the recipient and a printed name section will add authenticity.
Ensure the template captures relevant details about the document’s condition, whether it is complete or requires additional actions. Note any accompanying materials and highlight specific sections of the document that need attention or review.
For legal purposes, include a statement confirming the recipient’s understanding of the document’s significance. Incorporating a brief legal disclaimer that the document was received without dispute can help protect both parties if discrepancies arise in the future.
Keep the format simple and easy to follow. A table or bullet points for listing documents and any required actions can add clarity. Provide ample space for additional comments or follow-up details related to the receipt.
Ensure that both parties sign and date the template in relevant sections to make it legally binding. Include contact information for follow-up inquiries, keeping communication clear and accessible.
Key Information to Include in a Document Receipt
Include the date of receipt to track when documents were collected or received. This serves as a reference for future correspondence or follow-ups.
Document Identification

Clearly state the document’s title or type, such as contract, invoice, or report. This helps both parties identify the purpose of the document and its relevance to ongoing transactions.
Sender and Receiver Details

Note the names of the sender and recipient, as well as their contact information. This ensures that any communication can be directed to the right individuals if needed.
Provide a brief description of the document’s contents or purpose. This adds clarity and makes it easier to understand the document’s significance in the future.
Finally, include any reference numbers or tracking codes related to the document for easy retrieval and verification. These identifiers streamline the process of handling documents and prevent confusion.
How to Customize Document Receipt Templates for Different Use Cases

To tailor document receipt templates, focus on the specific needs of each use case. For invoices, include fields like the transaction date, customer details, and itemized amounts. Make sure the template reflects the type of transaction and legal requirements specific to the business. For contracts or agreements, ensure that space is allocated for signatures, terms, and conditions. Including a clear section for both parties to review and sign will make it more functional and legally binding.
Adjusting for Different Document Types

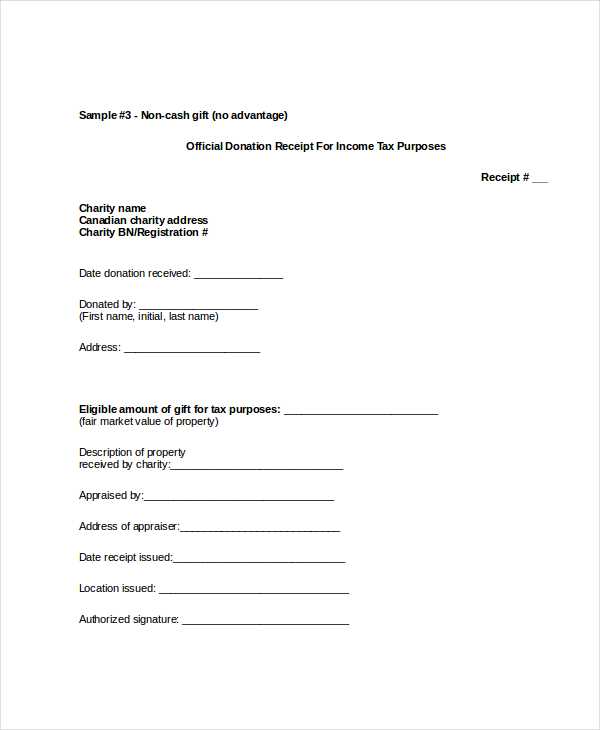
When customizing for receipts related to donations, emphasize the donor’s name, contribution amount, and the tax-exempt status if applicable. For employee reimbursements, incorporate sections for approval and the breakdown of expenses. Depending on the industry, each document should have fields relevant to the transaction and purpose, ensuring clarity and transparency.
Formatting and Layout Tips
Keep the design clean and straightforward, using bold headers for each section. Include easily identifiable spaces for dates, amounts, and signatures. For legal documents, use a more formal layout with clear demarcations between clauses and terms. For quicker receipts, consider a more compact style with essential information visible at a glance.