If you are looking for an easy way to create sales receipts, a Microsoft Word template offers a quick solution. With its simple interface, you can easily customize the template to suit your needs. You can adjust the layout, fonts, and details to match your business requirements.
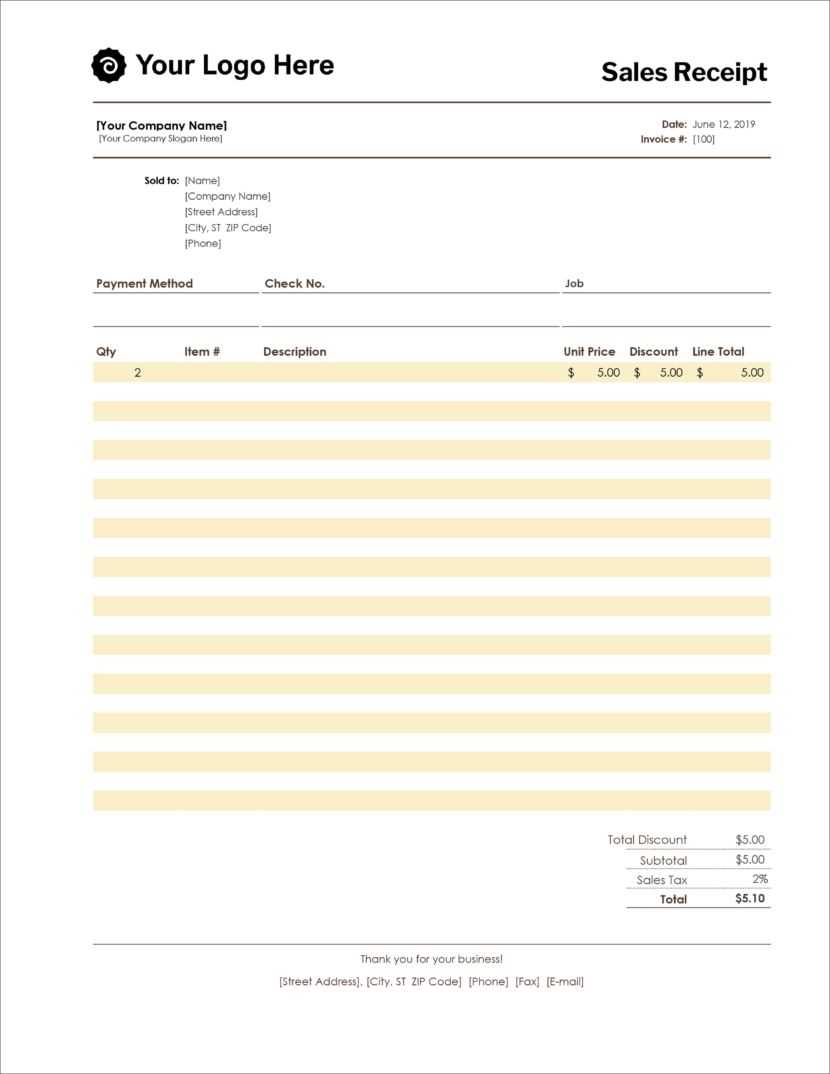
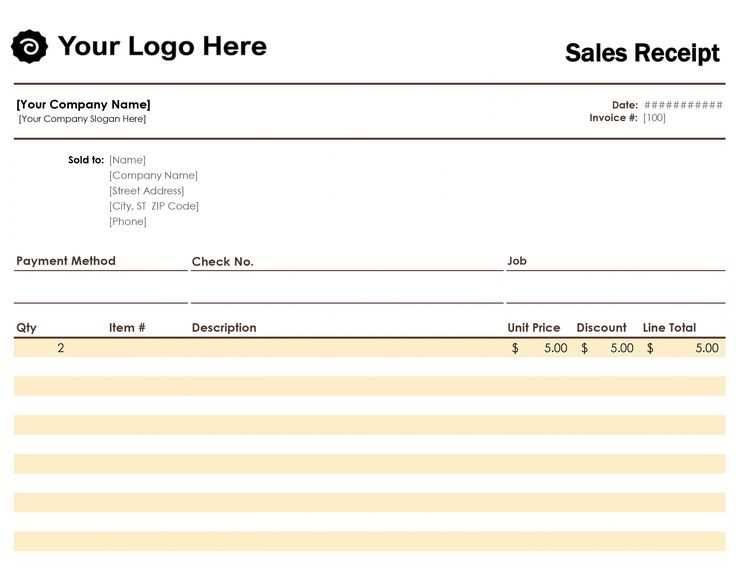
The template includes essential fields such as product descriptions, quantities, unit prices, and totals. You can add your business logo, customize payment terms, and include tax information. This will ensure the receipt is professional and clear for your customers.
Using this template helps maintain consistency in your sales records. You can save time on creating receipts from scratch, making it easier to focus on other aspects of your business. You can also save the template for future use, ensuring quick and hassle-free receipt creation for every transaction.
Start by downloading the template, and you’ll have a fully functional receipt ready for use within minutes. It’s an efficient way to keep your transactions organized and provide customers with a clear, professional receipt after each sale.
Sales Receipt Template in Microsoft Word
To create a sales receipt in Microsoft Word, start by selecting a clear and simple layout. Begin with your business name, address, and contact details at the top of the document. Include a receipt number and the date of the transaction. These key details provide immediate clarity for both you and your customer.
Structure of the Sales Receipt

Next, list the items sold with clear descriptions, quantities, and prices. Add a column for the total cost of each item. Ensure that the subtotal is visible, followed by any applicable taxes and the final amount. This format is intuitive and keeps all financial data transparent.
Customization Options
You can easily customize your template to match your branding by adjusting fonts, colors, and logo placement. This small step makes your sales receipt more professional and personalized. You can also add a section for payment method, making it easier for both parties to track transactions.
Creating a Basic Sales Receipt Template from Scratch
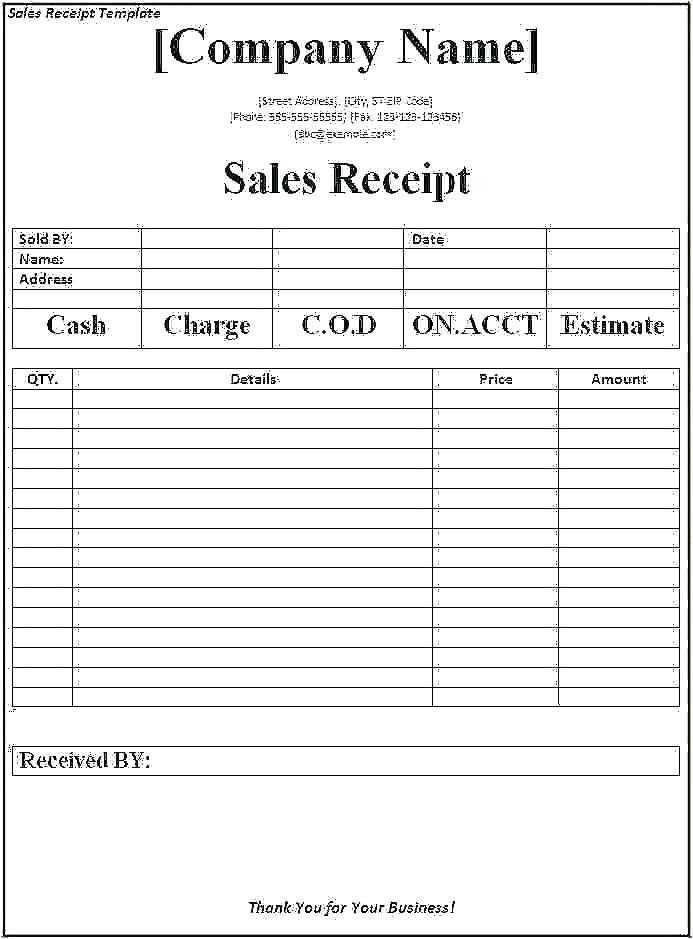
Open Microsoft Word and create a blank document. First, insert a table with two columns: one for the description of the item or service and the other for the price. Adjust the column widths to fit the information comfortably.
At the top of the document, type your business name and contact information, ensuring it’s easy to read. Add a date field, which can be inserted from the “Insert” menu or manually typed when generating a receipt.
Below the table, list payment details such as the total amount, tax, and any discounts. You can insert additional rows in the table to account for these entries.
Finally, add a space for the customer’s name and a section for the method of payment. Save the template so you can reuse it for future transactions.
How to Add Custom Fields to Your Receipt Template

To add custom fields, begin by opening your receipt template in Microsoft Word. Click on the area where you want to insert a custom field, such as beneath the item list or near the total. Use the “Insert” tab and choose “Text Box” to create a new field. Once the box appears, enter a label that identifies the custom field, such as “Discount” or “Customer ID”.
Customizing Field Properties

If you want the custom field to appear in a specific format, right-click on the text box and select “Format Shape”. You can adjust the size, background color, and alignment to match your receipt’s design. To make the custom field more functional, you can create a placeholder for future information. Simply type in a sample value or leave it blank for later filling.
Linking Fields to Formulas
If your custom field involves calculations, like adding taxes or discounts, use Word’s formula function. Insert a new text box for the formula, then go to “Insert” and select “Field”. Choose the formula option and enter the calculation, such as “=SUM(ABOVE)” for adding prices. This allows for dynamic calculations in your receipt without manual entry.
Formatting Tips for Professional-Looking Sales Receipts
Use clean and consistent fonts. Stick with easy-to-read styles like Arial, Calibri, or Times New Roman. Set the font size between 10 and 12 points for clarity.
Ensure proper alignment. Align the company name, address, and receipt details to the left or center. This creates a balanced look and helps highlight key information.
- Choose a larger font size (14-16pt) for the receipt title to make it stand out.
- Use bold or italics sparingly for emphasis, such as for total amounts or important dates.
Include clear headers for each section, such as “Item Description,” “Quantity,” “Price,” and “Total.” This improves readability and makes it easier for customers to review details.
Make use of tables for itemized lists. Organize products or services in columns with proper spacing to avoid a cluttered layout. Each column should have an appropriate header, like “Product Name” or “Unit Price.”
- Use borders or alternating row colors to separate items visually.
- Ensure columns are wide enough to avoid text overlap.
Incorporate whitespace. Add adequate padding between sections and text blocks for a clean and professional appearance. This keeps the receipt from looking overcrowded.
Include tax and discount sections clearly. Use a separate line to highlight discounts or tax breakdowns, and label them clearly for transparency.
- Label “Subtotal,” “Tax,” and “Total” to distinguish between different amounts.
- Use parentheses for discounts or negative amounts for clarity.
Ensure your company’s logo and contact information are visible but don’t dominate the layout. Position them neatly at the top or bottom without overwhelming the main receipt content.
For a polished finish, consider using a footer with payment details, return policies, or thank you messages. Keep it concise and relevant to the transaction.


