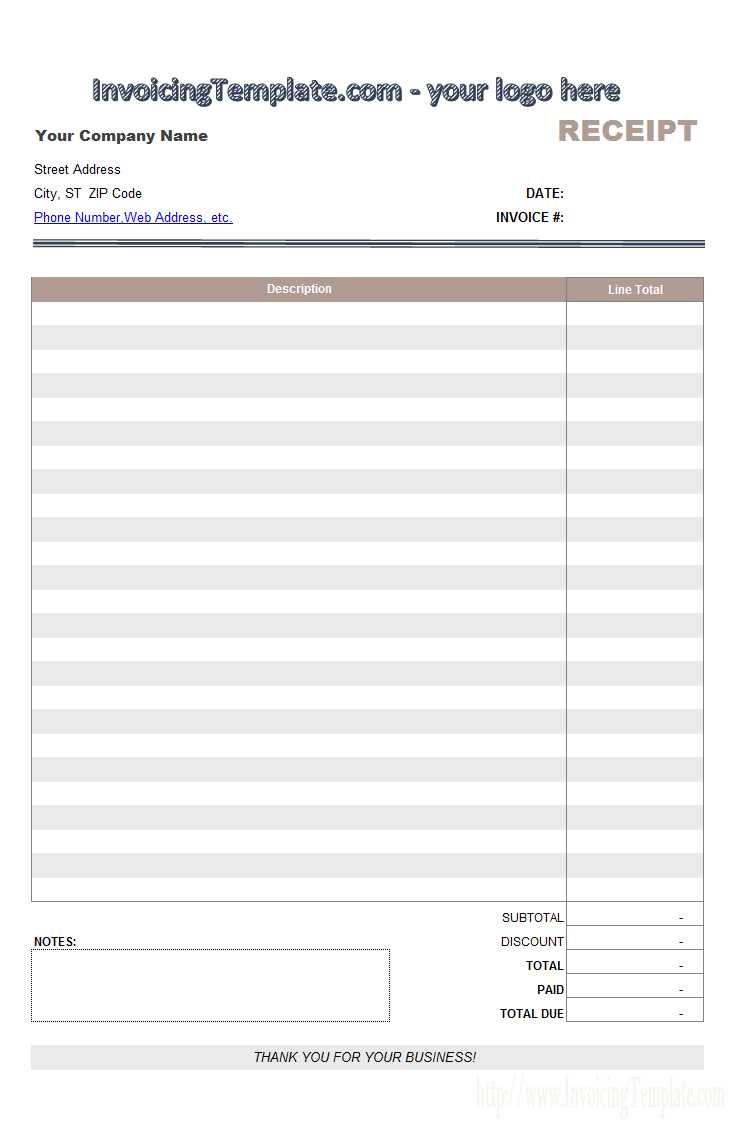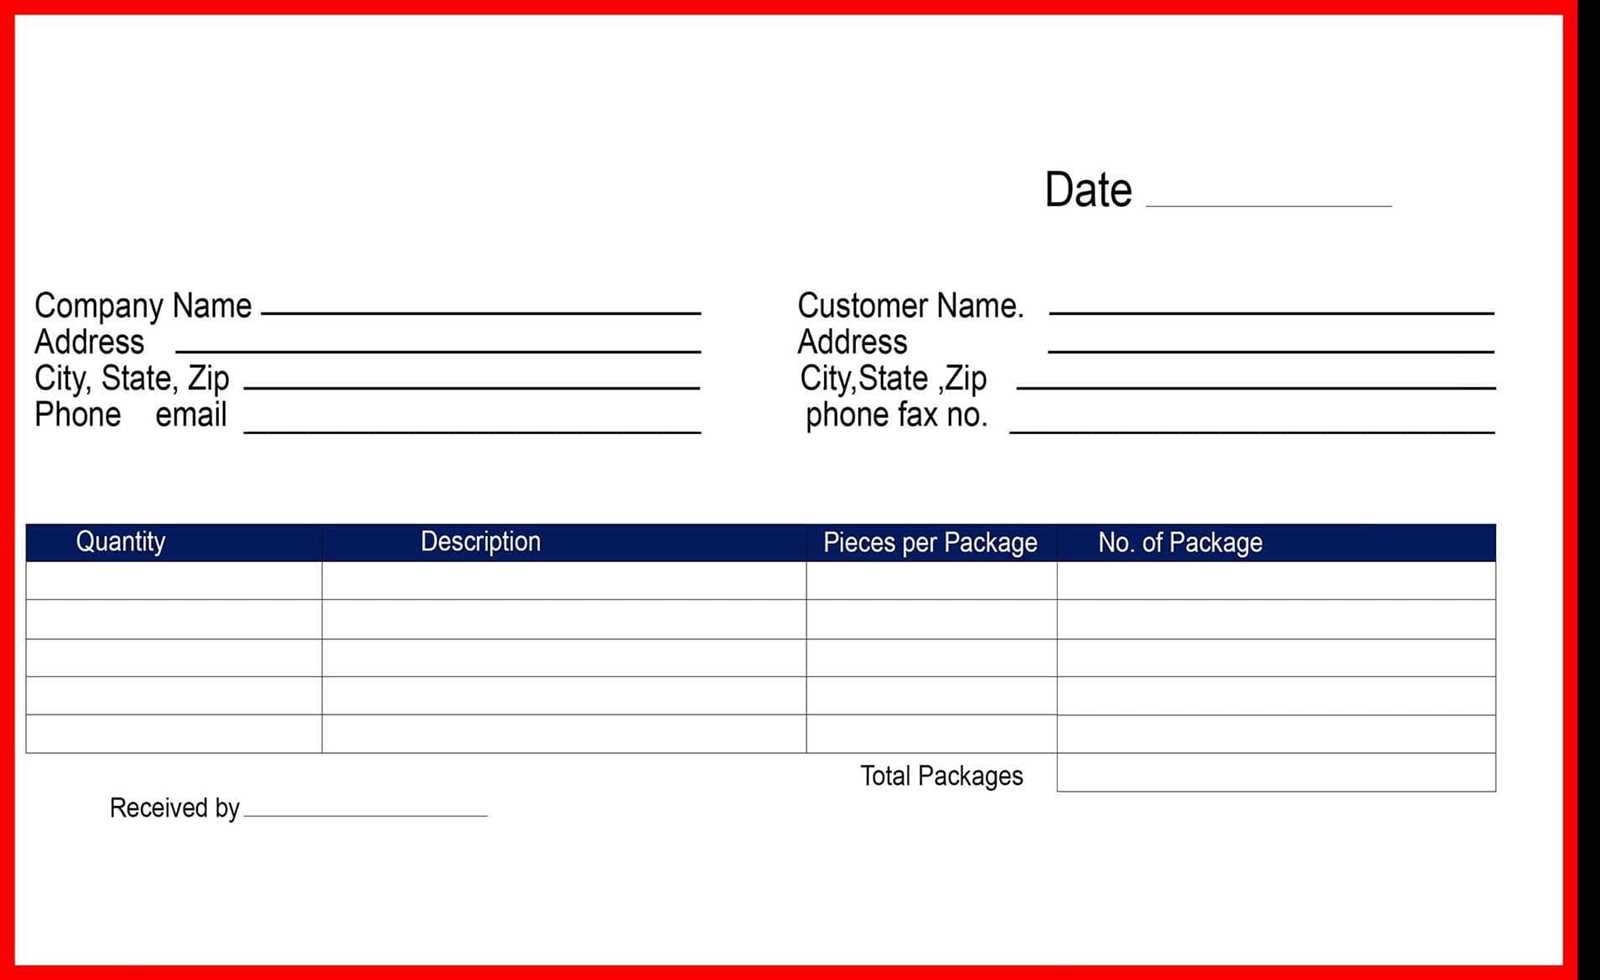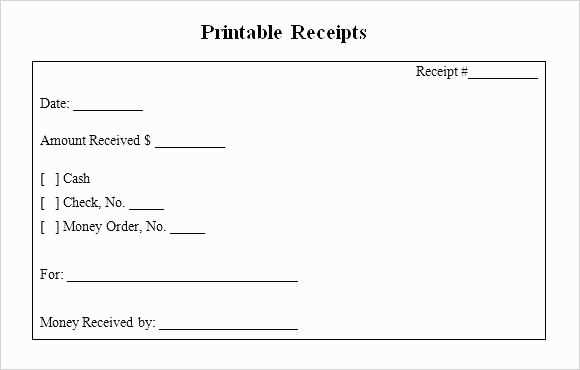
Creating a receipt template in Excel can save you time and streamline transactions. Instead of starting from scratch every time you need a receipt, you can use a customizable blank template. Excel provides a flexible platform for tailoring the receipt layout to meet your specific needs–whether for a small business or personal use. You can easily input transaction details like date, amount, and payment method without having to manually adjust the format each time.
Choose a blank receipt template that already includes basic fields like recipient’s name, item description, quantity, and total cost. This ensures you won’t miss any crucial information. Excel also allows you to add or remove columns and adjust the font size, making the template adaptable for different industries or transaction types.
Using Excel also makes it simple to automate certain parts of the receipt. For example, you can set up formulas to calculate totals or taxes automatically, reducing human error. With the right setup, you’ll create consistent, professional-looking receipts with minimal effort.
Here’s the corrected version:
For creating a blank receipt template in Excel, follow these simple steps to ensure all necessary components are included for smooth transactions. A basic layout should consist of the following fields:
| Field | Description |
|---|---|
| Receipt Number | Unique identifier for each transaction |
| Seller Information | Include business name, address, phone number, and email |
| Buyer Information | Customer’s name and contact details |
| Date | Transaction date |
| Item Description | Detailed description of the product or service |
| Quantity | Number of items purchased |
| Unit Price | Price per single unit |
| Total Amount | Calculated by multiplying Quantity by Unit Price |
| Payment Method | Cash, Credit Card, etc. |
| Additional Notes | Any extra information, such as discounts or taxes |
Once the template is structured, you can customize it with conditional formatting to highlight important fields, such as total amounts or due dates. Make sure to leave enough space for manual input if needed, or use data validation for consistency. By focusing on these key areas, your receipt template will be clean, organized, and user-friendly.
- Blank Receipt Template Excel: A Practical Guide
Creating a blank receipt template in Excel can save time and streamline your transactions. It’s an easy way to keep track of payments and provide clear records for your customers. Here’s how to build one effectively:
Set Up Your Template Layout

Start by setting up the basic structure of your receipt. You’ll need columns for the date, transaction number, payer information, description of the goods or services, and amount. Make sure to leave space for the company name and address at the top, as well as a thank you message at the bottom.
Incorporate Useful Excel Features

Take advantage of Excel’s built-in features to enhance your receipt template. Use data validation for fields like payment methods to ensure consistency. You can also use formulas to calculate totals automatically. For example, input a formula that adds all the amounts in the “Amount” column to show the total payment.
Consider adding a footer with your company’s contact information or return policy to make your receipt more informative.
Save the template with a clear file name, such as “Receipt_Template.xlsx,” and update it as needed for different types of transactions.
Creating a blank receipt in Excel is simple and effective for various needs, whether it’s for personal or small business transactions. Follow these steps to set up your template:
Step 1: Set up the layout

Start by creating a new Excel file. Adjust the column widths to make room for the necessary information. You can adjust the row heights to ensure there’s enough space for text and numbers. A good starting point is a layout with columns like “Item Description,” “Quantity,” “Unit Price,” “Total,” and “Amount Paid.” Add any additional sections like the company name, date, or receipt number in the header area.
Step 2: Add basic fields
Next, insert basic labels for each section. In the first few rows, create headings for the receipt’s key information, such as “Date,” “Receipt Number,” and “Customer Name.” Below these, create a table with the headers mentioned earlier. Keep the table format simple, with borders or shading to distinguish between the different sections.
Use cell merging for items like the company name or “Thank You” note at the bottom. You can also add the company’s address or contact information in the header section.
Step 3: Save the template
Once you’ve set up the blank receipt, save the file as a template (“.xltx”) so that you can reuse it for future transactions without having to redo the layout. This will allow you to fill in the specific details each time you issue a new receipt.
To tailor your receipt template to suit your business or personal needs, begin by adjusting the header section. Include your company logo, name, and contact information in a size and font that aligns with your brand. This ensures that your template remains professional and instantly recognizable.
If you often deal with different types of transactions, add a drop-down menu for various payment methods (cash, credit card, bank transfer, etc.) so that you can quickly select the method used without needing to manually input the details. This small adjustment can speed up the process and eliminate errors.
For businesses offering discounts or promotions, create a dedicated section for discount codes or coupons. This allows for easy tracking of sales and helps ensure that discounts are applied correctly. You can also format this section to automatically calculate the discount based on the total amount before tax.
Modify the tax fields to match the rates specific to your location. If your sales tax varies depending on the region, make sure the template includes options to select the appropriate tax rate, or even better, enable automatic tax calculation based on the customer’s address.
If your receipts require detailed item descriptions, adjust the layout to add more rows or additional columns for product details, including quantities and unit prices. For ease of use, consider using conditional formatting to highlight discounted items or special offers.
Lastly, ensure that the footer section includes a payment thank-you message or any necessary legal disclaimers, like return policies or terms and conditions. This helps create a complete, professional receipt while conveying all necessary information in a clear and organized manner.
To make your Excel receipt look more professional, add your business details and logo at the top. This ensures your receipts are branded and easily recognizable by your customers.
- Insert Business Name and Contact Info: Place your business name at the top of the receipt in a larger, bold font. Right below it, add your business address, phone number, email, and website. Align the text to the left or center based on your design preferences.
- Incorporate Your Logo: To add a logo, go to the “Insert” tab in Excel, select “Pictures,” and choose the logo file. Resize it appropriately and position it next to your business details or in the corner for better visual appeal.
- Formatting for Consistency: Use a consistent font style and size for all the text to maintain a clean layout. Consider using bold fonts for key information, like your business name or contact details, to make them stand out.
- Optional Elements: You may want to include your business’s slogan or a tagline beneath the business name. If your company has social media handles, you can also list them to encourage customer engagement.
With these steps, your receipt will not only look more polished but also reinforce your brand identity with every transaction.
Align your text and columns consistently to create a tidy layout. Use center alignment for headings and left alignment for items like dates, prices, or names. This ensures a neat, easy-to-read format.
Set appropriate margins to avoid text crowding at the edges. A comfortable amount of space around the content helps maintain a clean look and makes the receipt easier to navigate.
Choose legible fonts like Arial or Helvetica in a size that’s neither too small nor too large. Stick to one or two fonts throughout to keep the design simple and coherent.
Incorporate consistent use of bold and italics for key information such as totals or payment methods. This allows for quick identification without overcomplicating the design.
Use gridlines sparingly and adjust the thickness to ensure they don’t overwhelm the content. Thin, light gridlines work best for organization without drawing attention away from the text.
Ensure proper spacing between rows and sections to improve readability. Too little space can make the receipt feel cluttered, while too much can make it look unorganized.
Keep colors minimal–stick to black and white for most elements, and use a single accent color for highlighting important details like totals or taxes. This adds a professional touch without overwhelming the viewer.
Maintain consistent formatting across all sections, such as using the same font style and size for similar types of information (e.g., items and prices). Consistency fosters a professional, polished appearance.
To streamline your receipt template, automate tax and discount calculations using simple Excel formulas. Start with tax by applying the formula: `=Original Price * Tax Rate`. If your tax rate is in cell B2 and the price is in cell A2, the formula becomes `=A2*B2`. This will give you the tax amount for each product.
Next, for discounts, use a similar approach. If you offer a percentage discount, enter the formula `=Original Price * (1 – Discount Percentage)`. For instance, a 10% discount on a product priced at $50 would be calculated with `=50*(1-10%)`, resulting in a price of $45.
For conditional discounts based on quantities or other criteria, use the `IF` function. If the discount only applies when purchasing more than five items, the formula would be: `=IF(Quantity>5, Original Price * (1-Discount Percentage), Original Price)`. This formula checks if the quantity is above five and applies the discount accordingly.
These formulas keep your receipt calculations up-to-date automatically. Adjust tax rates or discount percentages in one cell, and the template will instantly reflect the changes across all items.
Save your receipt template in a convenient location to quickly access it when needed. One of the best options is to store it in a cloud service like Google Drive or OneDrive. This ensures that you can retrieve your file from any device with internet access.
Saving Your Template
- Choose a clear and specific file name so you can easily recognize it later.
- Ensure you save the file in a folder that is easy to navigate or create a new folder specifically for templates.
- If using Excel, save your file as a template (.xltx) for easy reuse.
Sharing Your Template
- For quick sharing, use a cloud-based storage platform where you can generate a shareable link.
- You can also share the file directly through email or by using messaging apps if it is a smaller file size.
- If you work in a team, consider setting permissions in the cloud to control who can edit or view the template.
By saving your template in the cloud and sharing it effectively, you ensure that you and others can quickly access the receipt template, making tasks more streamlined and efficient.
All Key Ideas Are Preserved, but Repetitions Have Been Reduced
When creating a blank receipt template in Excel, keep the design simple and clean. Remove any unnecessary elements that may clutter the document. Focus on the core sections: date, item description, quantity, price, and total amount. Ensure clear labels for each field to maintain readability. Additionally, set up formulas for automatic calculations, such as multiplying quantity by price to get the total cost. This saves time and prevents errors.
Formatting Tips
Use borders to distinguish different sections of the receipt and make sure the text is legible. Choose a consistent font size for uniformity. For sections like the total amount, use a bold font to highlight it, making it easy to spot. This will help users quickly scan the receipt and locate the information they need.
Saving and Customization

Once the template is set up, save it as a reusable file format like .xlsx. This allows for easy customization in the future without starting from scratch. You can adjust fields or add new ones based on specific business needs. Also, consider protecting the worksheet to prevent accidental changes to the formulas or layout.


