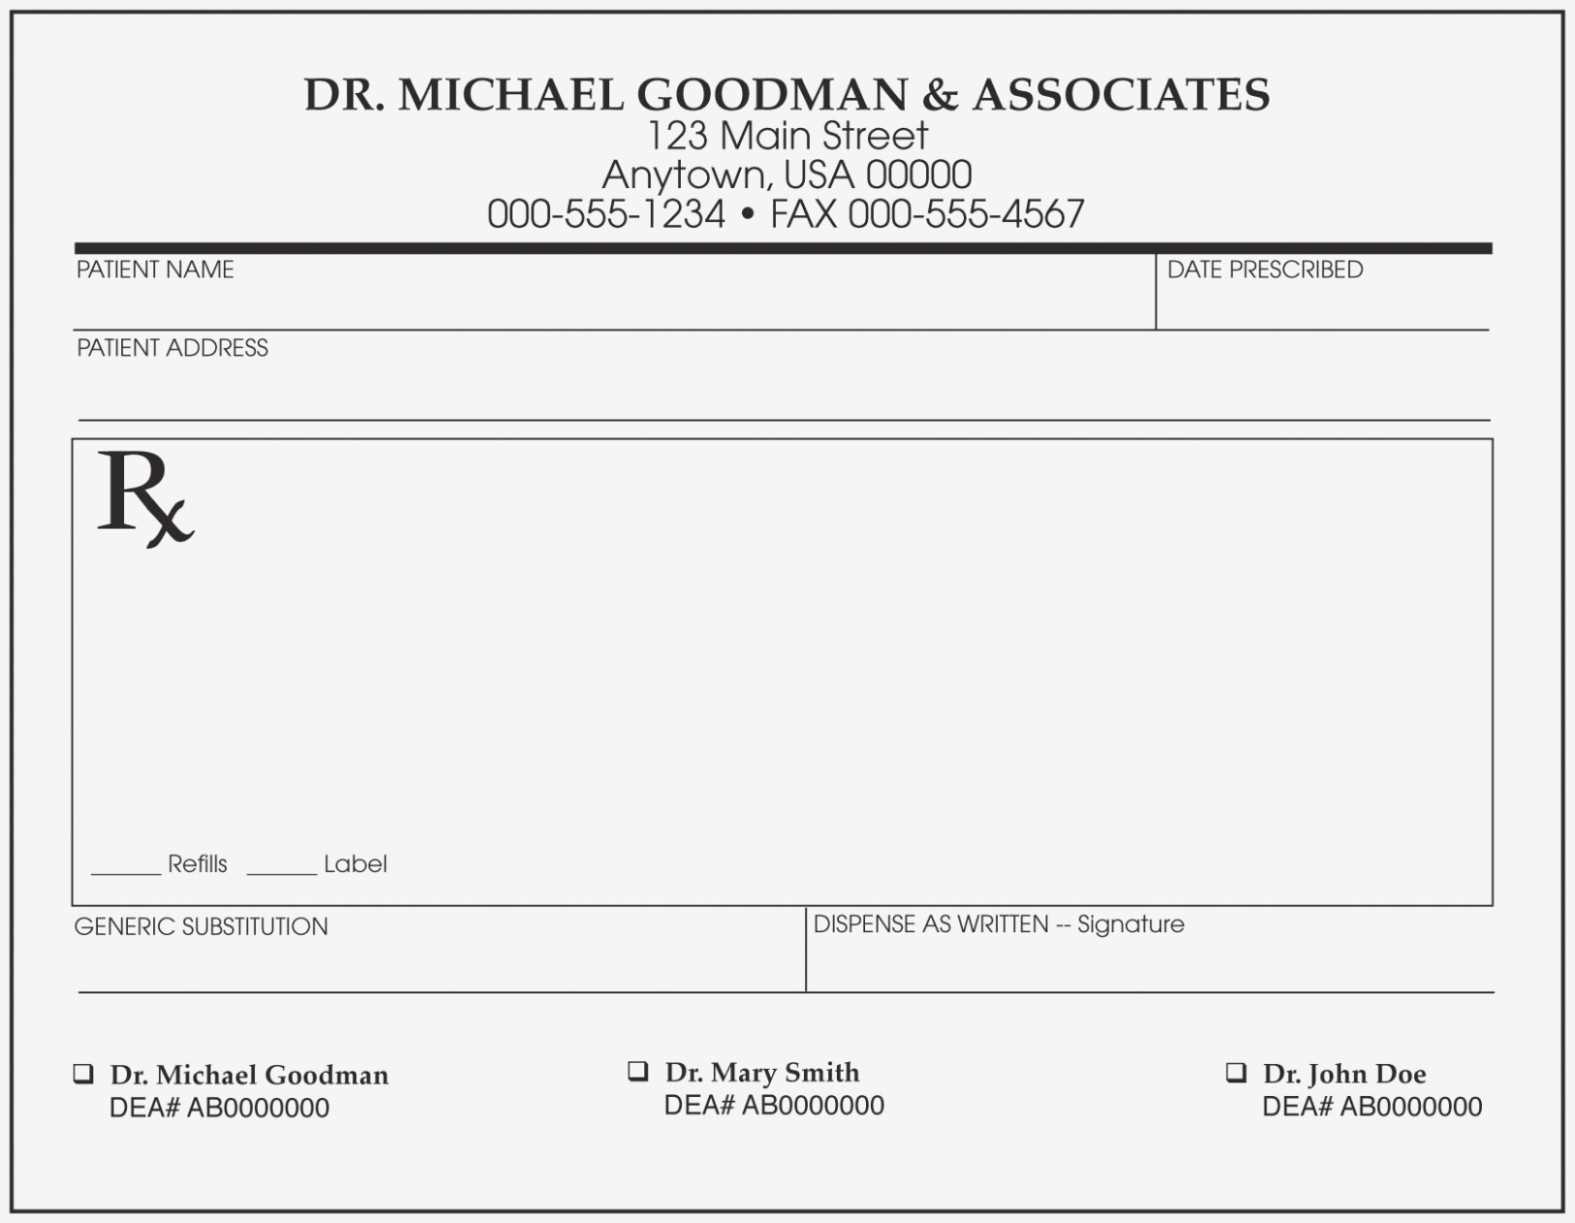
Creating a prescription drug receipt is straightforward with a clear and concise template. Make sure to include essential details, such as the patient’s name, the prescribing doctor, the medication name, dosage, and the total cost. These elements ensure clarity and help avoid confusion during insurance claims or reimbursement processes.
The receipt should also list the pharmacy’s information, including the address and contact number, so that patients or insurance providers can reach out if needed. Including the prescription date helps track the medication’s issuance and ensures the accuracy of the records.
To further streamline the process, ensure the receipt is legible and free from unnecessary information. A well-structured, minimalist layout allows for quick review and reference. It is always advisable to use digital templates for easy adjustments, particularly if you frequently manage prescriptions.
Prescription Drug Receipt Template
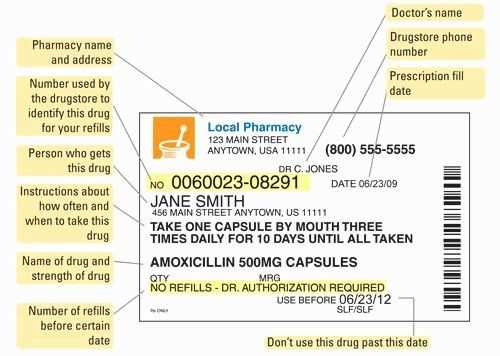
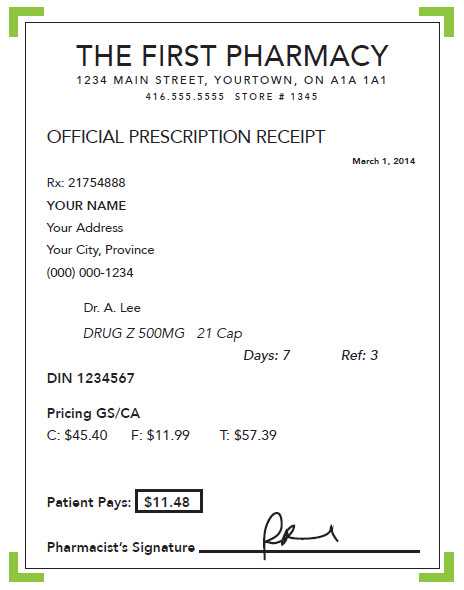
A prescription drug receipt should clearly display key information such as the medication’s name, dosage, quantity, and total cost. It’s essential that the pharmacy’s name, address, and contact details are included for easy reference. Make sure to list the date of purchase and any insurance information or co-pays applied.
Key Components of the Receipt
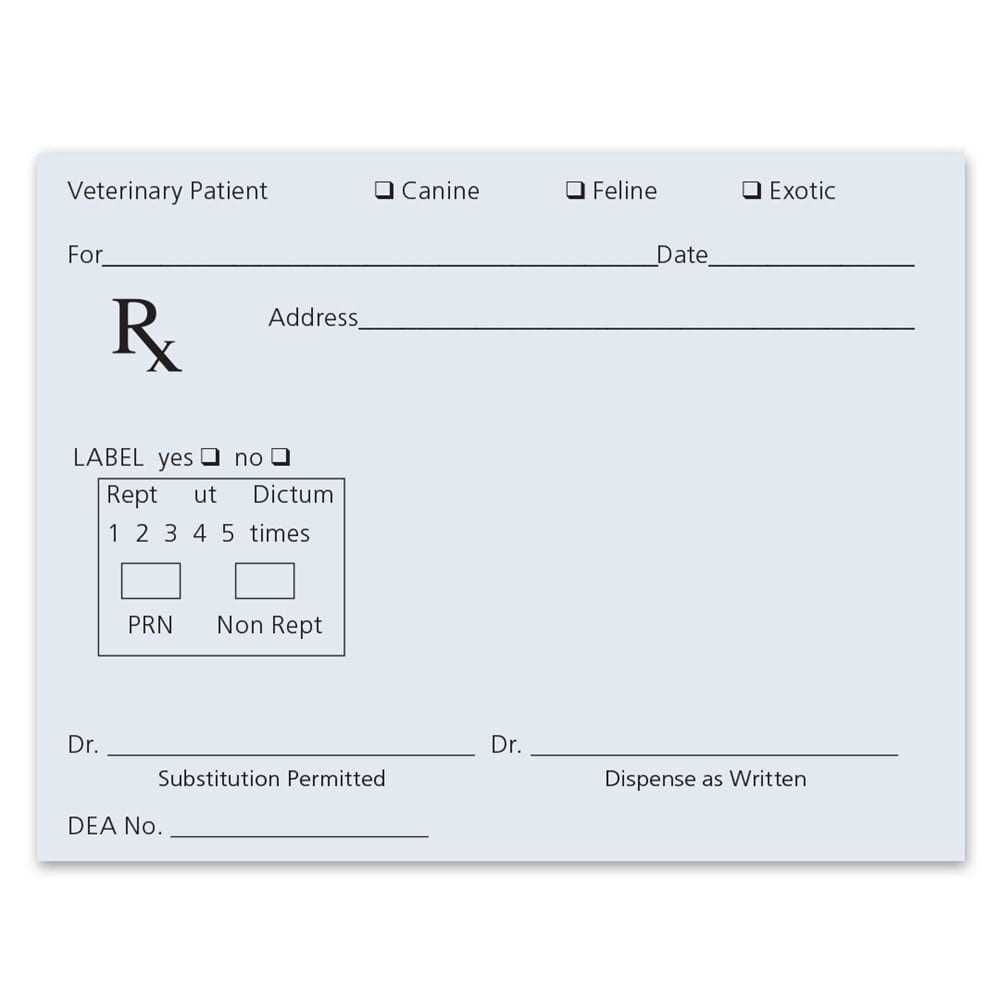
The receipt must include:
- Pharmacy Information: Name, address, phone number, and license number.
- Prescription Details: Medication name, dosage, quantity, and instructions for use.
- Payment Breakdown: Total cost, insurance coverage, and co-payment (if applicable).
- Prescription Number: Unique identifier for tracking purposes.
- Pharmacist’s Signature: Confirmation of fulfillment and validation of the prescription.
Best Practices for Formatting
Organize the information in a readable layout with clear headings. Group related details such as medication and dosage together. If applicable, highlight any discounts, coupons, or promotions used. This format ensures transparency and makes it easier for patients to understand the charges and track their prescriptions accurately.
How to Create a Prescription Drug Receipt
Begin by including the patient’s full name and date of birth at the top of the receipt. This ensures clear identification. Next, list the prescribed medications with their dosages and quantities. Include the prescribing doctor’s name and contact information below the medication details. Make sure the receipt clearly shows the pharmacy’s name, address, and phone number for any follow-up. Add the prescription number for reference, along with the date of issue. Finally, include the cost of each medication and the total amount paid, with tax if applicable. Ensure all information is readable and neatly organized for ease of understanding. This format helps avoid confusion and allows for quick reference when needed.
Customizing Your Template for Different Needs
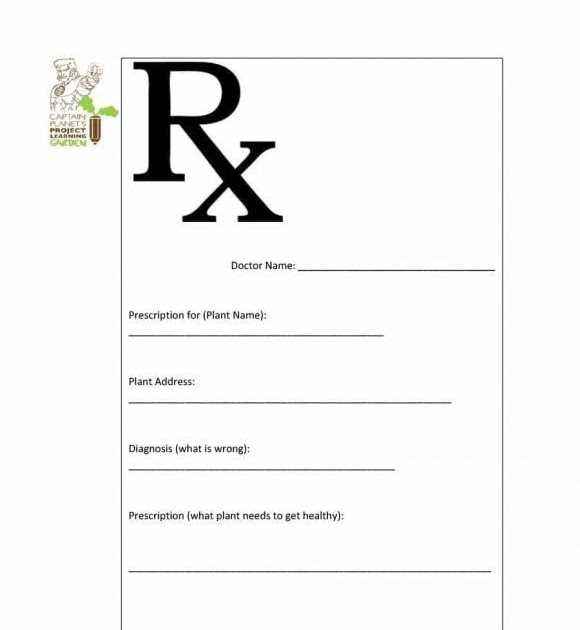
Adjust your prescription drug receipt template to meet specific requirements by following a few key steps. Tailoring the design and content ensures that it suits various purposes, whether for a doctor’s office, pharmacy, or personal use.
- Add Patient Information: Include fields for patient name, address, and insurance details if necessary. This is particularly useful for practices that need to send receipts to insurance companies or for creating detailed records for patients.
- Include Detailed Drug Information: Customize sections for the drug name, dosage, and quantity dispensed. It’s important to list each drug accurately to avoid confusion and ensure clear communication.
- Incorporate Multiple Payment Methods: Adapt the template to display various payment methods such as credit card, insurance, or cash. A simple checkbox or drop-down menu for these options helps in customizing receipts according to payment type.
- Adjust for Tax Information: If your location requires specific tax rates for prescription drugs, add tax calculation fields. Ensure that the tax amount is clear and correctly displayed on the receipt.
- Space for Additional Notes: Include a section for any special instructions or notes, whether it’s for follow-up care or additional instructions for the patient. This can be added as a comment box or small text field at the bottom.
By making these adjustments, you ensure that your template is versatile and fits different operational needs. Each modification should focus on the specific requirements of your audience, whether it’s a patient or an insurance provider, while maintaining clarity and professionalism.
Common Mistakes to Avoid When Using the Template

Double-check the recipient’s details before filling out the template. Incorrect information can cause delays and confusion. Always confirm the patient’s name, medication, and dosage are accurate.
Inaccurate Dates and Dosage Information
Entering incorrect dates or dosages can lead to errors in prescriptions. Ensure all fields match the doctor’s instructions precisely, especially the medication start date and frequency.
Skipping Required Fields
Leaving any mandatory fields empty can invalidate the prescription. Take the time to fill in all sections, even if some seem redundant or optional. Skipping any part could result in processing delays or issues with insurance claims.


