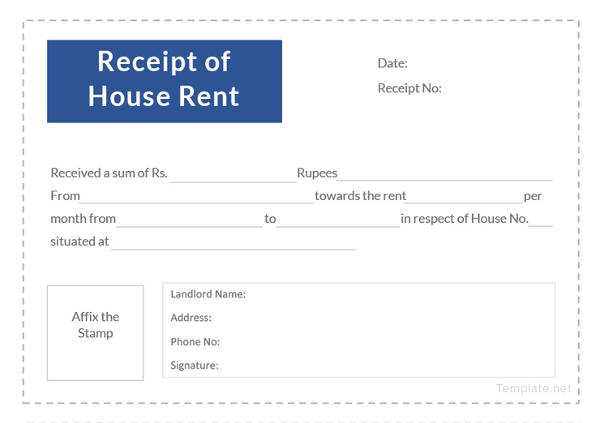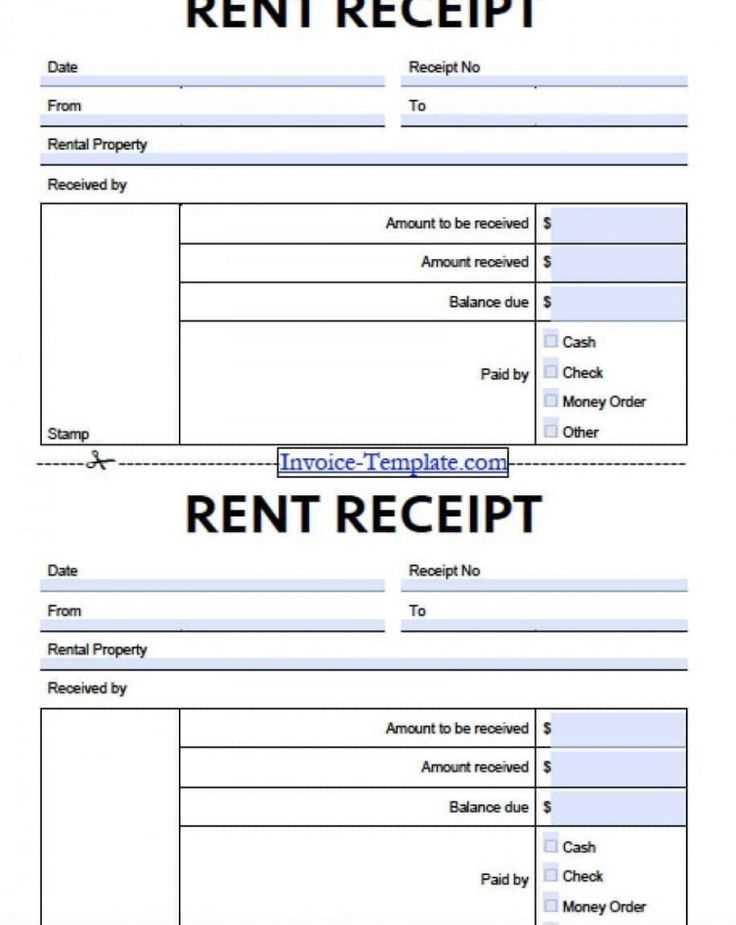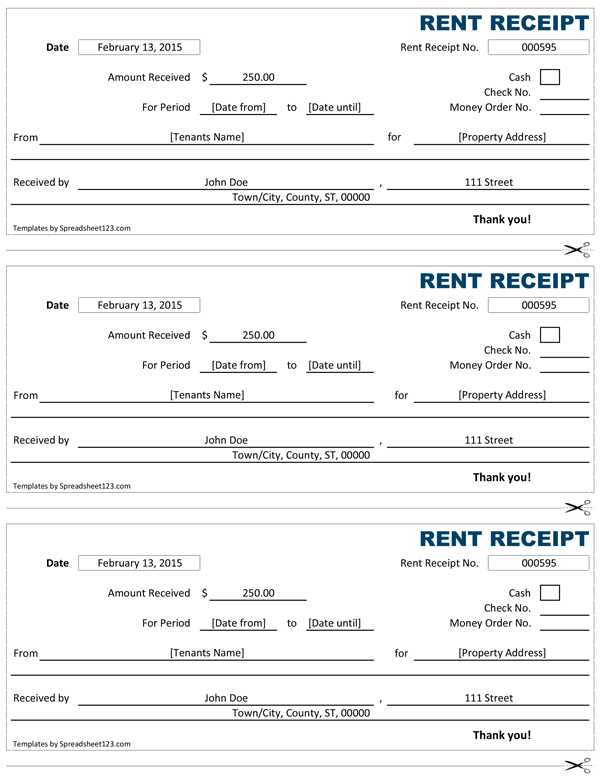
If you’re looking to create a rent receipt template in Excel for India, it’s easy to do with the right structure. The rent receipt serves as proof of payment for tenants, and it’s important that it contains all the necessary details. Follow these tips for a clear and organized format.
Key Components of a Rent Receipt
Ensure the receipt includes the following information:
- Landlord’s Name and Address: The full name and address of the landlord or property owner.
- Tenant’s Name and Address: The name and address of the tenant renting the property.
- Payment Date: The specific date the payment was received.
- Amount Paid: The exact amount of rent paid for the month.
- Payment Method: Specify how the payment was made, such as bank transfer, cash, or cheque.
- Rental Period: The period for which the rent payment is being made (e.g., monthly, quarterly).
- Property Details: Mention the property address or flat number, if applicable.
- Signature: A space for both the landlord and tenant’s signatures.
How to Create the Template in Excel
1. Open a new Excel sheet and set up the header with landlord and tenant information in separate columns.
2. Include rows for the date, amount, method of payment, and rental period. Make sure these sections are easily editable for each transaction.
3. For clarity, use borders around each section, and bold the key titles such as “Landlord’s Name”, “Tenant’s Name”, etc.
4. You can also add a formula to automatically calculate totals, if multiple payments are made in a given period.
Why Excel is a Good Option
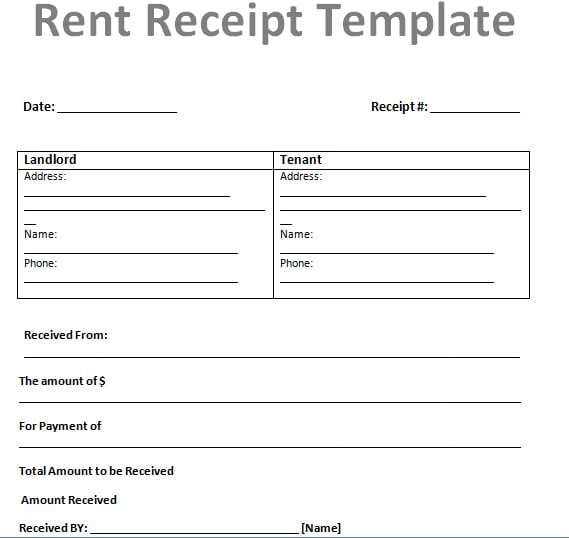
Using Excel offers flexibility for landlords and tenants alike. You can store multiple receipts in one file, quickly update details, and ensure proper formatting for professional use. Excel also allows easy access for future reference or printing out hard copies of receipts when needed.
Rent Receipt Template India Excel: Practical Guide
Creating a rent receipt in Excel for India requires specific details to comply with local legal and tax standards. Here’s how to make sure your receipt serves both as a proof of payment and a formal record for your tenants.
How to Create a Rent Receipt in Excel for India
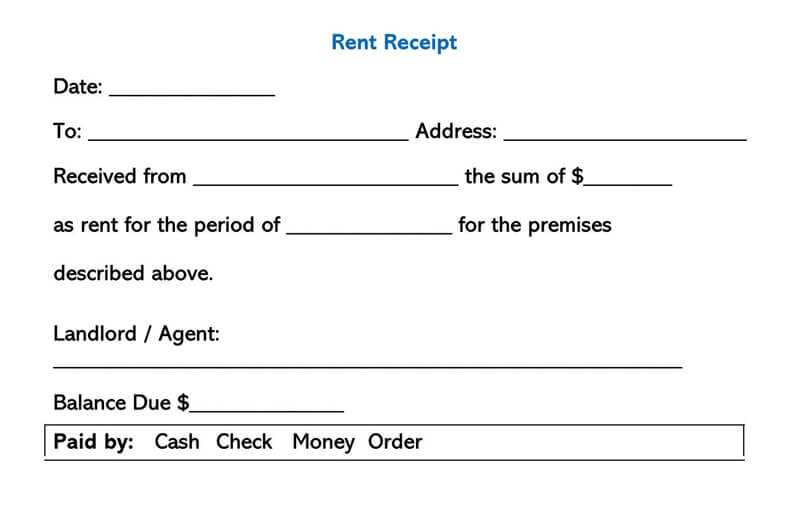
Start by setting up a basic layout with the following information:
- Tenant’s Name
- Landlord’s Name and Address
- Property Address
- Rental Amount
- Rent Payment Date
- Receipt Number
Use simple Excel formulas to calculate totals and apply GST if necessary. Make sure to include the payment mode, whether it’s cash, cheque, or bank transfer. Adding a unique receipt number for tracking purposes is also a good practice.
Customizing the Template for Indian Legal and Tax Purposes
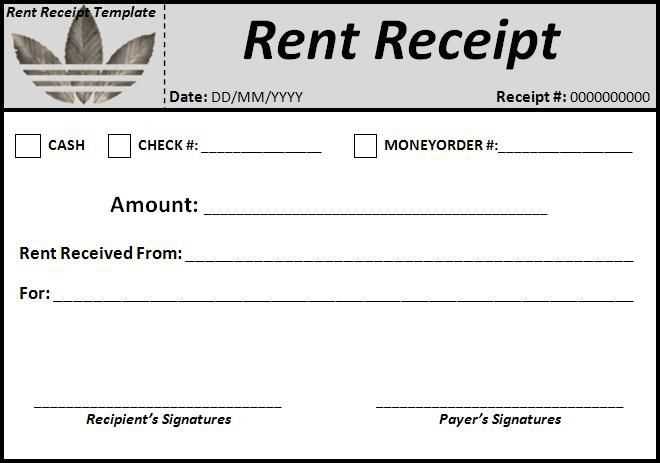
For Indian legal and tax compliance, the rent receipt must include the following:
- The landlord’s PAN number
- GST registration details (if applicable)
- Details of TDS (Tax Deducted at Source), if applicable
Customize the Excel template by adding separate columns for tax calculations, TDS deductions, and the final rent amount. This ensures transparency and simplifies tax filings for both landlords and tenants.
Once the template is set up, it can be reused each month by simply updating the tenant’s payment details and the date. Save the file as a template (.xltx) to avoid overwriting your original structure.
Automating Rent Receipt Generation for Multiple Tenants in Excel
If you manage multiple properties, you can automate the process of generating rent receipts for multiple tenants. Use Excel’s data validation tools to create a dropdown list for tenant names, payment dates, and amounts. You can set up a master sheet to record payments and use VLOOKUP or INDEX-MATCH functions to pull information into individual receipts.
Additionally, Excel macros can be used to generate receipts automatically based on entered data, making the process faster and error-free. This method is especially useful if you handle a large number of tenants and wish to save time on manual updates.
