Creating a contractor receipt for payments is a simple yet necessary step to maintain accurate financial records. Using a Contractor Receipt Template can save you time and ensure that all critical details are captured correctly. The template includes sections for the contractor’s name, services provided, payment amount, and date, giving you a reliable tool for both tracking and verification purposes.
The Contractor Receipt Template is highly customizable to fit various business needs. Whether you’re handling a one-time project or ongoing contracts, the template allows for clear documentation of transactions, which can be essential during tax season or audits. It also ensures transparency with clients, building trust and minimizing any potential confusion regarding payment terms.
By using a contractor receipt template, you simplify your invoicing process and avoid overlooking key details. Each template is designed to align with professional standards, offering a clear and easy-to-follow layout that minimizes errors. With the right template, you can create receipts quickly, stay organized, and focus more on running your business.
Contractor Receipt Template: A Practical Guide
Use a contractor receipt template to provide clear documentation for your clients. A simple receipt confirms payment details and ensures transparency in your transactions.
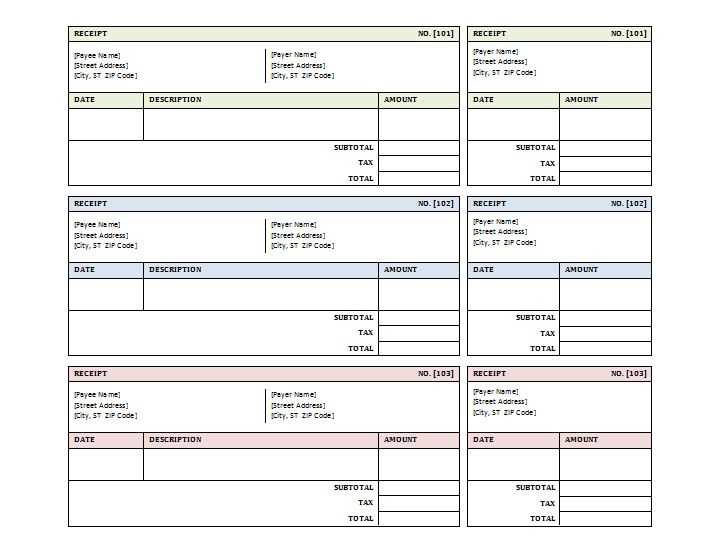
Include these key components in your contractor receipt template:
- Contractor Information: Clearly list your business name, address, phone number, and email address. This establishes trust and ensures clients can contact you easily.
- Client Information: Add the client’s full name or business name, address, and contact information. This helps identify the transaction and avoid misunderstandings.
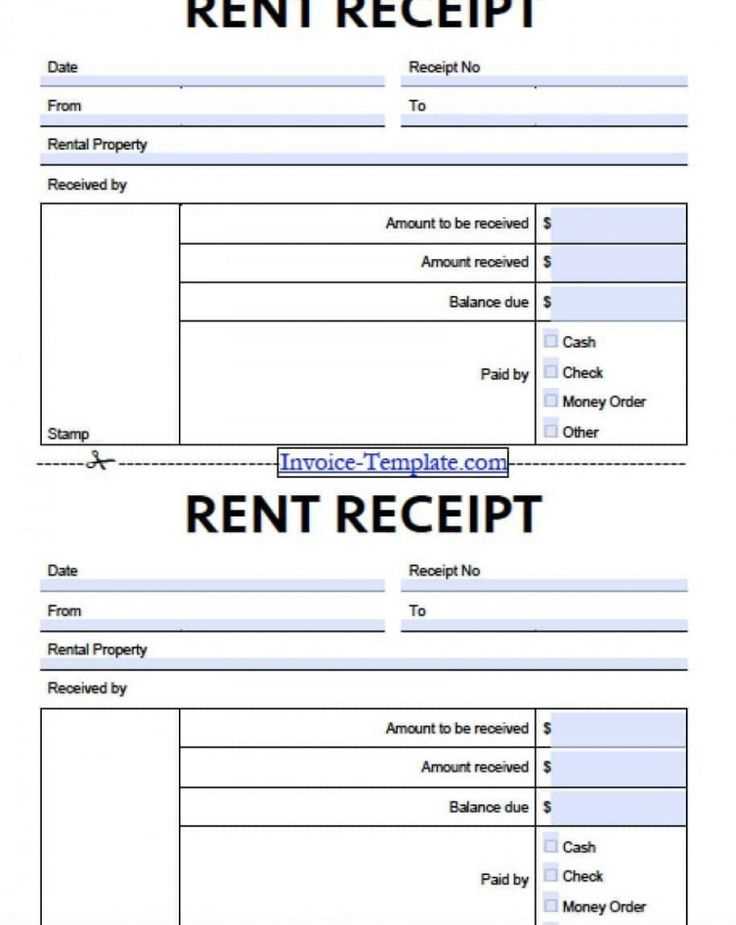
- Payment Details: State the amount received, including a breakdown of services provided and any applicable taxes or additional fees. Mention the payment method (cash, check, bank transfer, etc.).
- Date: Indicate the date of payment receipt to keep records organized.
- Receipt Number: Assign a unique number to each receipt. This helps track payments and improves record-keeping.
- Description of Services: List all services provided in detail to avoid disputes later on. This can include hours worked, materials used, and any special requests.
- Signature: Include space for both the contractor and client to sign. This confirms that both parties agree to the transaction.
Ensure your receipt template is clean and easy to read. Use clear fonts and a straightforward layout to avoid confusion. Customizing the template with your branding can also make the receipt look more professional.
A well-designed contractor receipt provides clear evidence of payment and safeguards both you and your client in case of future disputes. Make it a habit to issue receipts promptly after receiving payment.
How to Customize a Contractor Receipt Template for Your Business

To tailor a contractor receipt template to your business, begin by adding your company’s details at the top. This includes the business name, address, phone number, and email. Customizing these fields ensures clients can reach you easily for any inquiries.
Modify the logo section to represent your brand visually. A professional logo reinforces your identity and adds a personal touch to the receipt.
In the contractor information section, include the contractor’s name, position, and license number, if applicable. This provides transparency and builds trust with your clients.
Next, adjust the payment details. Specify the type of work performed, the hourly or flat rate, materials used, and the total amount due. If you use a specific tax rate, ensure this is reflected in the template. You can also include discounts, if any, to give clients a clear breakdown of their charges.
Terms and conditions should be updated to reflect your business practices. Add any payment policies, late fees, or warranties that apply to your services. This keeps clients informed about expectations and protects both parties legally.
If your business operates in a specific region, include the local regulations that may affect billing. Customize the template’s footer to show your business registration number or any other legal details relevant to your location.
Lastly, test your receipt by generating a sample document. Ensure all the details are correct and the design is clean and professional. Adjust font sizes, spacing, and alignment as necessary to ensure readability.
Key Features to Include in Your Contractor Receipt Template
Ensure the receipt includes your business name and contact information at the top. This gives clients easy access to your details for future reference or inquiries.
Clearly display the contractor’s name or business name along with their contact information. This helps in identifying the service provider easily.
Include a unique receipt number for tracking purposes. This allows both parties to reference the transaction in case of any disputes or queries.
Specify the services provided along with a brief description of each task. This creates transparency and shows clients exactly what they’re paying for.
List the date of the transaction and the payment due date. It helps both parties stay on the same page regarding timelines.
Indicate the total amount paid along with a breakdown of costs (e.g., hourly rate, material costs). This allows clients to understand how their payment was calculated.
Show payment method details, whether it’s via check, credit card, or cash. This offers clarity on how the payment was processed.
Include a section for both the contractor and client signatures. This confirms agreement on the provided services and payment amount.
Include a statement of warranty or guarantee if applicable. This reassures clients about the quality of work provided and the terms for any potential follow-up work.
Common Mistakes to Avoid When Using a Contractor Receipt Template

Ensure all fields are accurately filled out. Missing or incorrect details can lead to confusion and disputes later on. Double-check client names, addresses, and payment amounts before finalizing the document.
- Incorrect Date Entry: Always verify the date the work was completed and when payment was made. An error in dates could raise doubts about the transaction’s legitimacy.
- Not Detailing Services Provided: Make sure to clearly list the services rendered. This reduces misunderstandings and serves as proof of the work performed.
- Leaving Out Tax Information: Specify any applicable taxes, especially if you’re required to charge sales tax. Failing to do so can result in legal complications.
- Overlooking Client Signature: Even if you’re sending receipts electronically, including a signature section is crucial. It acts as formal acknowledgment of the payment and service.
- Using Inaccurate Payment Details: Always include precise payment methods (e.g., cash, check, bank transfer) and transaction references if applicable.
- Ignoring Terms and Conditions: Clearly state any payment terms, including due dates and penalties for late payments. This avoids confusion and provides clarity for both parties.
Sticking to these guidelines ensures that your contractor receipt templates remain professional, clear, and legally sound, avoiding unnecessary errors and confusion.