Use a clear and concise format for your signed receipts to ensure accuracy and professionalism. Include fields for the buyer’s and seller’s details, along with the date and transaction amount. A well-organized receipt template helps avoid confusion and provides an official record of the transaction.
Start with the transaction details: List the items or services provided, including their price and quantity. This gives a transparent breakdown for both parties and helps clarify any discrepancies. It’s also a good idea to add a reference number for easy tracking of the transaction.
Include a space for signatures: Having both parties sign the document validates the transaction. Be sure to provide room for the seller’s name, title, and the date of the signing. A simple “signed by” line should suffice for this purpose.
Additional notes: Include a section for terms or any conditions related to the sale, such as return policies or warranty information. This ensures that both parties are on the same page, reducing potential disputes.
Template for Signed Receipts

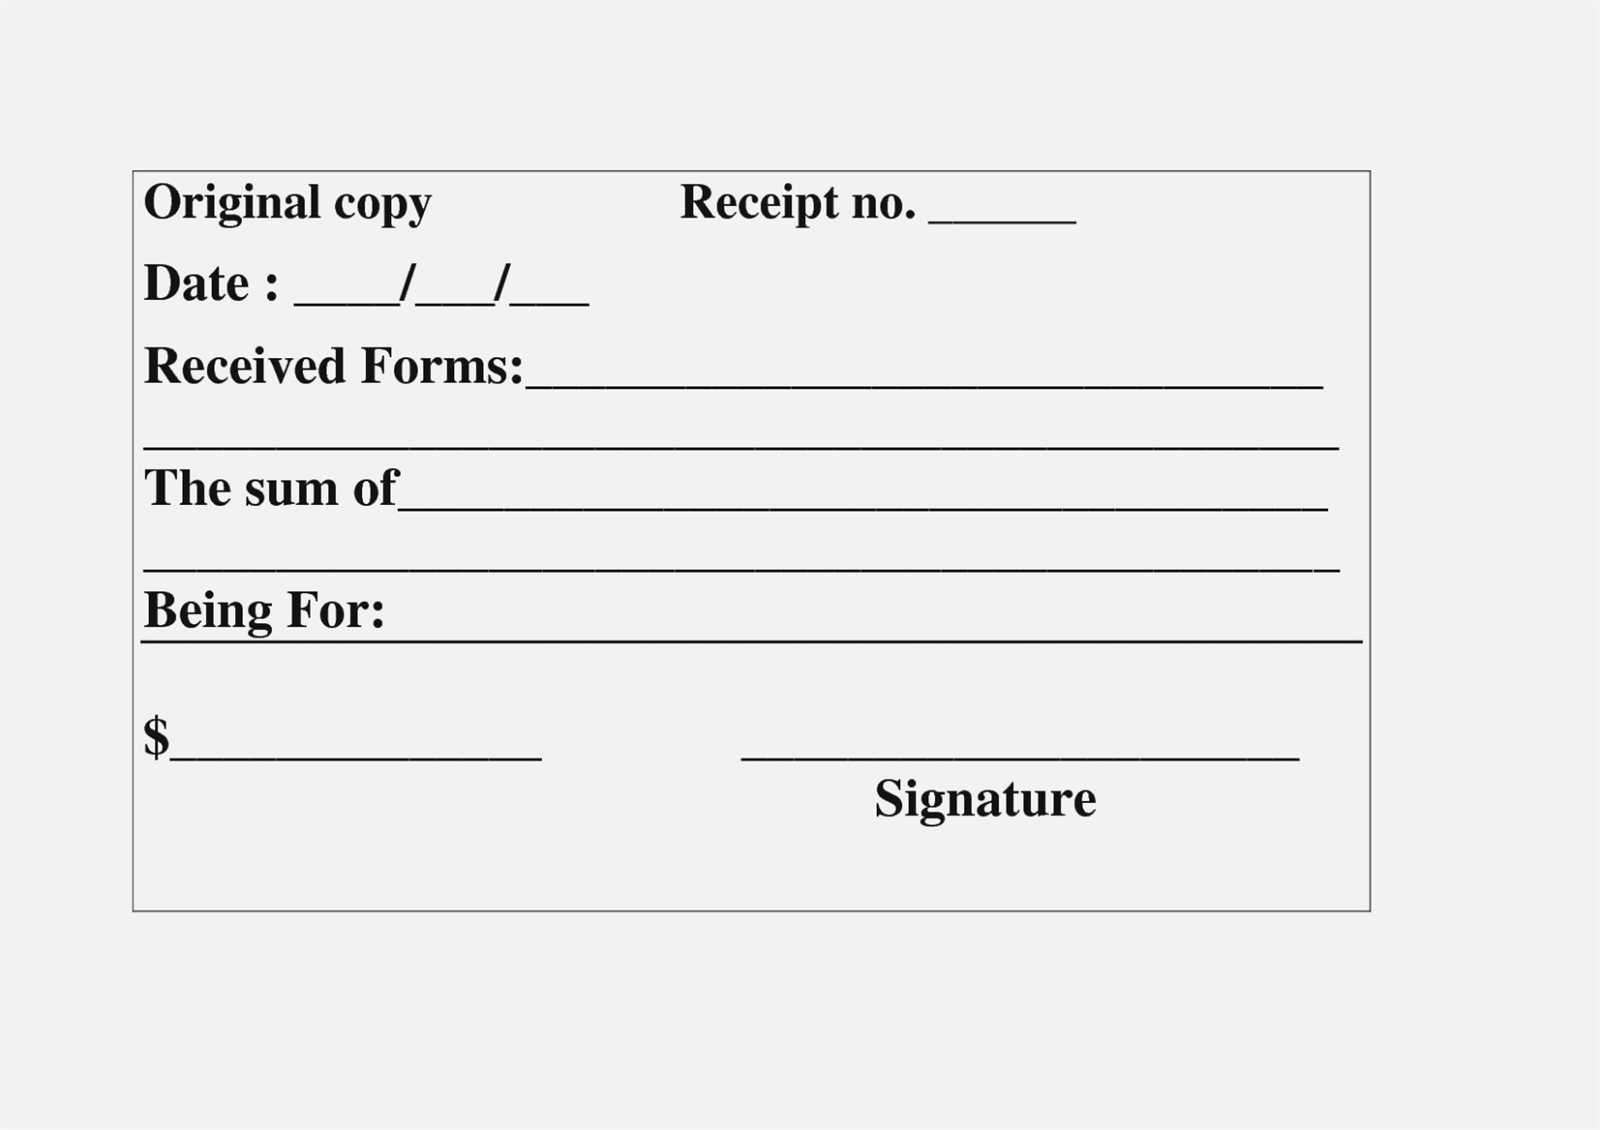
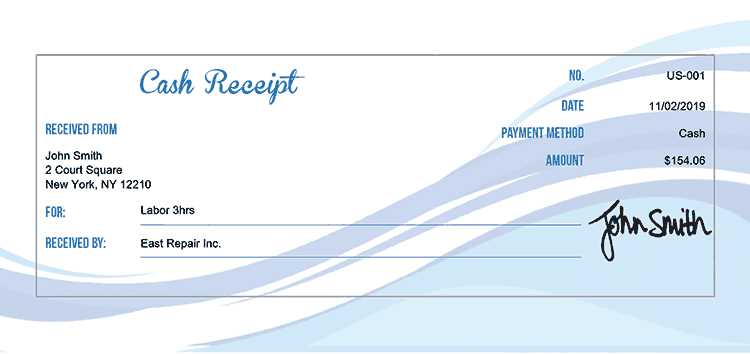
Use a clear format with the key details for a signed receipt. Start with the title Receipt at the top. Below, list the transaction date, followed by the seller’s name and contact information. Include a description of the purchased goods or services with their corresponding prices and quantities. Ensure the total amount is clearly stated at the bottom of the list.
Include a section for the buyer’s name and signature. This can be labeled as Buyer’s Signature, with a space for the buyer to sign and date the receipt. Add a statement that the buyer acknowledges the transaction and received the listed goods or services. Also, provide a space for the seller’s signature under a label like Seller’s Signature.
If applicable, include terms and conditions at the bottom of the receipt, along with any return or warranty information. Ensure all text is legible and concise. Make sure the receipt is easy to print and store for record-keeping purposes.
Creating a Custom Template for Receipts
Design your receipt template with clear sections for buyer and seller details, transaction date, items purchased, and total amount. Use a simple layout to keep everything readable. Include a section for signatures if required, making sure there is enough space for clear handwriting. The font choice should be legible and professional, with a standard size for easy reading.
Key Elements to Include

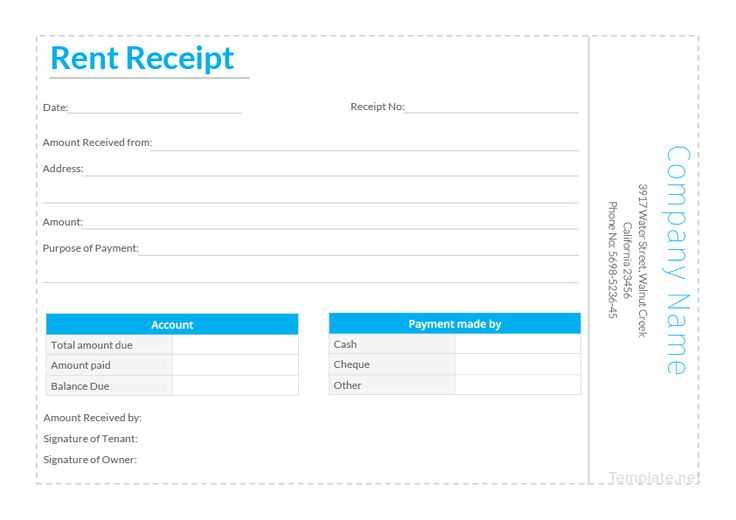
Start with company name and contact information at the top. Below that, list the receipt number and the transaction date. In the body, include a detailed breakdown of items, quantities, prices, and applicable taxes. Ensure that the total is clearly highlighted at the bottom, followed by payment method and a space for signatures if needed. Add terms or return policies at the footer, if relevant.
Formatting Tips
Keep the layout clean with plenty of white space. Align text to make sure everything is easy to follow. Avoid cluttering the template with unnecessary graphics or decorative elements, as the goal is clarity and professionalism. Make sure all text is properly spaced and aligned for easy readability.
Key Information to Include in a Signed Receipt
Ensure the receipt contains these key details:
- Date and Time: Clearly display the transaction date and time to avoid any confusion about the timing of the exchange.
- Amount Paid: Include the total amount paid, specifying currency, to reflect the full value of the transaction.
- Payment Method: Note how payment was made, whether by cash, credit card, debit card, or other methods.
- Receipt Number: Include a unique identification number for record-keeping and easy reference.
- Vendor Details: Provide the name, address, and contact information of the business or vendor.
- Customer’s Information (Optional): Include the customer’s name or account number if required for personalized records.
- Items or Services Purchased: List the purchased items or services with a brief description and individual prices.
Additional Tips

- Signature Line: Ensure there is space for both the customer and vendor to sign, confirming the transaction.
- Refund Policy (if applicable): Include information about returns or exchanges if relevant to the transaction.
Best Practices for Storing and Managing Signed Receipts
Use secure digital storage systems that offer encryption to protect signed receipts. Ensure that these systems are easily accessible but require proper authentication to prevent unauthorized access.
Organize receipts in clearly labeled folders or categories, whether digitally or in physical storage. This reduces the time spent searching for specific receipts when needed and ensures a more streamlined management process.
Set clear retention periods for signed receipts. For example, store them for a minimum of 7 years for tax purposes, or according to local legal requirements. Regularly review and dispose of outdated receipts to avoid unnecessary clutter.
Implement backup solutions, especially for digital files. Cloud storage or external drives should be regularly updated to ensure that signed receipts are not lost due to system failures or accidental deletion.
For physical receipts, invest in a secure filing system that minimizes the risk of damage or loss. Ensure the environment is cool and dry to prevent deterioration over time.
Set up regular audits to ensure that receipts are properly categorized, stored, and backed up. This helps to identify any gaps in the process and maintain an organized system for future reference.


