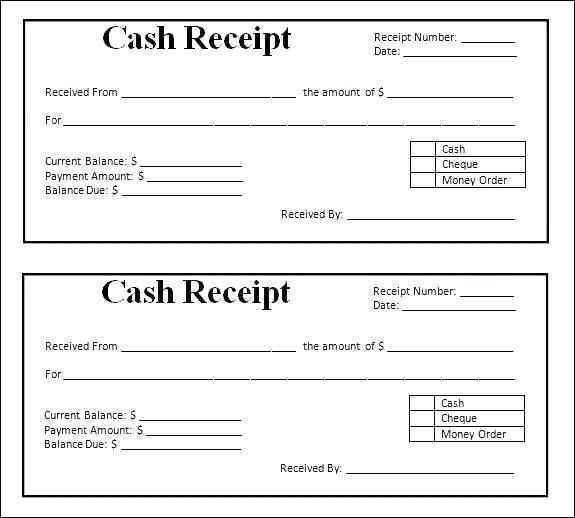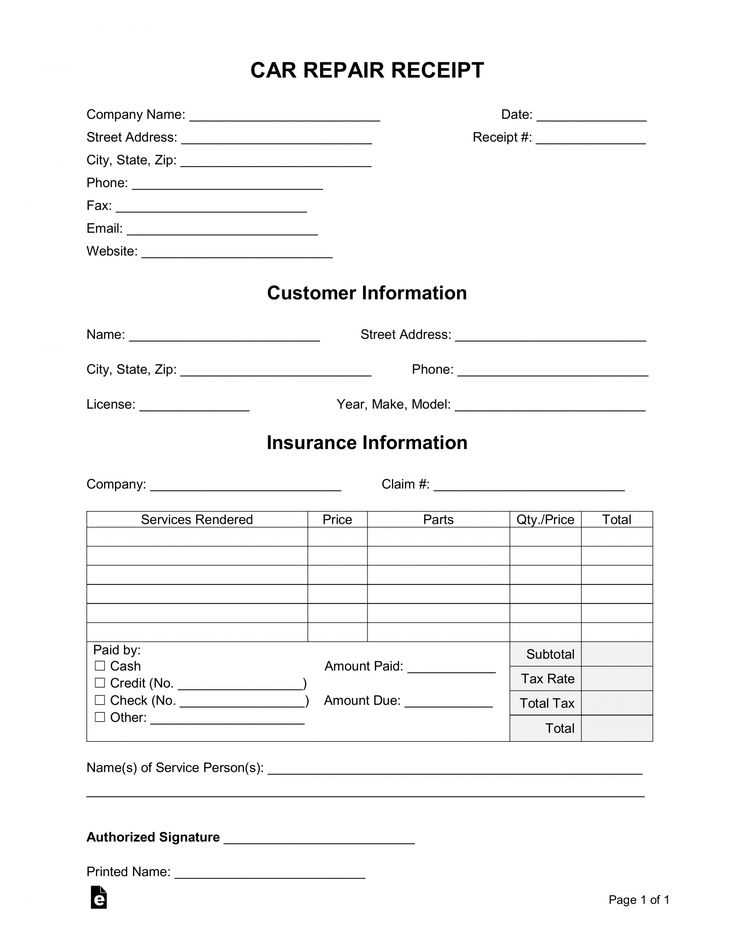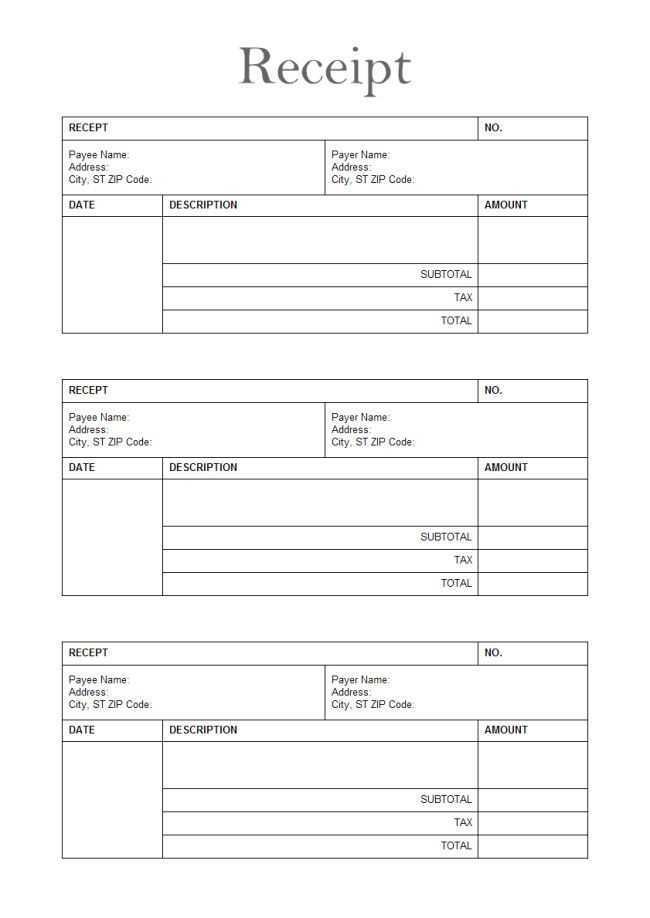
Ensure your receipt template is designed for smooth printing by keeping it simple and straightforward. Use standard page sizes like A4 or Letter for consistency across different printers. Customize the layout to include key details: store name, item descriptions, total amount, and payment method. Incorporate a clean font that is easy to read at various sizes.
Adjust margins carefully to avoid cutting off important information. Test print on different printers to ensure compatibility and consistency. Pay attention to font size, especially for critical information like the total or receipt number. This small adjustment can prevent errors when printing multiple receipts in high-traffic environments.
For easily reusable templates, set up dynamic fields for dates and prices, which can be updated automatically for each transaction. Use software that supports customizable templates, so your design remains flexible and adaptable to your business needs.
Finally, make sure your template is optimized for both physical and digital formats. A well-designed receipt can be used for email confirmations or printed for in-store transactions, giving your customers a seamless experience regardless of how they receive their receipt.
Receipt Template Print
Use a clear and concise layout for your receipt template to ensure all key details are easily accessible. Align the items and amounts in a structured format, keeping them visually distinct. Use simple fonts like Arial or Helvetica for readability. Provide ample space between sections such as the product details, total price, and payment method.
Key Elements to Include
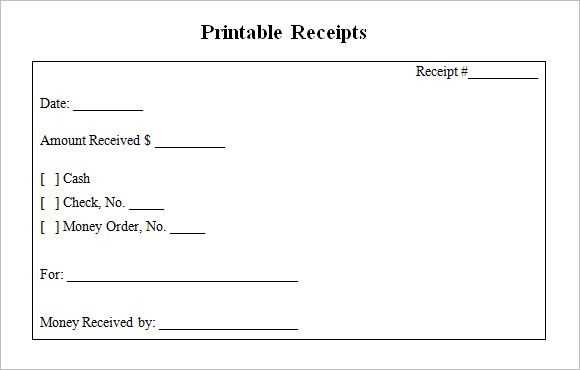
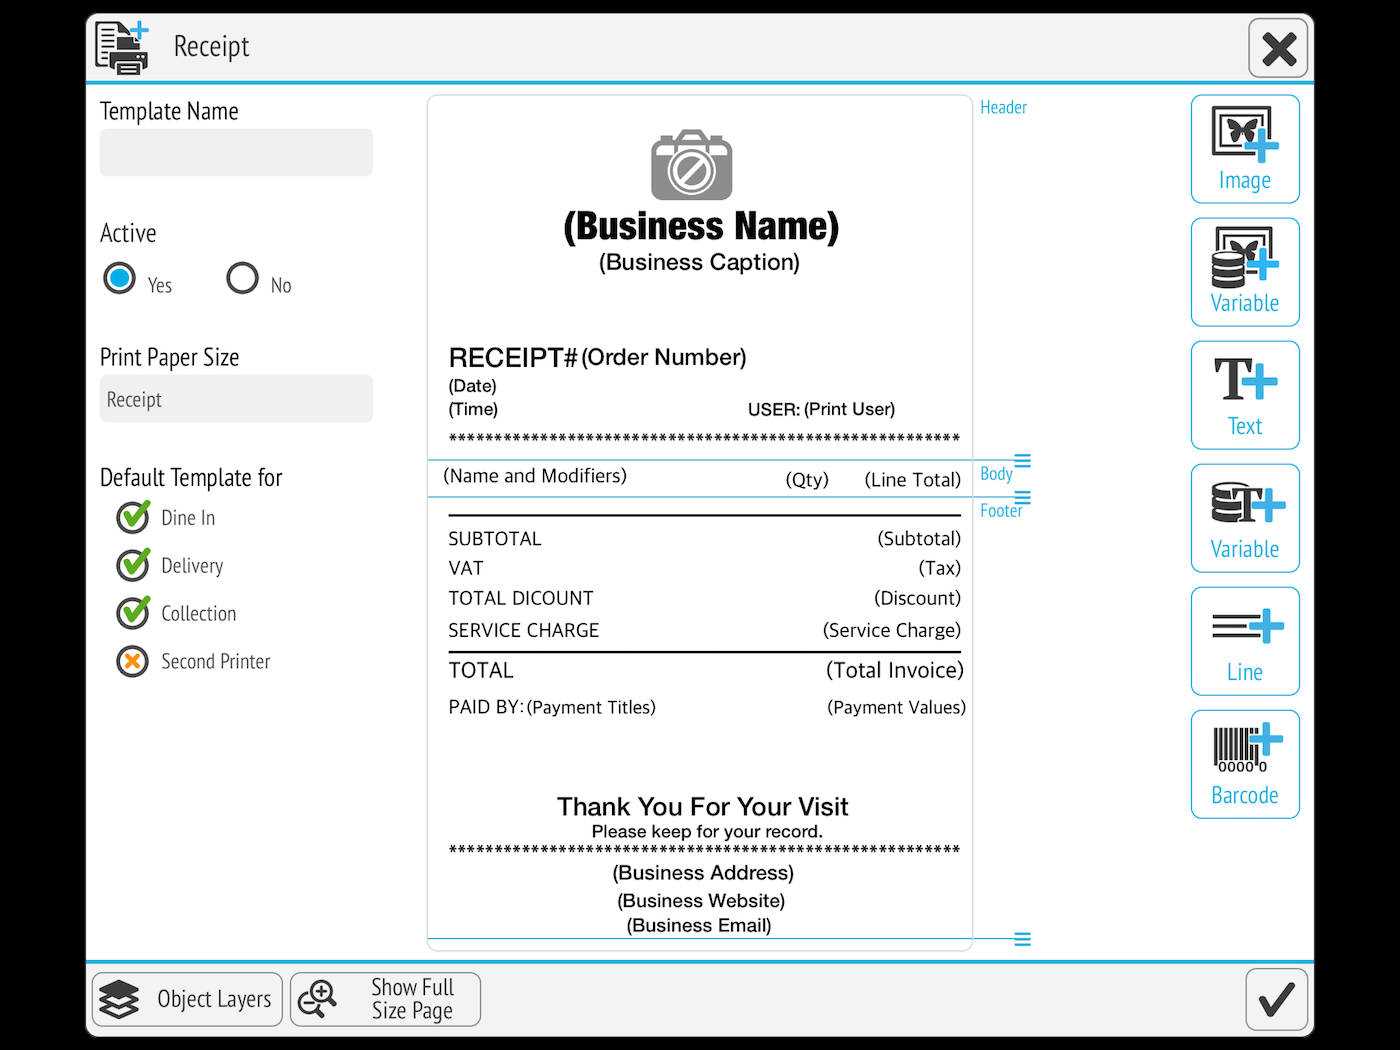
Include the business name, contact information, and receipt number at the top. Below that, list the products or services, quantities, prices, and any discounts or taxes applied. The total amount should stand out in a larger font. Finish with a thank-you message and return policy, if relevant.
Printing Tips
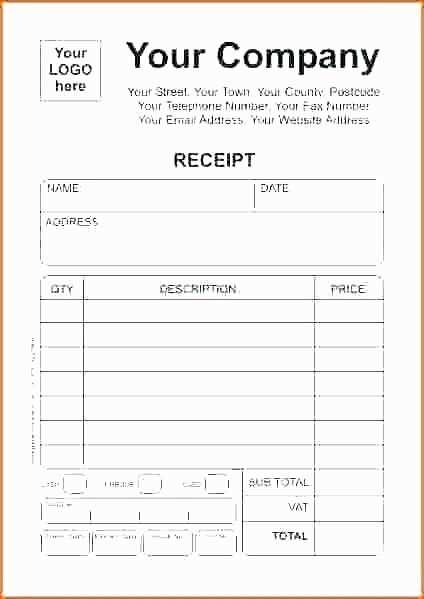
Set up the page margins to avoid cutting off important details. Print in high quality to ensure all text is clear, especially on smaller fonts. Use standard paper sizes like A4 or Letter, which are most compatible with most printers. Test the template on your printer before use to adjust margins and layout if needed.
Customizing Layout for Different Receipt Sizes
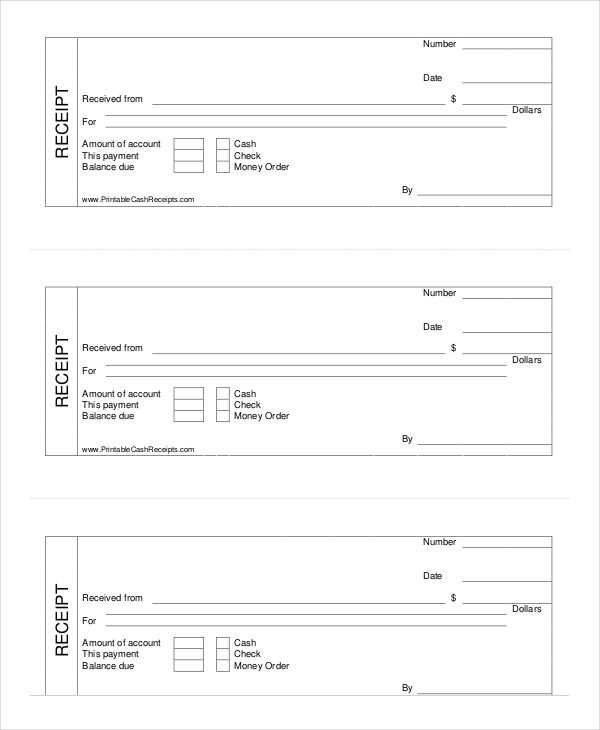
Adjust the design of your receipt template based on the available paper size. For smaller formats, like 2-inch thermal rolls, prioritize essential information. Keep the font size legible while maintaining compactness. Consider reducing margins and using a column layout to fit more content without overcrowding the space.
For larger formats, such as 4-inch paper, you can expand the content area, using wider margins for a more polished look. This allows room for additional elements like company logos, detailed itemized lists, or promotional messages. Utilize a multi-column format to break up large amounts of text, improving readability and flow.
Adjust the text alignment based on the space available. On smaller receipts, left-aligned text works best to maximize horizontal space. For larger formats, center-aligned text can give a more balanced, symmetrical appearance, especially for headings and totals.
Be mindful of the line height and font size. A smaller receipt should use smaller fonts (around 8-10 pt), while larger receipts can accommodate larger text (up to 12 pt). Keep in mind that legibility should always come before aesthetics. Test your layout with sample printouts to ensure the content fits properly without truncating any details.
Consider integrating dynamic elements like barcodes or QR codes. For smaller receipts, these should be placed at the bottom, ensuring they don’t interfere with the main content. Larger receipts can accommodate these codes without impacting the overall design.
For multi-language receipts, include enough space to accommodate additional text without disrupting the layout. Adjust the font size or margins as needed to keep the receipt looking tidy and organized, regardless of its size.
Choosing the Right Format for Easy Printing
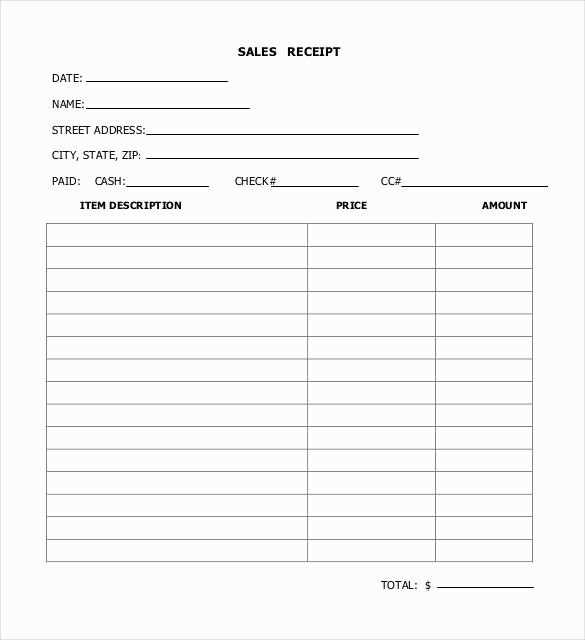
Opt for formats that are widely compatible with various printers, such as PDF or PNG. PDF files maintain the exact layout, regardless of the device or printer, which ensures consistent printing results. For images, PNG is a solid choice due to its lossless compression and sharp text rendering.
Consider the size of the receipt. Standard dimensions like 80mm width are commonly used in thermal printers. This ensures your printout fits well without unnecessary cropping or scaling issues. Always check the printer’s specifications to confirm supported paper sizes.
Keep margins minimal and ensure that all important text stays within the printable area. Printers may cut off content that extends too close to the edges. Position key information like total amounts, taxes, and itemized lists with enough spacing to avoid misalignment.
Set a resolution of at least 300 DPI (dots per inch) for clear and readable text. Lower resolutions can cause fuzziness, especially in small fonts, which can hinder readability on receipts.
Test your templates with different printers to make sure they print correctly and that all elements are legible. Adjusting the template to fit your printer’s specific settings will save time and reduce waste.
Integrating Dynamic Data Fields for Accurate Transactions
To ensure transaction accuracy, it’s crucial to integrate dynamic data fields into receipt templates. These fields should automatically update based on the specifics of each transaction, reducing the chances for human error.
- Timestamp: Include a real-time date and time field that adjusts according to the transaction moment. This ensures every receipt is tied to the exact moment of purchase.
- Itemized Details: Use dynamic fields for product names, quantities, and prices. These fields pull information directly from the transaction data, ensuring consistency and reducing manual input errors.
- Total Calculation: Automatically calculate totals based on the dynamic product list and apply any discounts, taxes, or shipping fees as necessary. This reduces errors that may occur during manual calculations.
- Payment Method: Display the method of payment dynamically, whether it’s cash, credit card, or another method. This helps clarify the transaction record for both the customer and the business.
- Receipt Number: Use a unique, sequential receipt number field that updates with each transaction, making tracking and referencing easier for future inquiries or returns.
For smooth operation, ensure these fields are linked to the system’s backend, pulling live data for each transaction. By doing so, you reduce manual input, minimize mistakes, and create receipts that are always up-to-date.
