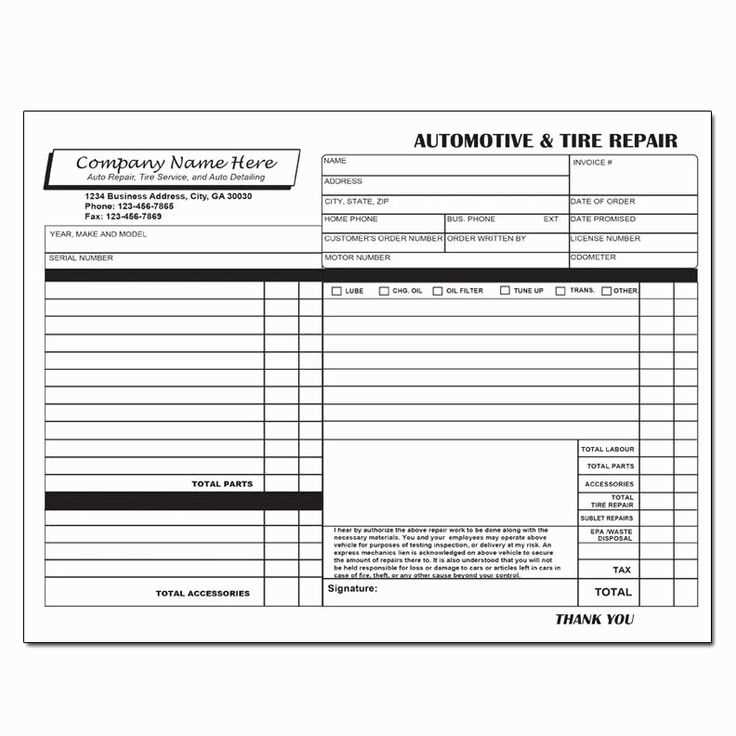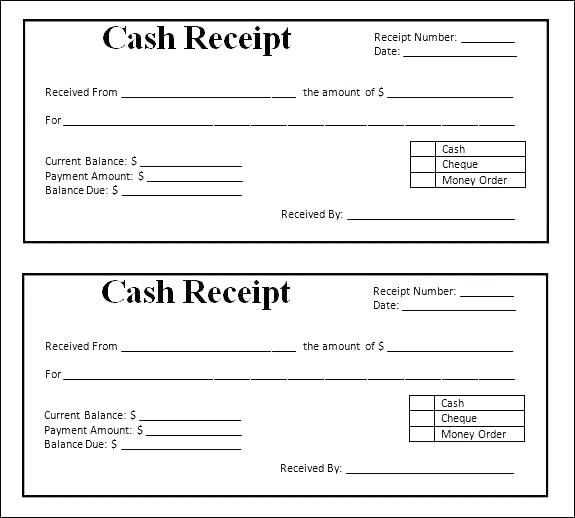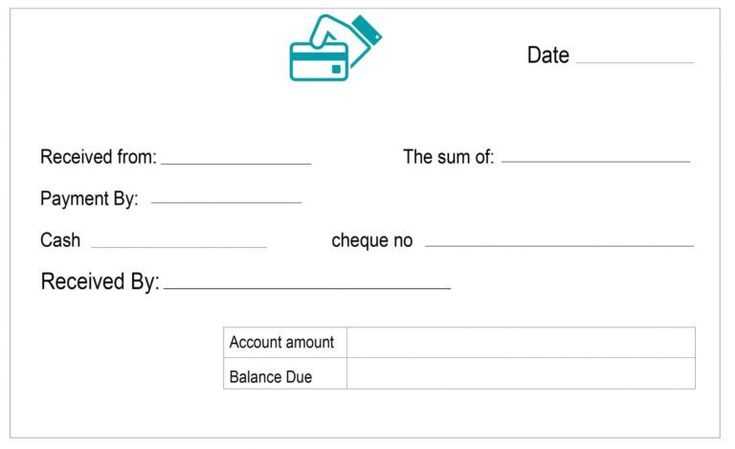
Use this free receipt template to create clear, professional payment receipts instantly. The template simplifies the process of documenting payments, helping you maintain organized records for your transactions. Whether you’re a freelancer, small business owner, or service provider, this tool will save you time and effort.
Key Information Included: The template covers all the necessary details for any payment transaction, such as the payer’s name, payment amount, method of payment, date, and a unique receipt number. Customizing the template to your needs is easy, making it suitable for various types of transactions.
How to Use: Simply fill in the fields with relevant payment details and print or send it electronically. The template ensures that your records are accurate and consistent, so you can stay on top of your financial documentation without hassle.
Tip: Regularly updating your payment records helps ensure accurate accounting and avoids future discrepancies. This simple tool keeps you organized and prepared for any financial audit or reporting needs.
Free Template for Receipt of Payment
To create a simple and clear receipt of payment, use a free template designed for accuracy and ease of use. Begin with basic information like the buyer’s and seller’s details, along with the transaction date and total amount received. Use a clear format to avoid confusion and ensure that both parties understand the terms of the transaction.
Include a breakdown of the items or services being paid for. This section should list each item or service, including the price, any taxes applied, and the final total. Having this information visible helps ensure transparency and can be useful for record-keeping purposes.
Finally, ensure there is space for both the buyer and the seller to sign, confirming the transaction. Signatures serve as a form of legal acknowledgment that both parties agree to the payment terms outlined. This can help prevent any future disputes about the transaction.
HTML Edit: Free Template for Payment Receipt
This simple HTML template allows you to create a clean and professional payment receipt. It’s designed to be customizable, enabling you to tailor the details to your specific transaction needs.
First, ensure that you include the payment amount, date, and a unique receipt number to maintain clarity. Using placeholders like [Amount], [Date], and [Receipt Number] helps make the template adaptable for future use.
Next, add the recipient’s name, company, and address, which provides context for the transaction. Keep the design minimal, focusing on readability. Avoid clutter by sticking to essential fields only.
To enhance user experience, ensure the receipt is easy to print or save as a PDF. Keep a responsive layout so it works well on different devices, from desktop screens to mobile phones.
Lastly, you can include payment method details, such as credit card, bank transfer, or cash, in a dedicated section. This helps clarify the payment process for both the payer and the receiver.
- How to Select the Best Receipt Template for Your Business
Choose a receipt template that matches your business needs. Ensure the design includes all necessary information such as your company name, address, and contact details. If you deal with multiple payment types, look for templates that allow you to clearly list each transaction type–whether it’s cash, credit, or digital payment.
Opt for a template that is flexible and customizable. Some businesses require additional fields like tax information, discounts, or product descriptions. Pick a template that lets you add and remove fields as needed. This ensures your receipts stay consistent and aligned with your accounting needs.
Consider readability and clarity. Your receipt should be easy to understand at a glance. Use a template with a clean layout, where the most important details (like payment amounts and transaction dates) are prominently displayed.
For businesses that handle large volumes of receipts, automation features may be valuable. Choose a template that integrates with your point-of-sale system or accounting software, so you can save time and reduce the chance of errors.
Finally, ensure your receipt template is compatible with your branding. A professional design that incorporates your logo and brand colors can help reinforce your company’s identity, leaving a positive impression on your customers.
Customizing your receipt template begins with understanding the key elements it should include. These elements typically consist of the business name, date, itemized list of services/products, prices, and payment methods. Organize your template layout to ensure that these components are easy to read and access.
1. Adjust Business Information
First, add your business’s name, logo, address, and contact details. These are typically displayed at the top of the receipt, making them easy to spot. Ensure the font size is appropriate, so it’s legible but doesn’t overpower other sections of the receipt.
2. Modify the Itemized List
Next, ensure your itemized list is clear. Include columns for item names, quantities, unit prices, and total amounts. It’s important to format this section in a table for easy reading. You can also use different colors to differentiate between sections like products, services, and totals.
| Item | Quantity | Unit Price | Total |
|---|---|---|---|
| Product 1 | 1 | $10.00 | $10.00 |
| Product 2 | 2 | $5.00 | $10.00 |
3. Insert Payment Method Information
Clearly display the payment method used, whether it’s cash, credit card, or another option. This section may include additional details, like the last four digits of a card number, if applicable. Position this information near the total amount section for quick reference.
4. Add Custom Notes or Terms
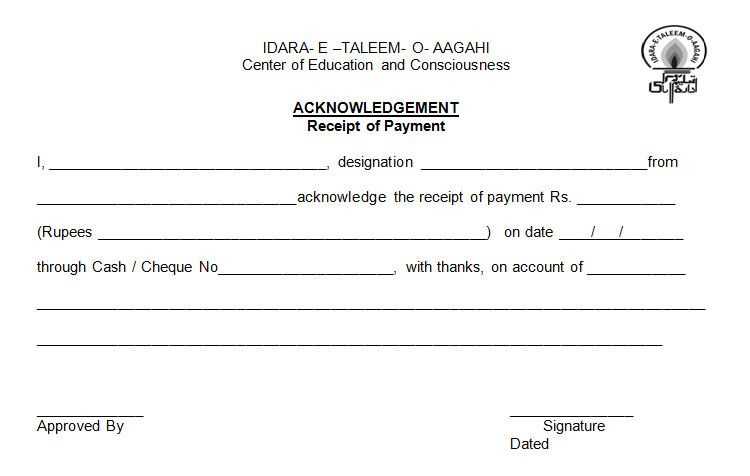
Consider including any additional information like return policies, disclaimers, or custom messages. Use a smaller font size to avoid cluttering the main sections, but make sure the text is still legible.
Issuing payment receipts requires compliance with various legal regulations. The receipt serves as proof of transaction, ensuring both parties are protected in case of disputes. Here are key points to consider:
Obligations for Issuing Receipts
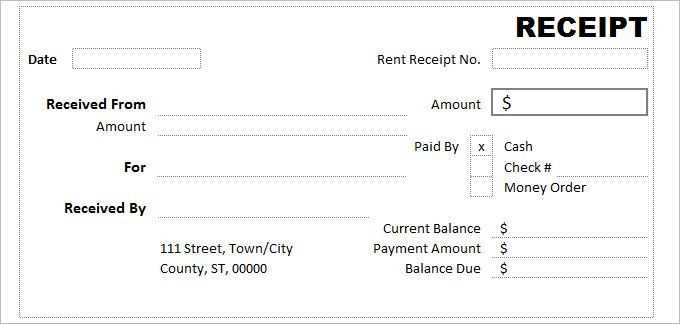
- Businesses must issue receipts for transactions involving goods or services above a specified amount. This threshold varies by jurisdiction.
- Receipts should include details such as the date of transaction, the amount paid, the payer’s and recipient’s information, and a description of the goods or services provided.
- Receipts must be issued promptly after payment is made to avoid any misunderstanding or dispute.
Tax and Reporting Requirements
- Receipts are essential for tax purposes. They may be required for reporting sales, income, and other financial activities.
- Ensure receipts meet the tax authority’s format and include the necessary tax identification number or VAT details, if applicable.
By adhering to these legal requirements, you minimize risks of non-compliance and protect both the business and the customer during any future audits or disputes.
To create a receipt of payment, ensure you include key details: the payment amount, the payer’s information, and the date of payment. A clean layout is crucial for clarity and ease of use.
Include Transaction Details
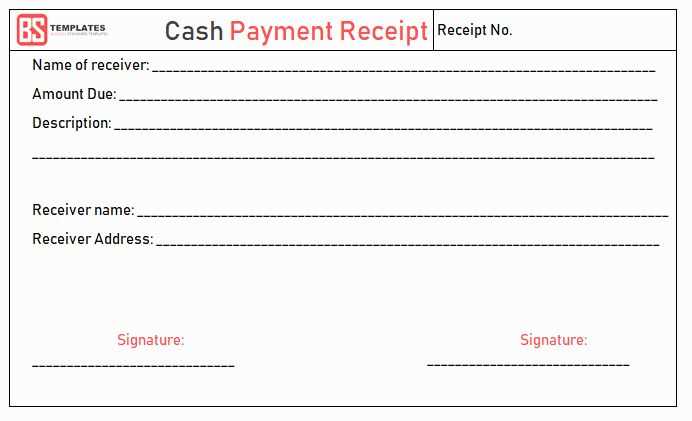
Clearly list the amount paid, any applicable taxes, and the total. Be specific about the method of payment (e.g., cash, card, bank transfer) to avoid confusion later. This helps both parties understand the transaction fully.
Provide Contact Information
Include the payer’s and receiver’s names, addresses, and contact details. This serves as proof of the transaction and helps in case of any discrepancies or follow-up questions.
