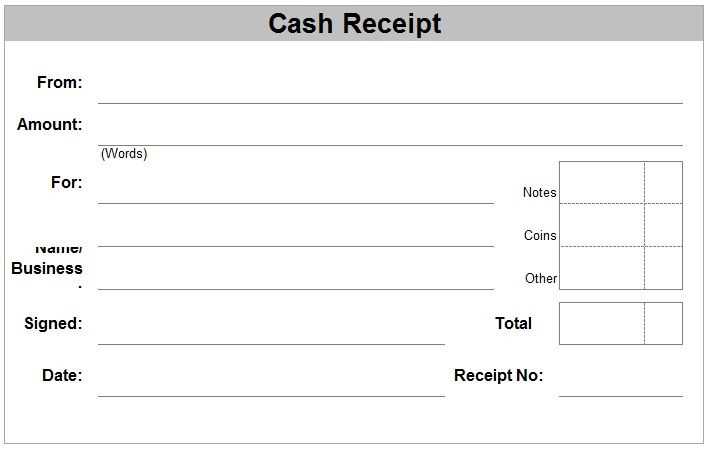
Designing a receipt template saves time and ensures consistency in your transactions. Choose a format that suits your business needs–whether it’s simple or detailed. A clean design with clearly labeled sections for the company name, transaction details, and payment method will make the receipt easy to understand.
Customizing a template allows you to include additional information like tax breakdowns or loyalty points if necessary. Stick to essential fields, such as item descriptions, quantities, and prices, to keep the receipt clear without overwhelming your customers.
Ensure that the receipt template is easy to update, especially if there are changes in pricing or tax rates. Many software solutions offer pre-made templates that you can personalize, or you can create your own using word processors or spreadsheet applications.
Tip: Consistency is key. Use a uniform style for all receipts to maintain professionalism and avoid confusion.
Helpful hint: Test the template before use to make sure all fields are correctly aligned and legible on both printed and digital versions.
How to Create a Custom Receipt Template
Choose a template tool that suits your needs. Options range from simple word processors to advanced graphic design software. Pick one that allows flexibility in layout and styling.
Set the basic structure of your receipt. Start with a clear header that includes your business name, address, contact information, and logo. This helps customers quickly identify your business.
Include transaction details such as date, item description, quantity, unit price, and total amount. Make sure these fields are clearly spaced and easy to read. Use a clean, organized format for easy scanning.
Incorporate payment method and tax details. If applicable, show the tax rate and total tax amount. This provides transparency and complies with tax regulations.
Design your receipt with readability in mind. Keep fonts simple and ensure the size is large enough for easy reading. Avoid clutter and unnecessary information to keep the focus on key transaction details.
Finally, include any necessary legal disclaimers or return policies. Place this information at the bottom of the receipt where it’s accessible but doesn’t overwhelm the rest of the content.
Choosing the Right Software for Receipt Template Creation
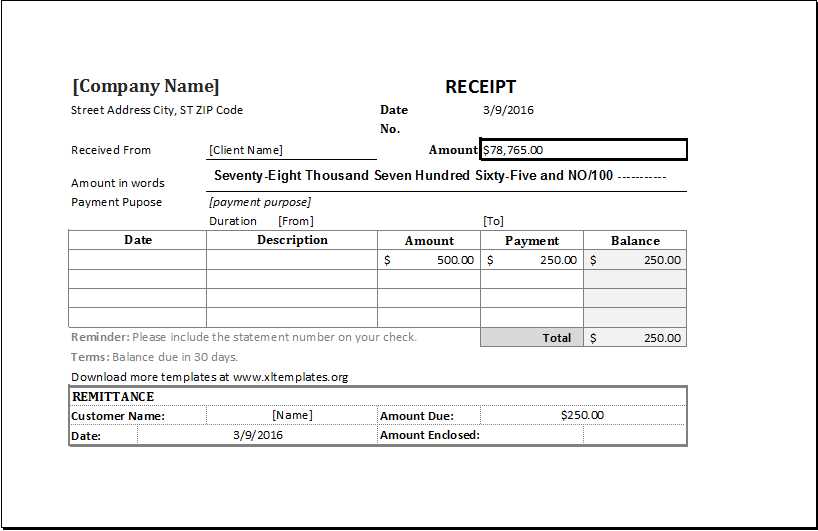
Begin with a clear understanding of your needs. Look for software that offers flexibility in layout customization, such as allowing you to adjust fonts, colors, and logos. Tools like Canva or Microsoft Word offer user-friendly interfaces with pre-designed templates that can be tailored quickly.
If you need advanced features, such as integration with payment systems or the ability to automate receipt generation, consider using specialized accounting software like QuickBooks or Xero. These platforms streamline the process by allowing you to create and send receipts directly from your account records.
For a more hands-on approach, explore open-source software like LibreOffice or Google Docs. These programs give you control over template design while allowing you to store and access documents in the cloud for easy sharing and editing.
Evaluate the level of support offered by the software. A community forum or customer service can save you time if you run into technical issues while creating templates.
Tips for Ensuring Accuracy and Professionalism in Your Receipts
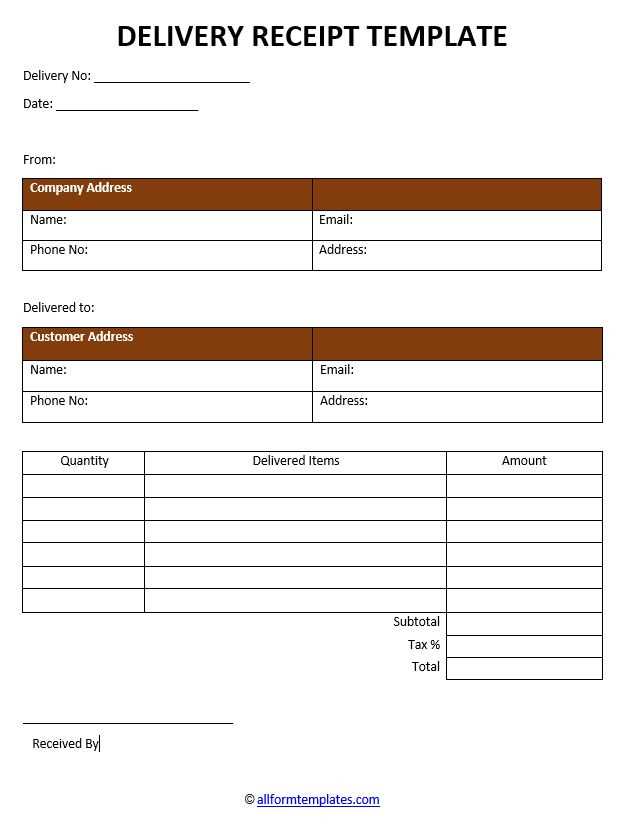
Double-check all information before finalizing the receipt. Ensure the date, product/service details, and amounts are correct. A small error can lead to confusion and mistrust. Pay close attention to numbers, especially tax and discount calculations.
Include Clear Contact Information
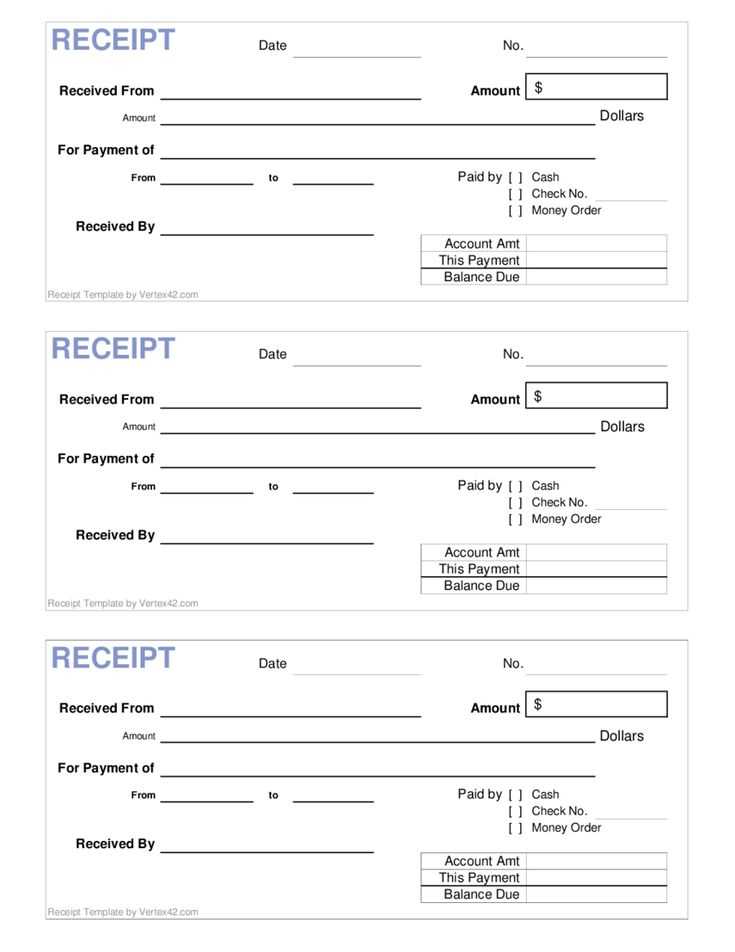
Make your business’s contact details easily visible. Include your address, phone number, and email. This not only adds professionalism but also allows customers to reach out if there’s an issue with the transaction.
Organize Details Logically
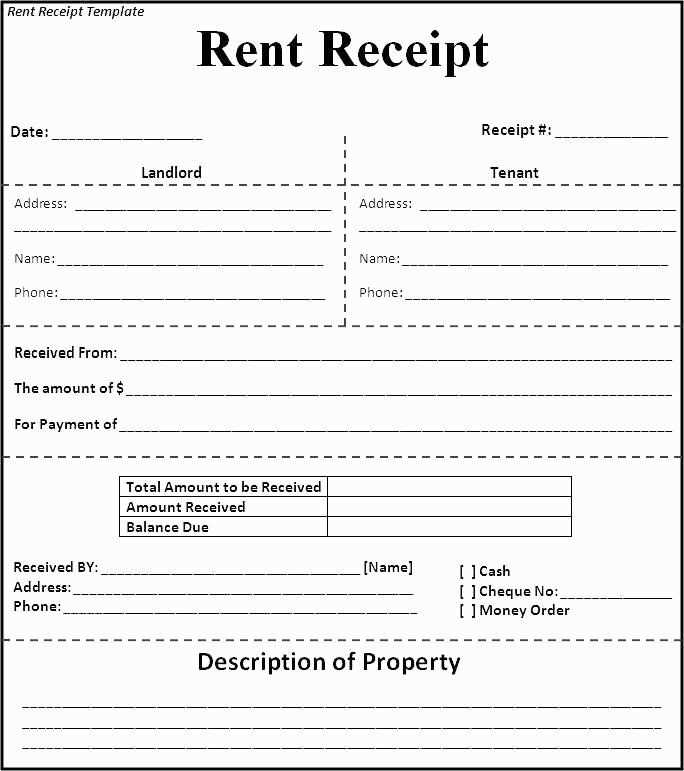
List items and services in a clear, logical order. Use bullet points or tables for itemized sections. Make sure quantities, unit prices, and totals are easy to read. A cluttered layout makes a receipt harder to understand.
Consistency is key–use the same format for all receipts. This applies to fonts, layout, and terminology. Customers will appreciate the uniformity, and it promotes a polished image for your business.
Keep records of issued receipts for future reference. In case of disputes or refunds, both you and the customer can rely on accurate, accessible records to resolve any issues quickly.


