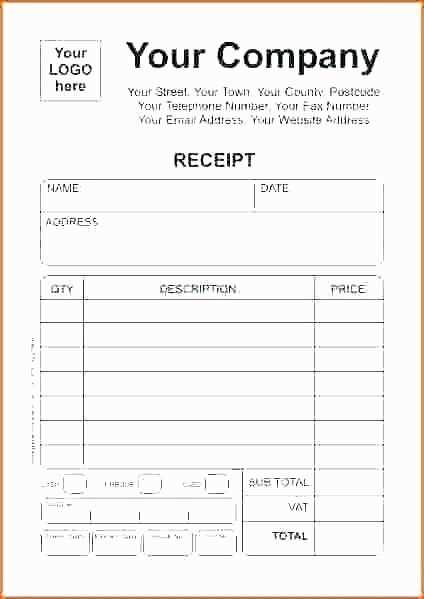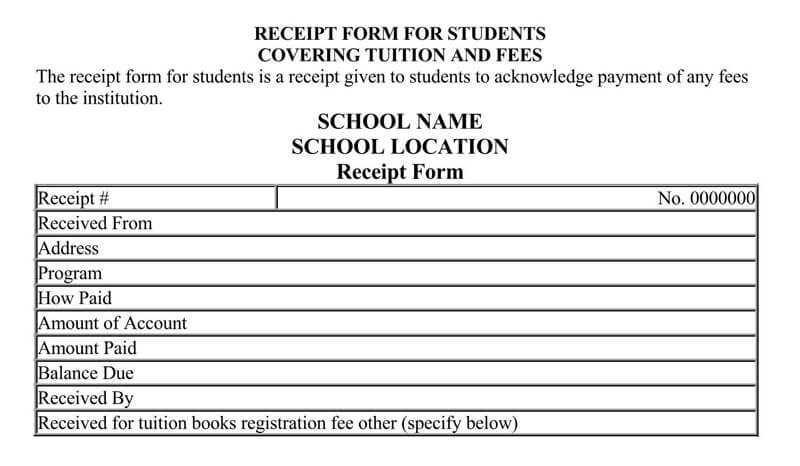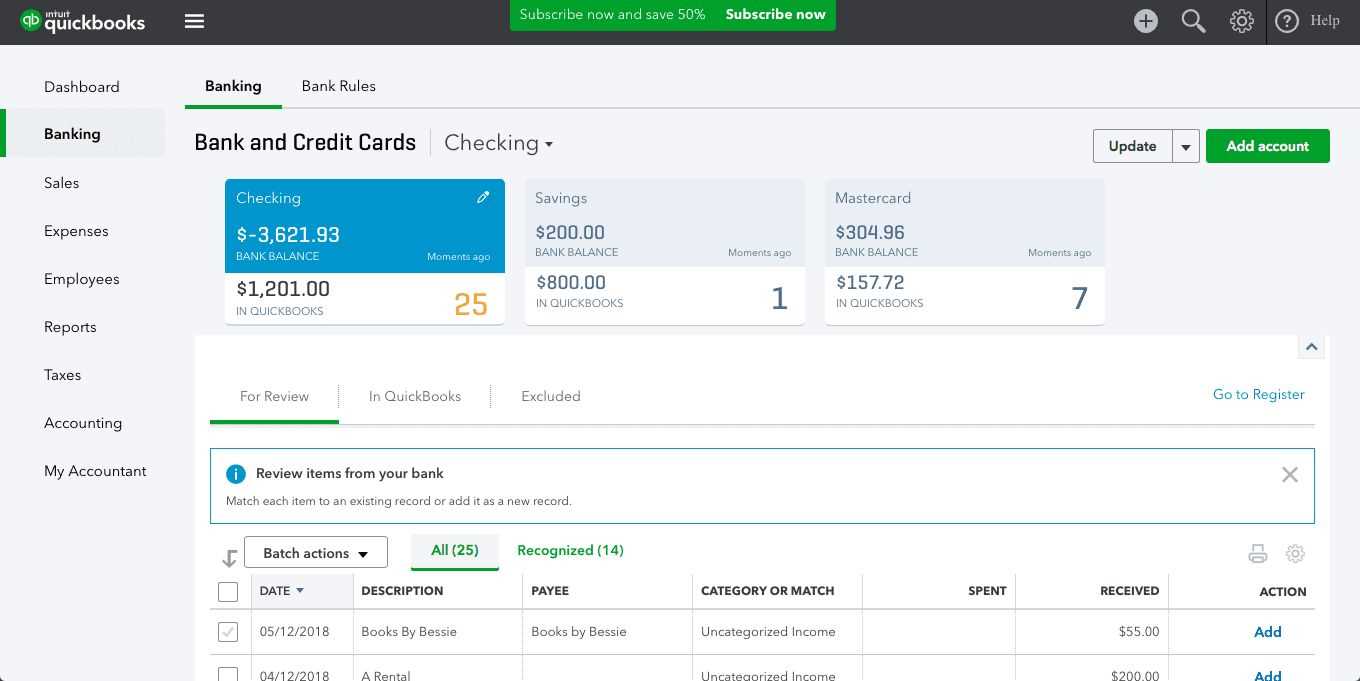
Customize your QuickBooks POS receipt templates to align with your business needs. You can easily modify the look and feel of your receipts, making them more professional and tailored to your brand.
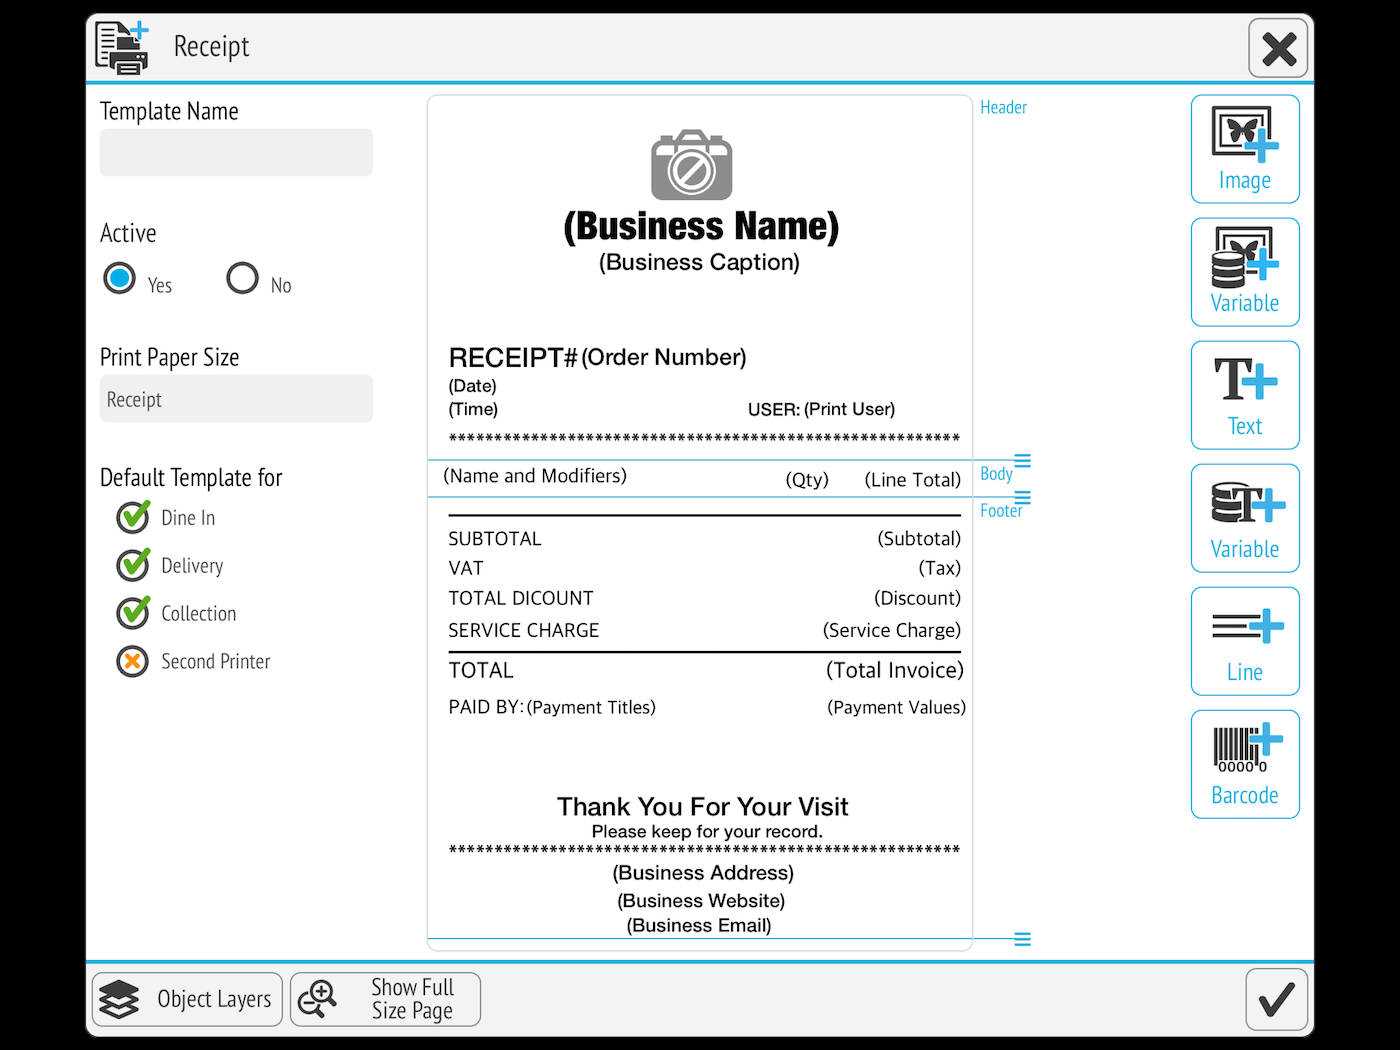
Start by accessing the template settings within your QuickBooks POS software. Here, you’ll find various options for adjusting fonts, logos, and text layout. By selecting the right template, you can quickly change elements such as your business name, address, and contact information to fit your branding.
Don’t forget to add key details like tax information or payment methods to ensure your receipts are fully compliant with local regulations. Customizing these templates can enhance the customer experience and create a cohesive brand identity.
Take advantage of the built-in preview feature to see how your changes look before applying them. This helps ensure accuracy, so your receipts are both visually appealing and functionally complete.
Here’s the corrected version:
Adjust your template layout to ensure the receipt is clear and concise. Focus on including the necessary details such as the store name, itemized list, and totals. Avoid cluttering the receipt with unnecessary information that may confuse the customer.
Modify fonts and alignment for better readability. Ensure the most critical information, like the total amount and payment method, stands out clearly. Use larger or bold fonts for headings to create a logical flow of information.
Update item descriptions to make sure each product is listed accurately, with enough details to clarify the purchase. This helps avoid customer confusion and improves the overall user experience.
Include customizable sections like discounts, taxes, and loyalty rewards. These areas can be dynamically updated depending on the transaction, providing a personalized receipt for each customer.
Double-check the footer for any business-specific information like return policies or contact details. This section should be concise yet informative.
QuickBooks POS Receipt Templates
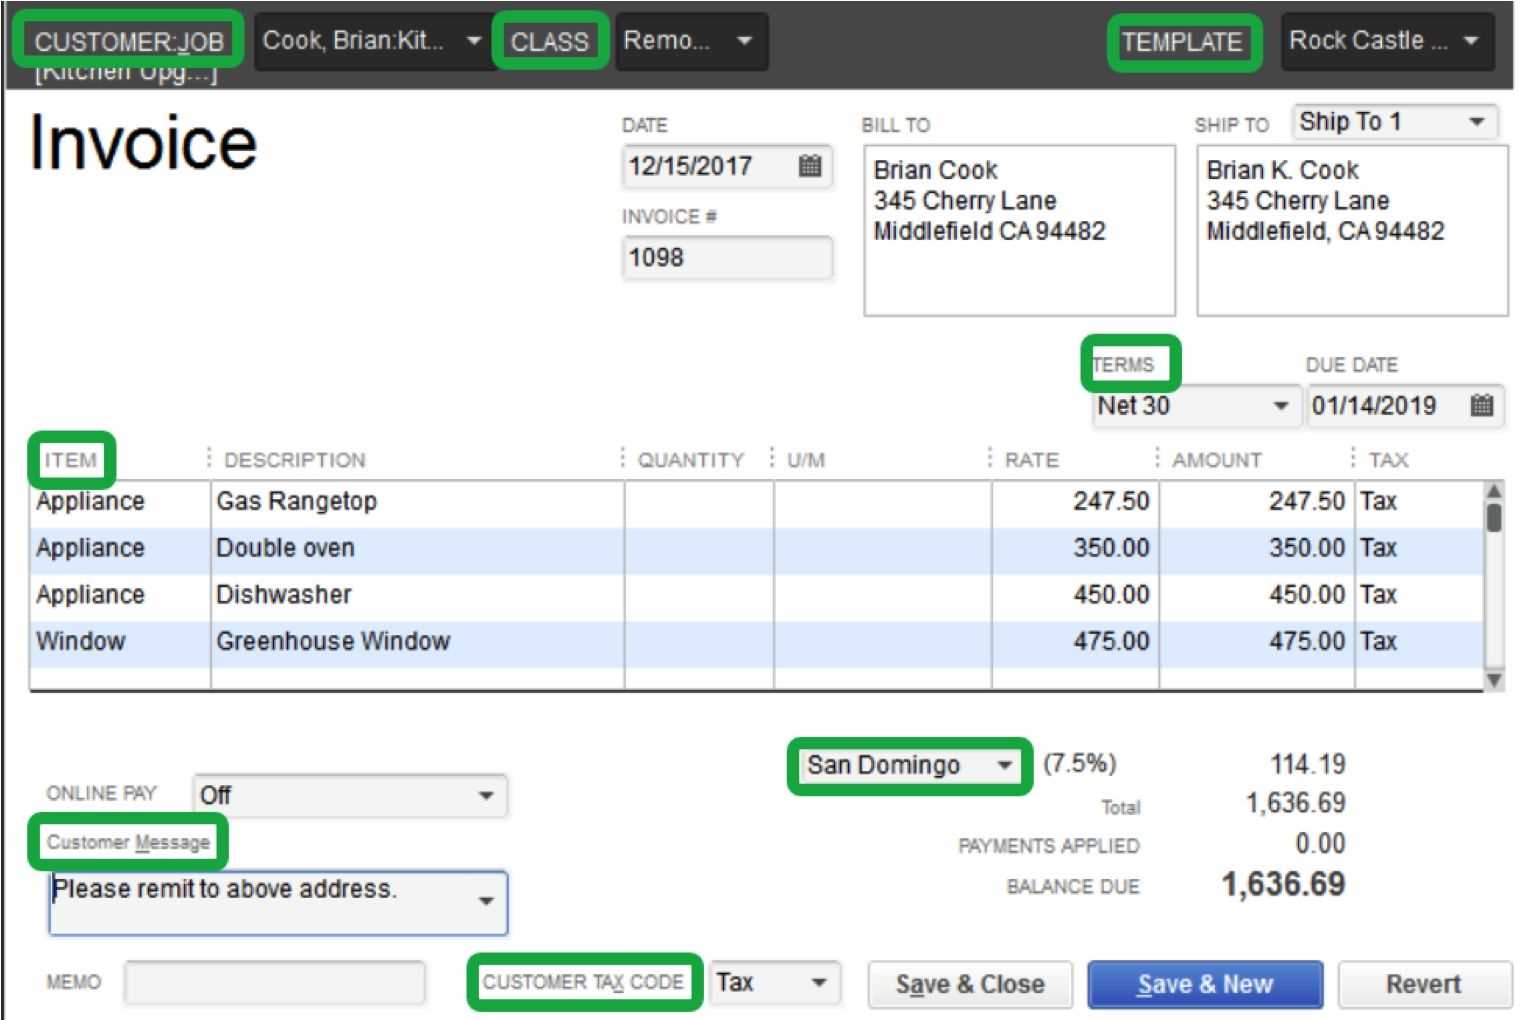
Customizing QuickBooks POS receipt layouts is simple. Open the “Template Designer” in QuickBooks POS, where you can modify the structure and appearance of your receipts. Choose the layout you want to adjust, and select options like font style, size, and alignment to match your business branding.
To add custom branding, go to the “Company Information” section within the POS settings. Here, you can upload your company logo, adjust colors, and set up other branding elements that will appear on receipts. These adjustments ensure your receipts reflect your unique brand identity.
If your business requires multiple receipt templates, QuickBooks POS allows you to manage them easily. Go to the “Templates” menu and create a new template for different transaction types, such as sales or returns. You can switch between templates with just a few clicks, ensuring that each transaction has a tailored receipt format.
