Begin by clearly outlining the key components of the receipt, such as the business name, contact information, and date of the transaction. This ensures both parties have a clear record of the exchange.
Transaction Details: Include a list of items or services provided, along with their individual prices. A concise description of each item helps prevent confusion later. Ensure to highlight the total amount due at the bottom for clarity.
Payment Method: Specify how payment was made, whether by cash, credit, or another method. Including this detail eliminates ambiguity and provides an accurate record for both parties.
Lastly, a space for any applicable taxes or discounts should be clearly marked to avoid misunderstandings. Ensure the format remains consistent and professional, offering both clarity and ease of reference for future use.
Write a Receipt Template
To create a clear and simple receipt template, include the following key elements:
- Header: Include your business name and contact information (address, phone number, email). This should be prominently displayed at the top.
- Date and Receipt Number: Provide the date of the transaction and a unique receipt number for reference.
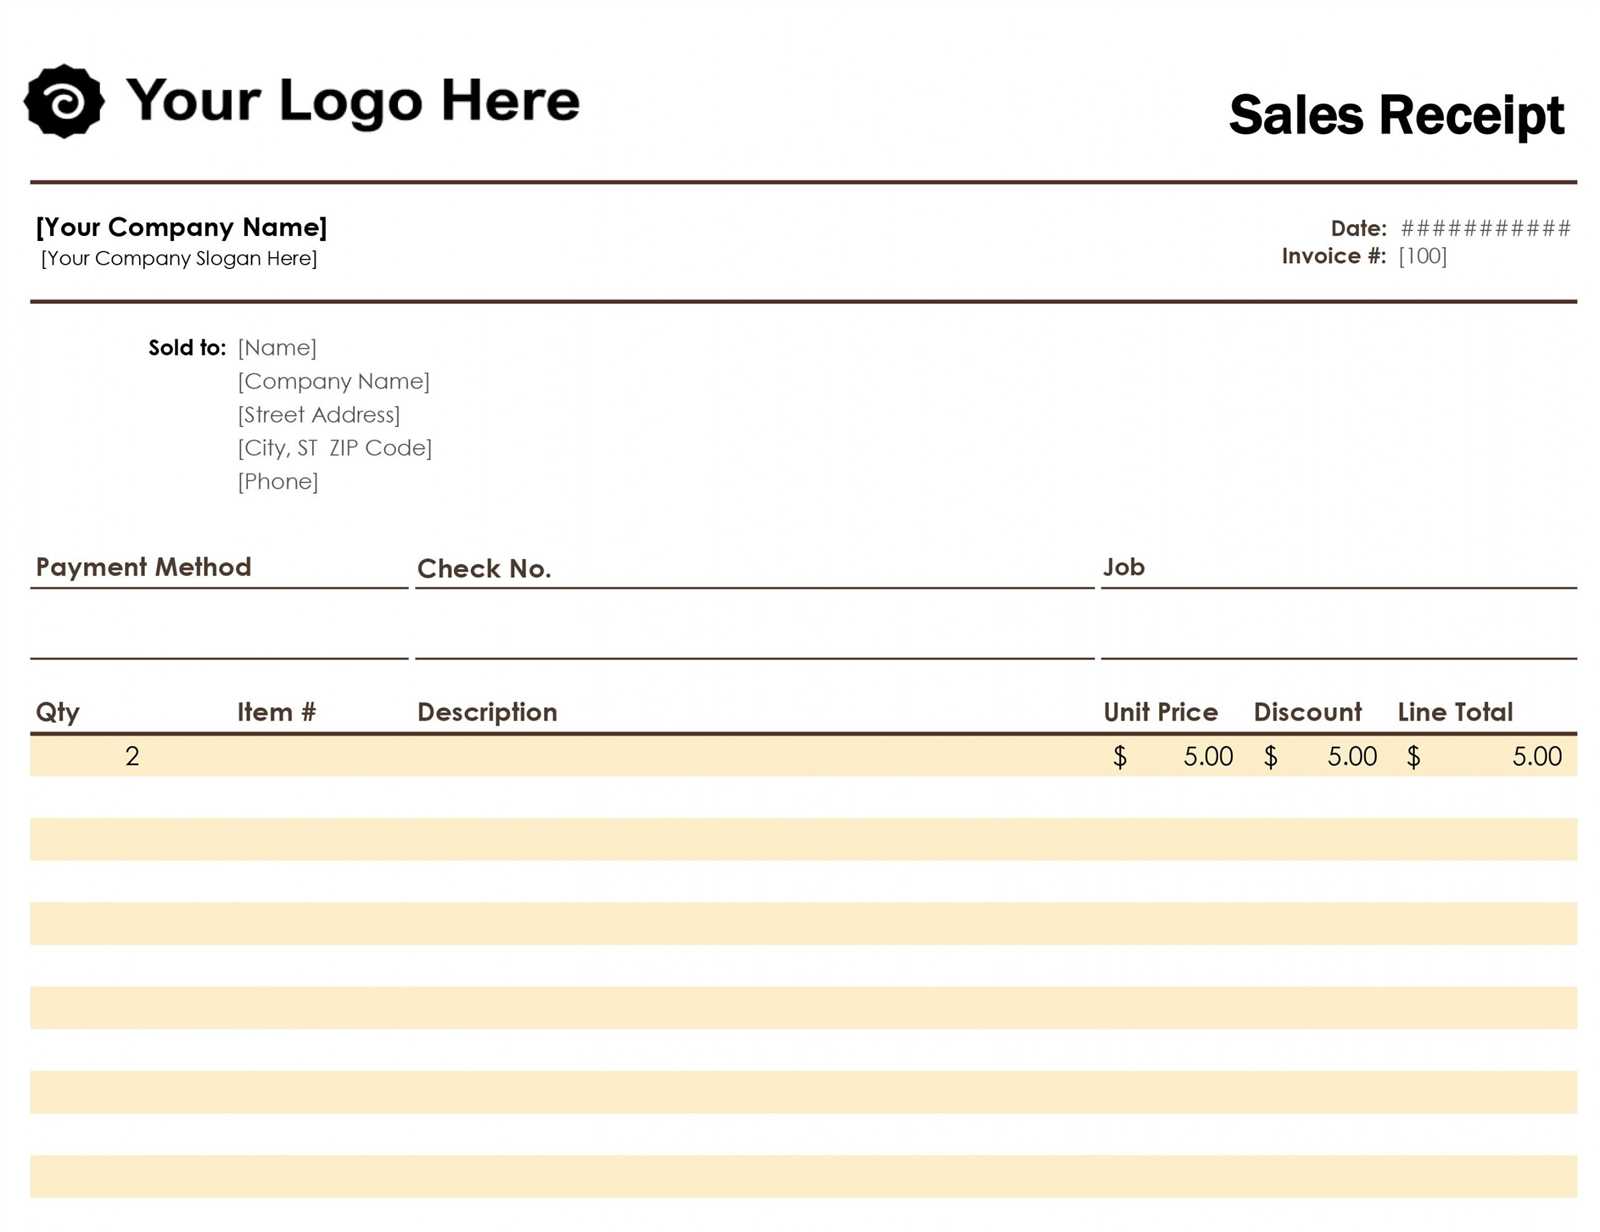
- Itemized List of Products or Services: List each item or service provided with a brief description, quantity, price per unit, and total cost.
- Subtotal: Sum up the costs of all items before tax.
- Tax Information: Include applicable sales tax and its rate. This can be added as a separate line or part of the subtotal calculation.
- Total Amount: Clearly display the final total amount due, including any discounts or additional fees.
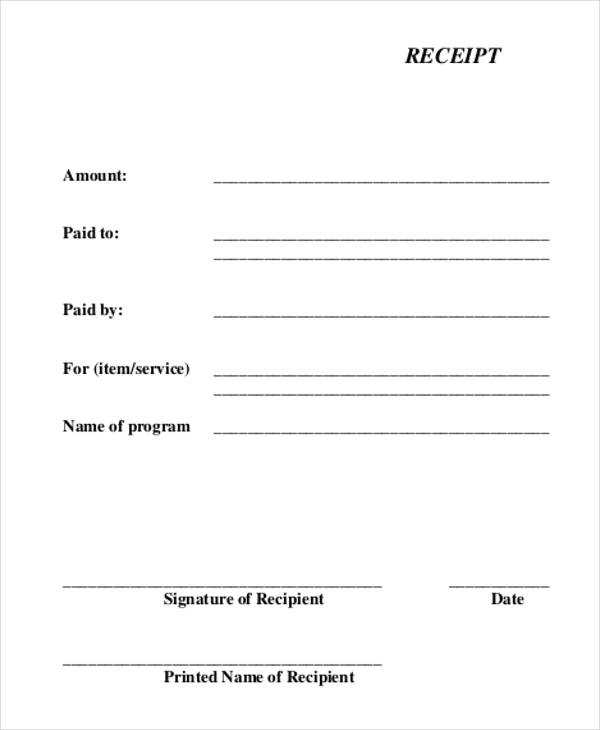
- Payment Method: Specify how the payment was made (cash, credit card, etc.).
- Footer: Optionally, include terms, return policy, or a thank you note to the customer.
Ensure that each section is distinct and legible for easy understanding. Keep the layout simple and clean for a professional appearance.
Creating Basic Layout for a Receipt

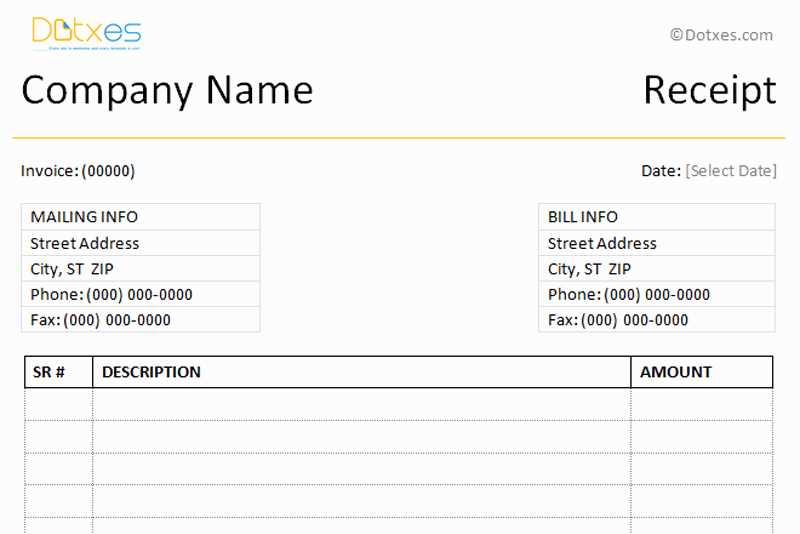
Organize the receipt into clear sections for easy reading. Begin with the company name and contact details at the top. Ensure they are centered and bold to stand out. Right below, add the receipt title, such as “Receipt” or “Invoice”, in a slightly smaller but still noticeable font.
Next, place transaction details, including the date and time, aligned to the right for quick reference. Use a simple table format for item descriptions, quantities, and prices. Include a column for the total cost at the far right. Keep the font size readable but not overwhelming.
Leave space at the bottom for payment method information and a thank-you note. Ensure that these sections are not crowded, leaving a clear margin for visual balance. Maintain consistency in font style and size throughout the receipt for a clean, professional look.
Incorporating Required Information on the Receipt
Include the date of the transaction at the top of the receipt for clear reference. This ensures that both the buyer and seller can easily track the timing of the purchase. Follow this with the name of the business, along with its contact details like address and phone number, so that customers can reach out if needed.
Itemized details of the purchased products or services should be listed, along with their prices. If applicable, add taxes or fees, clearly indicating the subtotal and final total. This transparency helps prevent any confusion about the cost breakdown.
Don’t forget to provide the method of payment used, whether it’s cash, card, or another form. This detail confirms the payment status. Including a unique transaction number or receipt number can also assist in future inquiries or returns.
Make sure to include any terms regarding returns or warranties, as these are important for both parties. A short line about return policies or time frames for refunds adds clarity for customers.
Lastly, ensure that your receipt is legible and free of clutter. Keep the information straightforward, focusing on what is needed to avoid overwhelming the customer.
Designing a Simple Template for Printing or Digital Use

Choose a clean layout that highlights the necessary information. Begin with a title area at the top for the document’s purpose, such as “Receipt” or “Invoice”. Use large, bold fonts for the title to make it stand out.
In the next section, include fields for date and time. Position them neatly aligned to the right or left, depending on preference, and keep the font legible. Below, create areas for the items or services with clear labels for each column like “Description,” “Quantity,” and “Price.” Each entry should be separated by borders or lines to maintain clarity.
Add a section at the bottom for totals and taxes. Use larger, bold text for the final amount, and ensure all calculations are easy to follow. For digital templates, consider including spaces for a digital signature or a QR code linking to payment methods.
For a printable design, keep the margins wide enough to avoid cutting off important information. If you plan for digital use, ensure the layout adapts well to mobile screens, optimizing for readability across different devices. A well-structured, minimalistic approach ensures the design serves its purpose without unnecessary clutter.


