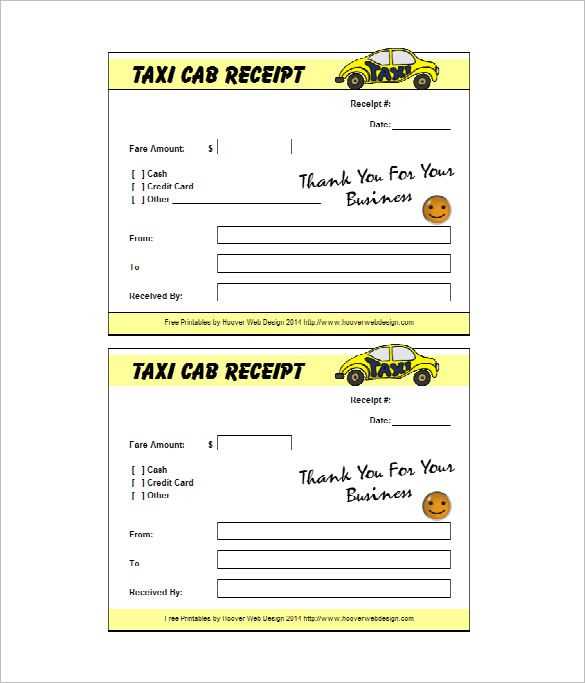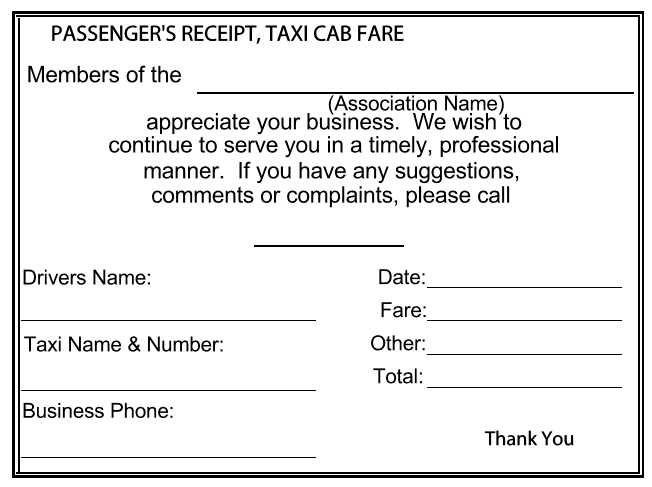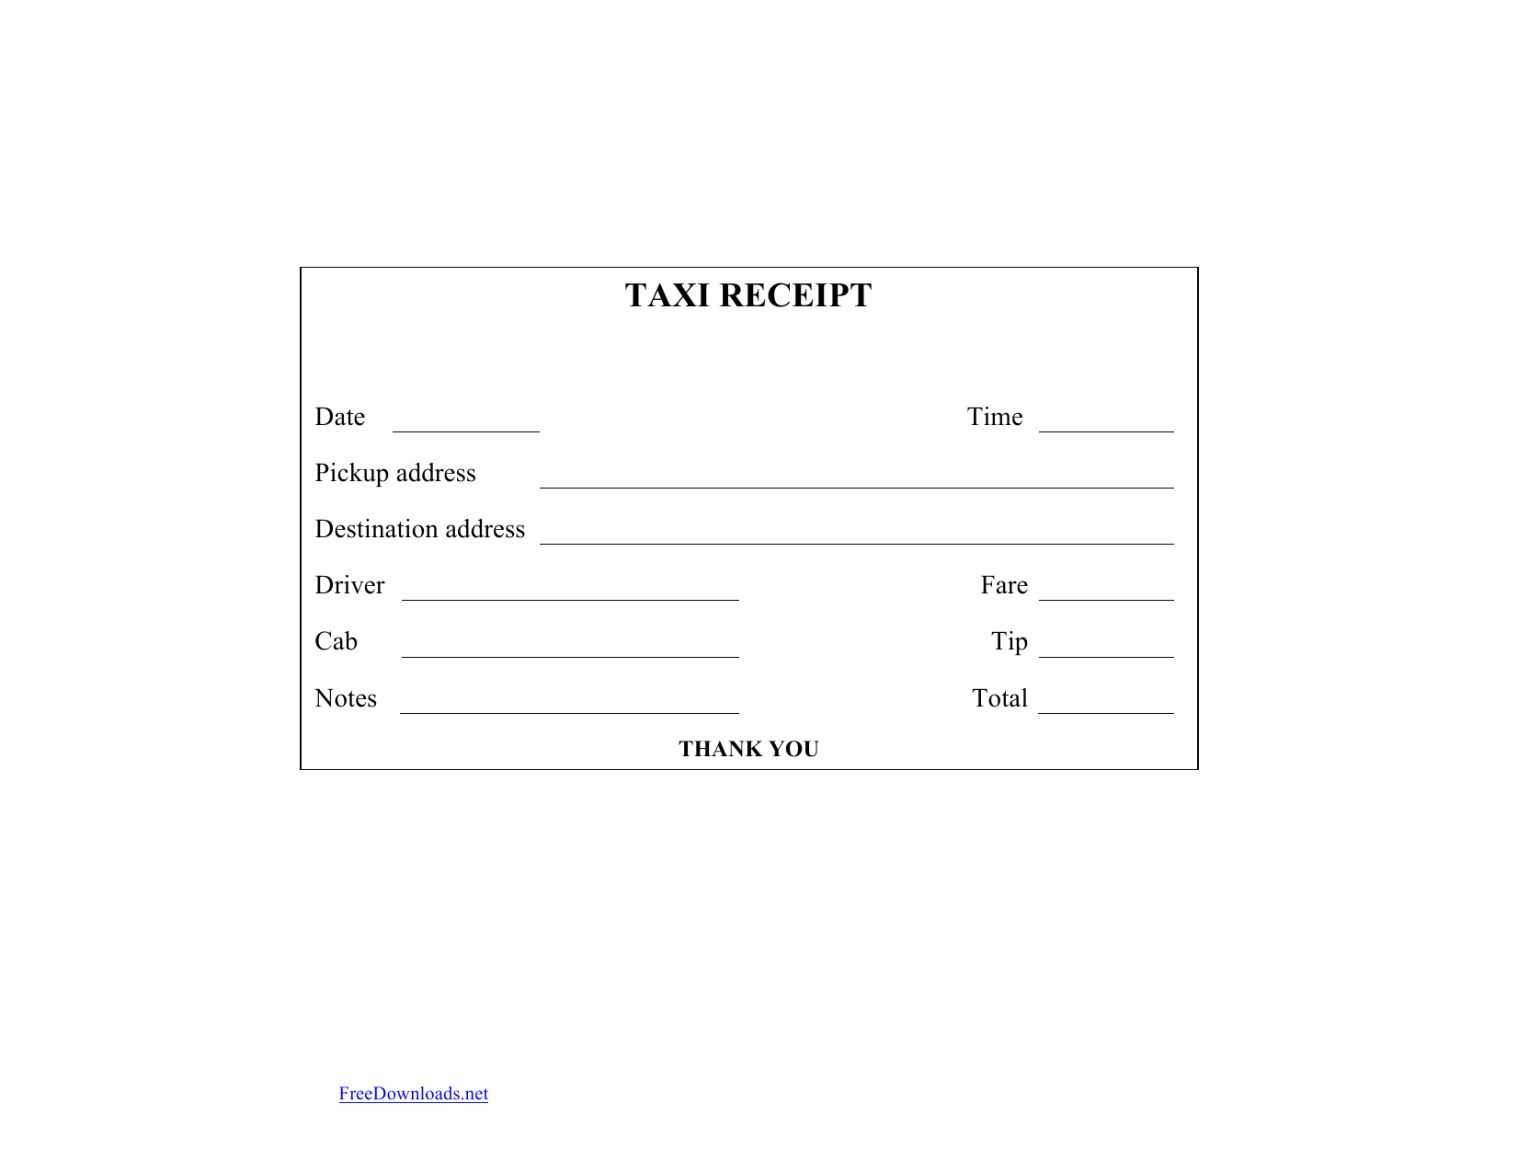
Use this Excel template to quickly generate taxi receipts for your passengers. This customizable template allows you to input necessary details such as date, fare, distance traveled, and payment method. It’s designed for easy updating, ensuring you can provide accurate and clear receipts every time.
The template features sections for passenger information, driver details, and payment breakdown. With the help of formulas, the fare calculations are automated based on the input values, which reduces errors and saves time. Simply enter the data into the corresponding fields, and the template will do the rest.
For added convenience, the template also includes space for a signature or stamp, which can be printed out or saved digitally. Whether you’re managing a taxi service or working as an independent driver, this tool ensures all receipts are consistent and professional.
Taxi Receipt Template Excel
Use a pre-designed Excel template to quickly create professional taxi receipts. This allows you to manage multiple transactions with ease and ensures you include all the necessary details. Focus on fields such as passenger name, fare amount, date, and vehicle details to maintain clarity.
Start with a simple layout that includes columns for the pickup and drop-off locations, the distance traveled, and the total fare. You can also add options for taxes or additional fees, offering a complete and transparent breakdown of costs.
Leverage Excel’s built-in features like drop-down lists and formulas to automate calculations. For instance, set formulas to automatically calculate the fare based on distance or time, reducing manual errors and saving time on repetitive tasks.
Once you’ve set up the template, save it for future use. You can customize it further by adding company branding or additional fields that are specific to your needs. This way, you’ll always have a professional and accurate receipt ready to go.
How to Create a Custom Taxi Receipt in Excel
To create a custom taxi receipt in Excel, begin by setting up a clean and organized template. Open a new spreadsheet and adjust the column widths to fit the information you will input. A good starting point is to create separate sections for taxi company details, customer information, and fare breakdown.
Step 1: Add Taxi Company Information
In the top-left corner of the sheet, input your taxi company’s name, address, phone number, and website (if applicable). You can use merged cells to make this section stand out. Apply bold text for the company name to make it prominent.
Step 2: Create a Receipt Header
Below the company details, add the heading “Taxi Receipt” or “Receipt #” followed by an automatically generated receipt number. Use a formula like =TEXT(ROW(A1), “00000”) to generate sequential numbers for each new receipt.
Step 3: Include Customer and Trip Information
Add fields for the customer’s name, date of the trip, pick-up and drop-off locations, and the total fare. This section should be organized into rows, with the details clearly labeled. You can also add fields for payment method and any discounts applied.
Step 4: Breakdown of Charges
For the fare breakdown, create rows for each individual charge, such as base fare, distance charge, waiting time charge, and taxes. This allows you to give the customer a clear understanding of how the total was calculated.
Step 5: Final Total
Use a simple sum formula to calculate the total fare. In Excel, you can use =SUM(range) to add up all the individual charges and generate the final total. Highlight this cell to make the total easily visible.
Step 6: Design and Customization
To improve readability, add borders around key sections like the fare breakdown and the total amount. You can also use color shading to highlight important information such as the total fare and the receipt number. Be sure the design is clean and professional.
Step 7: Save and Reuse the Template
Once the template is complete, save it as a reusable template by selecting “Save As” and choosing the Excel Template (*.xltx) format. This allows you to create a new receipt for each customer without needing to redo the entire setup.
Key Features to Include in Your Taxi Receipt

Make sure to include the following key details in your taxi receipt to ensure clarity and transparency:
1. Driver and Vehicle Information
Clearly display the driver’s name, license number, and the vehicle’s registration number. This helps verify the trip and ensures accountability.
2. Trip Details
List the date and time of the ride, the start and end locations, and the total distance traveled. This provides a complete record of the service.
3. Fare Breakdown

Include an itemized list of the charges, such as base fare, distance charge, time charge, and any additional fees like tolls or surcharges. This gives customers a transparent view of how the total fare was calculated.
4. Payment Information
State the payment method used, whether it was cash, card, or another option. Also, show any discounts or tips applied.
5. Receipt Number

A unique receipt number helps track and reference the transaction in case of any follow-up or disputes.
6. Contact Information

Include the taxi service’s contact details, including a phone number or email address, in case the customer needs to reach out with questions or concerns.
Including these elements makes the receipt more reliable and customer-friendly.
How to Automate Data Entry and Calculations in Excel
To automate data entry and calculations, use Excel’s built-in features like forms, data validation, and formulas. These tools simplify repetitive tasks and ensure accuracy in calculations.
- Data Validation: Set rules to ensure that only valid data is entered into specific cells. For example, use the “List” option to restrict inputs to a predefined set of values.
- Drop-Down Menus: Create drop-down lists for quick data selection. This minimizes errors and speeds up data entry.
- Formulas: Use SUM, AVERAGE, or custom formulas to automate calculations. For example, use an IF statement to perform calculations based on specific conditions.
- Named Ranges: Define ranges with names to make formulas easier to understand and manage. This is especially helpful when dealing with complex spreadsheets.
Additionally, consider automating tasks with macros. Macros allow you to record a sequence of actions and replay them with a single click, saving time on repetitive tasks.
- Recording Macros: Use the “Record Macro” feature to automate data entry and calculations. This tool captures your actions and creates a script that can be run with one button press.
- VBA for Advanced Automation: For more complex automation, use Visual Basic for Applications (VBA) to write custom scripts. This gives you full control over Excel’s functionality.
By using these Excel features, you can eliminate manual data entry and calculations, streamlining your workflow and reducing errors.


