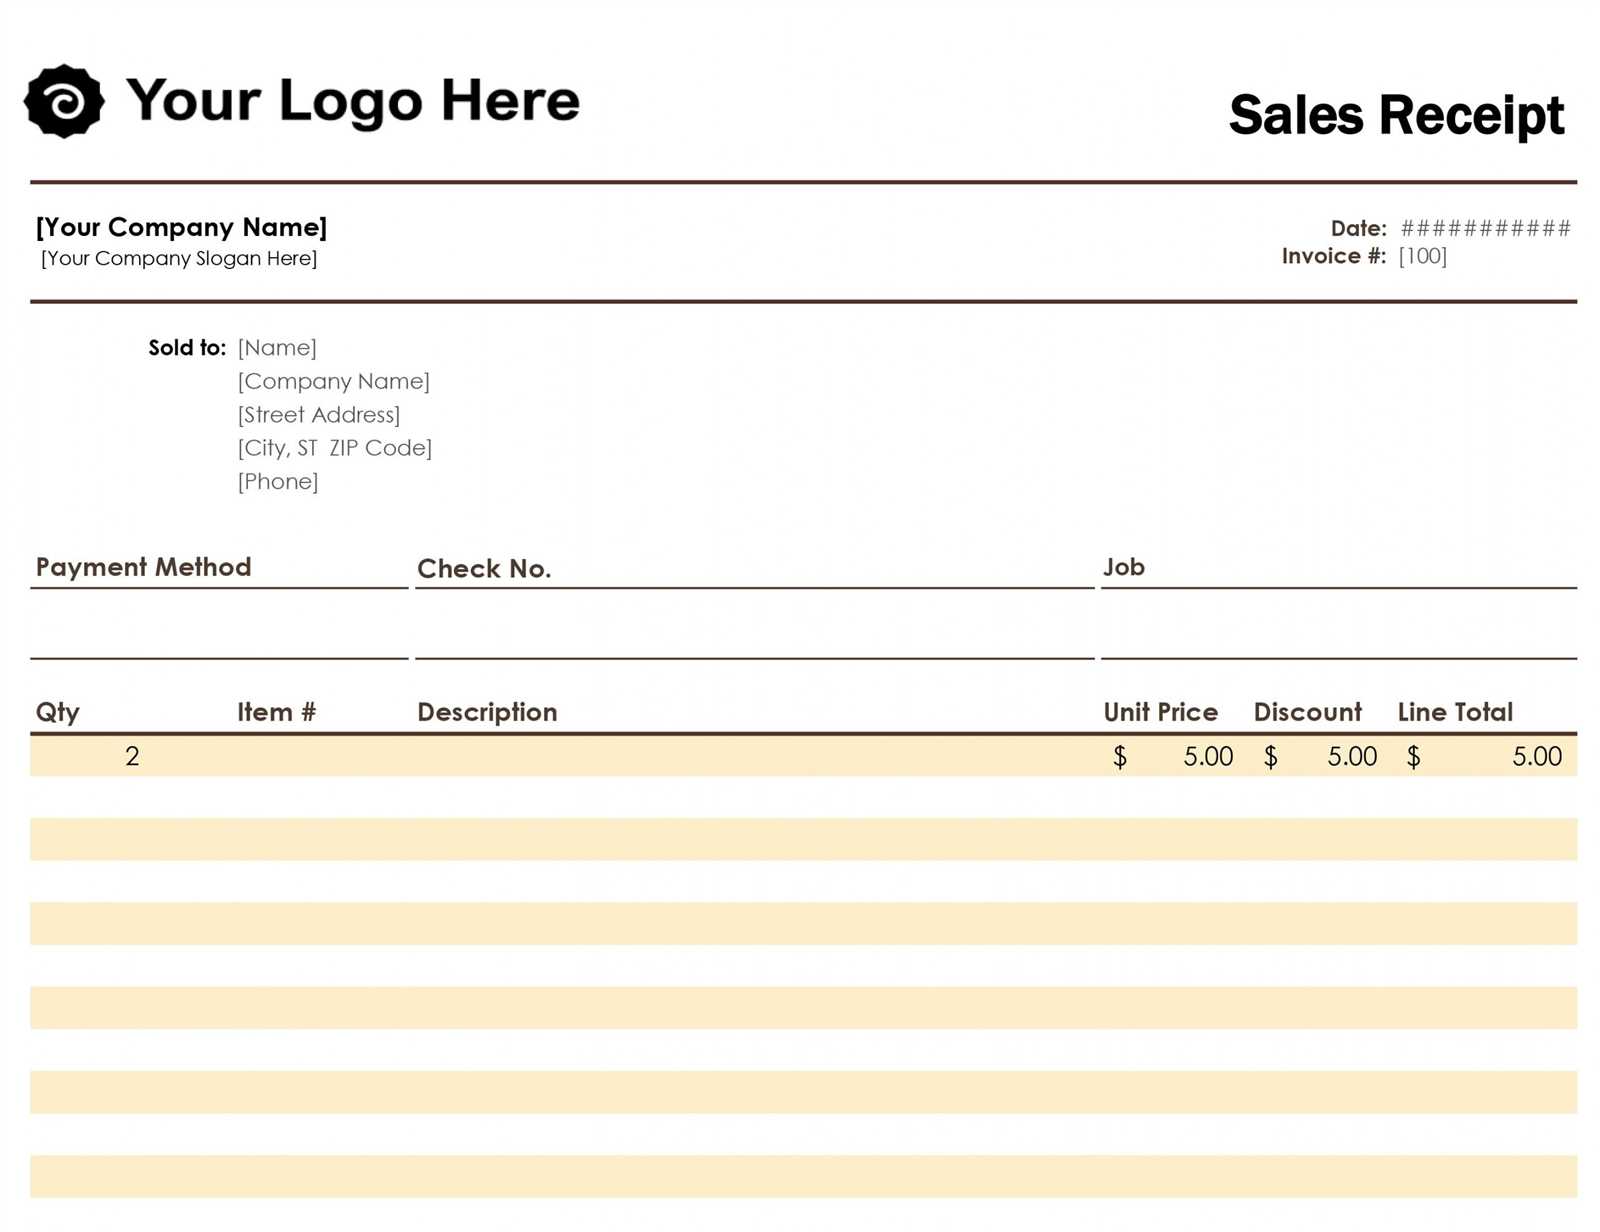
Use a sales receipt template to streamline your business transactions. A well-structured template ensures that every transaction is documented clearly, helping both you and your customers keep track of purchases and payments.
The template should include the date of sale, item description, quantity, price, total amount, and payment method. Ensure that your business name, contact details, and any applicable tax information are visible. Customization options allow you to add logos, adjust font size, and rearrange sections to fit your brand identity.
Include a section for terms and conditions, such as return policies or warranty information, to avoid misunderstandings. A clear receipt acts as a record of the sale, which may be necessary for tax purposes or customer inquiries.
If you handle multiple product types or services, choose a template with categories for each. Organizing information into neat columns will make it easy for your customers to understand their purchases at a glance.
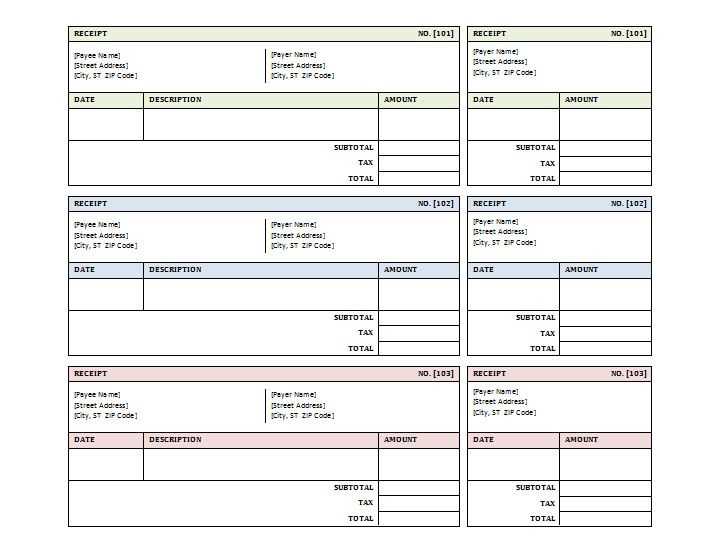
Business Receipt Sales Receipts Template
To create an accurate and professional sales receipt template, include key elements such as the business name, contact information, transaction date, and a unique receipt number. Add a detailed description of the products or services sold, including the quantity, price per unit, and any applicable taxes or discounts. This will help both the business and customer track the transaction easily.
Key Elements to Include
Ensure that the receipt includes the payment method, whether it’s credit, debit, cash, or any other form of payment. It’s also a good idea to incorporate a section for the total amount, including taxes, with a breakdown of each cost component. Having space for both the seller’s and buyer’s signatures can also increase the document’s formality and legitimacy.
Formatting Tips
For clarity and easy readability, maintain a clean and organized layout. Use clear fonts and align items consistently. Separate the items in a list format to avoid confusion and improve the customer’s experience. Leave enough white space around each section to enhance readability.
Choosing the Right Layout for Your Sales Receipt
Keep the layout simple and functional. Place the business name and contact details at the top, followed by the transaction information like date, receipt number, and itemized list. Ensure that all critical details are easily identifiable at a glance.
Organizing the Information
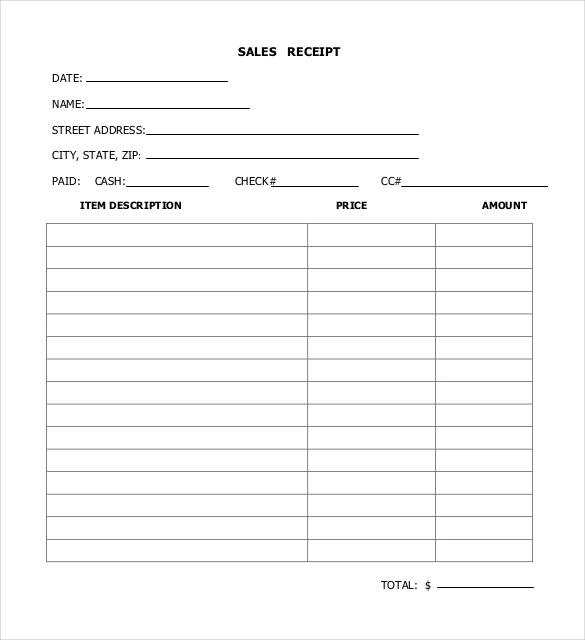
Group the items logically. For example, list each product or service with its description, price, and quantity in a clear, tabular format. This improves readability and helps prevent confusion. Use lines to separate sections like taxes, totals, and discounts to provide clarity.
Clear Totals and Taxes
Always show the subtotal before taxes and the total amount clearly at the bottom of the receipt. Display any tax breakdowns or discounts separately. This helps customers verify their purchase and reduces misunderstandings.
Key Elements to Include in a Sales Receipt Template
Ensure your sales receipt template includes the following core details to provide clear and accurate information:
Transaction Date and Time
Display the exact date and time of the transaction. This helps both the seller and the buyer track purchases accurately for record-keeping and returns.
Business Information
Include the business name, address, phone number, and email. If applicable, add the company’s tax identification number (TIN) or VAT number. This builds trust and makes it easier for customers to contact the business.
Itemized List of Products or Services
Clearly list each product or service sold, including quantity, unit price, and any applicable taxes. If there are discounts or promotions, highlight those as well.
Total Amount and Payment Method
State the total amount paid and the method of payment (e.g., cash, card, or online payment). If the payment was made in installments, note the remaining balance.
Receipt Number
Assign a unique receipt number for every transaction. This number will be useful for reference, especially if any issues arise with the sale.
Return Policy and Terms
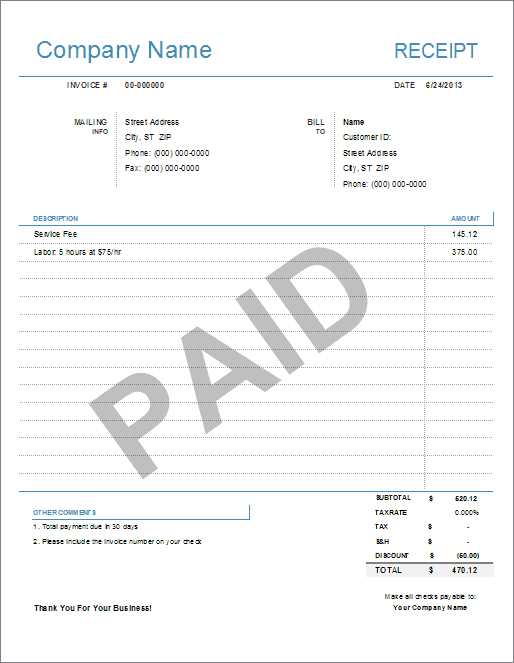
Provide brief information about your return and refund policy. Include any necessary conditions such as timeframes and requirements for product returns.
How to Customize Your Template for Different Business Types
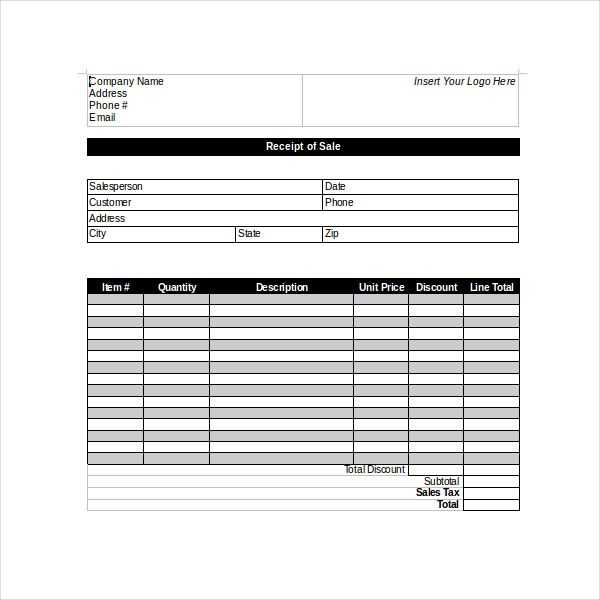
Tailor your receipt template based on the type of business to ensure it meets your specific needs. Here’s how to adapt it for various industries:
Retail Business
- Include itemized lists with product names, prices, and quantities. This helps customers verify their purchases.
- Provide a clear breakdown of taxes, discounts, and total cost.
- Incorporate a returns policy if applicable, ensuring customers have easy access to store guidelines.
Service-Based Business
- Focus on service descriptions, hours worked, and hourly rates. Specify any additional fees, like travel costs or materials.
- Add a line for tips, if your business model accepts them, to avoid confusion during transactions.
- Provide payment terms (e.g., deposits, balances due) and any service warranties or guarantees.
Freelancers and Consultants
- Highlight project milestones and payment schedules. Include details about the scope of work and hourly rates if applicable.
- Clarify terms related to invoicing, including due dates, late fees, and preferred payment methods.
- Offer contact information for follow-up, ensuring clients can easily reach you with questions.
Online Businesses
- Include links to digital products or services purchased. This helps customers access their items immediately after payment.
- Ensure you provide order tracking details if shipping physical goods.
- Clearly display refund and return policies to prevent any misunderstanding.
By adjusting your template to fit the specifics of your business, you create a smoother experience for both you and your customers. Tailoring your receipts can also improve professional communication and ensure compliance with industry standards.


