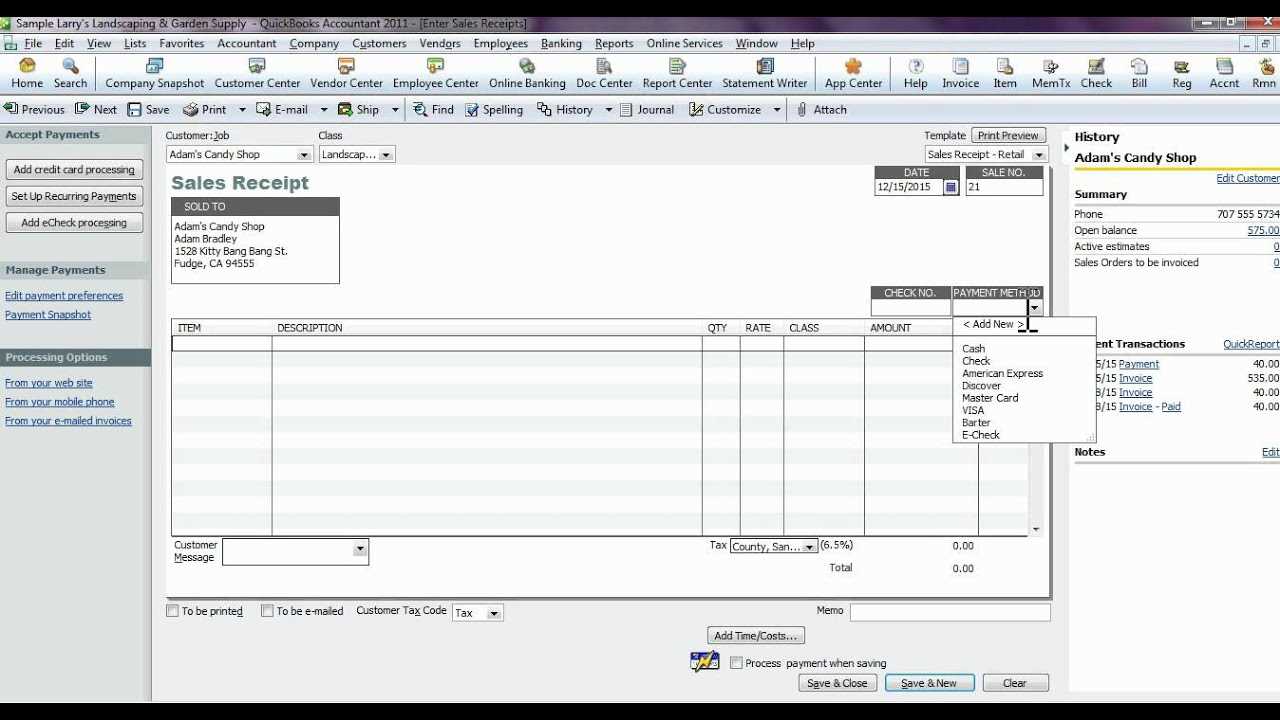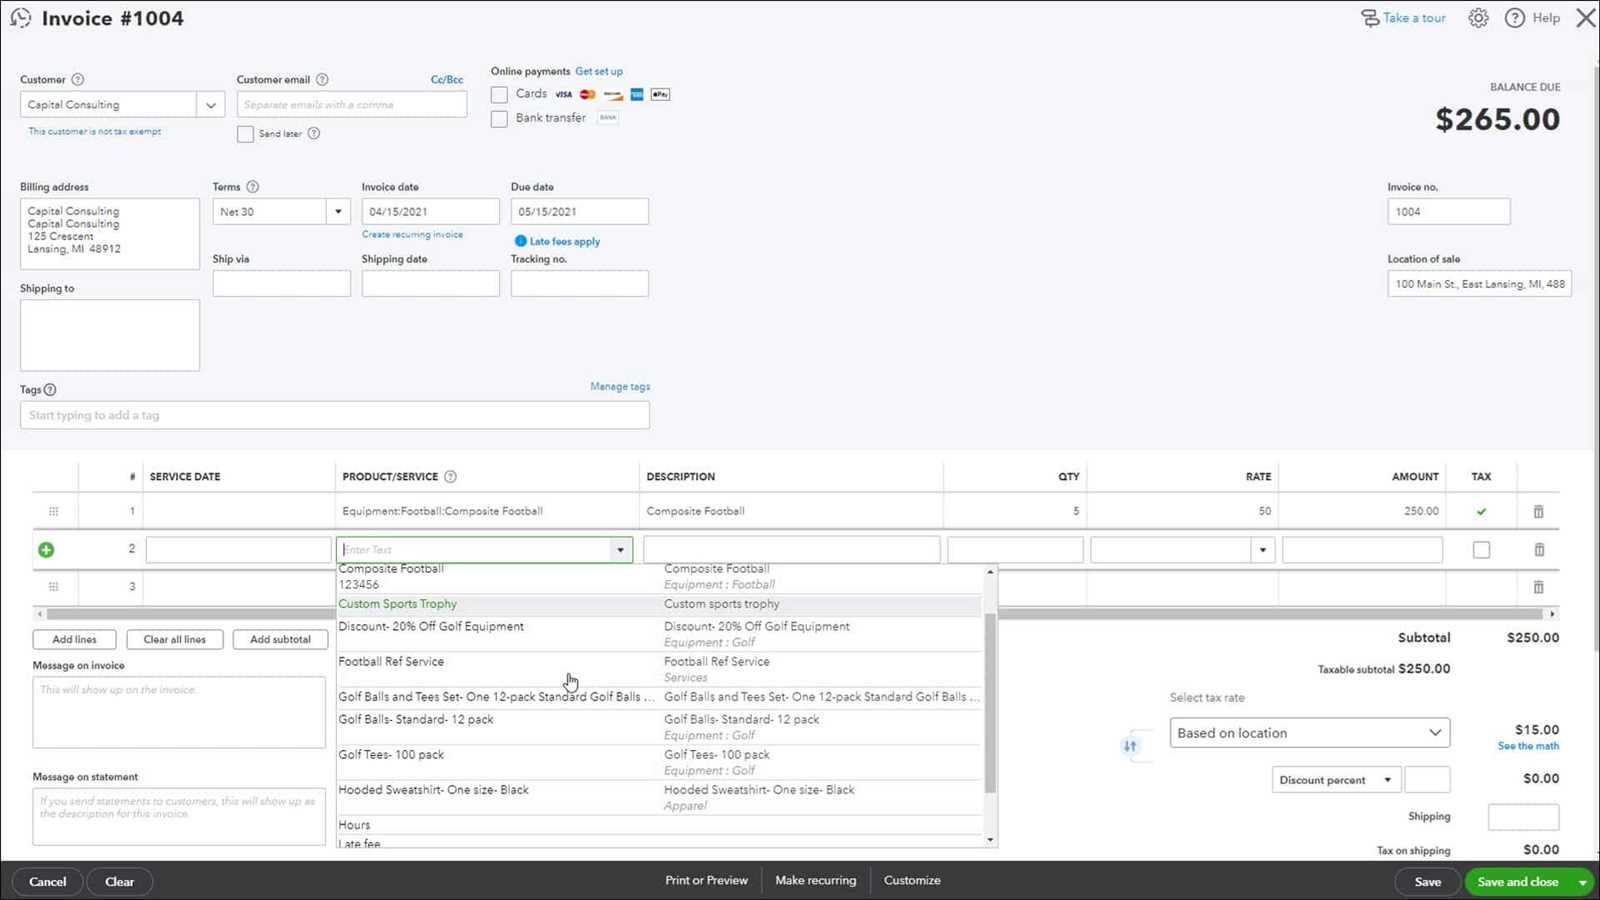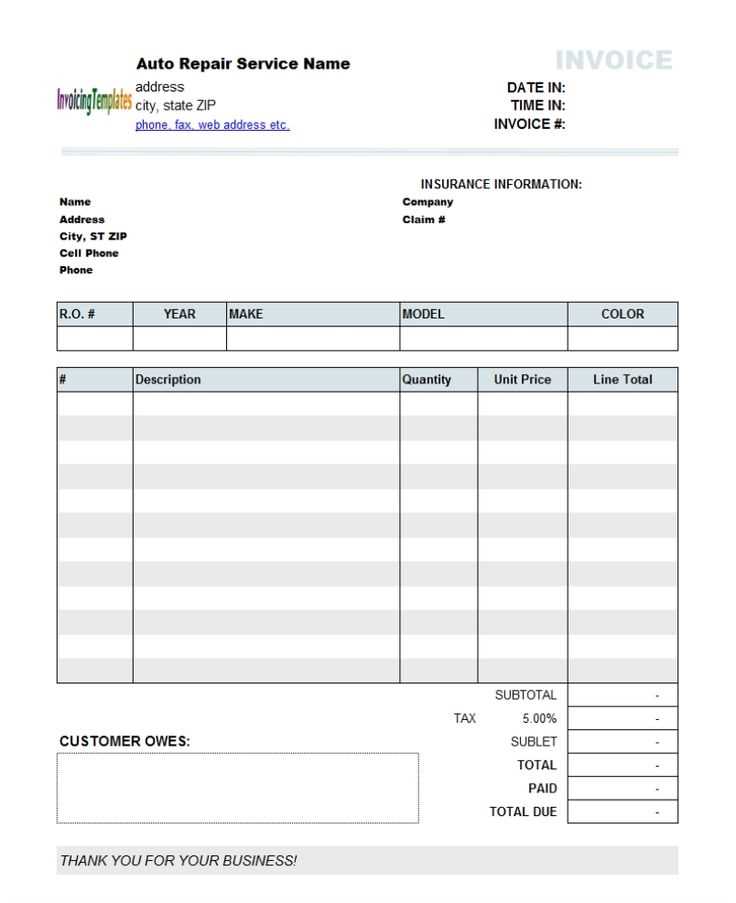
To create a customized sales receipt template in QuickBooks Online, begin by logging into your account and navigating to the Settings menu. From there, select Custom Form Styles under the List section. Once you’re in the custom form styles area, click on New Style and choose Sales Receipt as the document type you want to customize.
The next step is selecting a template that suits your business needs. QuickBooks offers several pre-designed templates, but you can modify them to reflect your brand. Click Edit on your chosen template to open the design interface. Here, you can adjust fonts, colors, and logos, making it easy to match the receipt to your business’s visual identity.
If you want to go further with customization, explore the Content tab. This is where you can add or remove fields such as shipping addresses, tax information, or custom messages for clients. Adjust these elements to ensure that all relevant details are included for each transaction.
After finalizing your design, don’t forget to save the template. You can now apply this custom template to all new sales receipts, ensuring consistency in your billing process. QuickBooks also lets you preview the receipt before applying it, which helps ensure that everything appears as expected.
Create Sales Receipt Template in QuickBooks Online
To create a custom sales receipt template in QuickBooks Online, navigate to the Gear icon in the top-right corner, select “Custom Form Styles,” and click on the “New Style” button. Choose “Sales Receipt” as the form type.
QuickBooks offers several design options for your template. You can select from a basic, standard, or custom style. The custom option allows you to adjust the layout, colors, and branding to match your business needs.
In the customization screen, you can add your company logo, adjust font styles, and choose whether to display certain fields, like customer details or payment method. Use the “Content” tab to move, add, or remove sections such as item descriptions, quantities, and total amounts. This is also where you can edit the alignment of text and other elements.
For a personalized touch, go to the “Emails” tab to set up an email message that will be automatically sent along with the receipt. This message can include a custom thank-you note or other relevant details for your customers.
After finalizing your template, click “Done” to save it. You can select this template whenever you create a new sales receipt by choosing it from the “Customize” dropdown menu in the sales receipt screen.
With your custom template in place, every sales receipt will reflect your branding and look professional, making it easier to manage and track transactions in QuickBooks Online.
How to Access and Customize Your Sales Receipt Template in QuickBooks Online
To customize your sales receipt template, first, log into your QuickBooks Online account. Once you’re on the dashboard, click the gear icon at the top-right corner of the page. From the drop-down menu, select Custom Form Styles.
Next, under the Custom Form Styles tab, you’ll see a list of available templates. Find the one labeled “Sales Receipt” and click Edit beside it. This will open the template editor, where you can make all necessary changes.
Customizing the Template

In the editor, you can adjust several sections of the sales receipt. Use the Design tab to modify the look of your receipt. Here, you can change the logo, font, colors, and layout. QuickBooks provides options to make your sales receipt match your brand’s style.
To adjust the information displayed on the receipt, click the Content tab. This section allows you to select the fields that will appear on your sales receipts, such as payment methods, item details, and taxes. You can also reorder or remove sections based on your preferences.
Preview and Save
Once you’re satisfied with the changes, preview the template to make sure it looks as you intend. When everything is ready, click Done to save the updated template. Your customized sales receipt will now be available for use when creating new transactions in QuickBooks Online.
Step-by-Step Guide to Adding Company Branding and Information to the Receipt
To add your company branding and key details to your QuickBooks Online sales receipt, follow these steps:
1. Access the Custom Form Styles

Go to the “Gear” icon in the top-right corner and select “Custom Form Styles” under the “Your Company” section. Click “New Style” and choose “Sales Receipt” from the options.
2. Customize the Header
In the “Design” tab, select “Header” to upload your logo and company name. Make sure your logo is clear and fits within the recommended size (around 200px by 200px). Position the logo and name appropriately to keep the receipt professional and readable.
3. Add Contact Information
Under the “Content” tab, locate the “Header” section again. Here, you can input your business address, phone number, and email address. This information should be placed in a clear and easy-to-read format, ideally aligning with your company’s branding style.
4. Modify the Footer
Scroll down to the “Footer” section to add any additional details like your website, tax ID number, or social media links. You can also include a thank-you message or payment terms, depending on your preference.
5. Choose Your Font and Colors
Adjust the font style, size, and color to match your branding guidelines. You can customize the colors for both the text and the background to ensure your sales receipt aligns with your company’s aesthetic.
6. Save and Apply the Template
Once you’ve added all necessary details and adjusted the design, click “Done” to save your template. You can now apply this custom template to future sales receipts for a consistent and branded appearance.
Adjusting the Layout and Fields for Specific Sales Transaction Needs

To tailor your sales receipt template in QuickBooks Online, focus on adjusting the layout and fields to match the nature of your transactions. Whether you’re invoicing for products, services, or a combination, customizing your receipt ensures clarity and accuracy for both you and your customers.
Modify Fields Based on Transaction Type
QuickBooks allows you to edit fields depending on the items or services being sold. If you’re selling products, include fields like SKU, quantity, and unit price. For service-based transactions, you can remove product-specific fields and focus on service descriptions, hours worked, or project names. Customize the tax fields if your transactions involve sales tax or other charges.
- Product Sales: Add SKU, item description, quantity, unit price, and total.
- Service Sales: Focus on service description, hourly rate, and duration.
- Mixed Transactions: Include both product and service fields, and adjust pricing details as needed.
Adjust Layout for Clearer Presentation
Modify the layout to ensure the most relevant information stands out. Use the section editor in QuickBooks to rearrange how fields appear on the receipt. For example, make sure the total cost is prominent, placing it at the bottom of the page, or move tax-related fields if your clients need to see them before final totals. Clear separation between itemized charges and payment details can help avoid confusion.
- Highlight totals and tax fields for easy reference.
- Consider adjusting font size for emphasis on critical data like the total amount.
- Use lines or shaded areas to group related information, such as items or services.
These adjustments can be made through the “Customize” option in QuickBooks, where you can either modify a pre-existing template or create a new one from scratch. Be sure to preview your template after every change to ensure everything looks as intended before sending out receipts.


