When finalizing a transaction, a well-structured intent to purchase deposit receipt plays a pivotal role. This document ensures both buyer and seller have clear expectations and confirms the deposit as part of the sale. Using a template helps standardize the process and avoid misunderstandings. You can quickly customize it to suit any purchase scenario, ensuring both parties are on the same page about the terms of the deposit.
In this template, the buyer acknowledges the deposit amount and its purpose, while the seller confirms receipt and outlines any future actions required. Be sure to include the date, the names of the involved parties, and the details of the product or service being purchased. This clarity reduces the likelihood of disputes and provides a solid foundation for completing the transaction.
The receipt should also specify whether the deposit is refundable or non-refundable and what conditions apply if the purchase is canceled. If applicable, include the payment method, as well as any deadlines for future payments or deliveries. By including these elements, both parties can feel confident in the security of the agreement.
Here’s the revised text with reduced repetition:
For a clear and professional intent to purchase deposit receipt, structure the document with key elements like buyer details, the product description, the deposit amount, and the remaining balance. This ensures both parties understand the agreement and terms upfront.
Key Sections of the Receipt

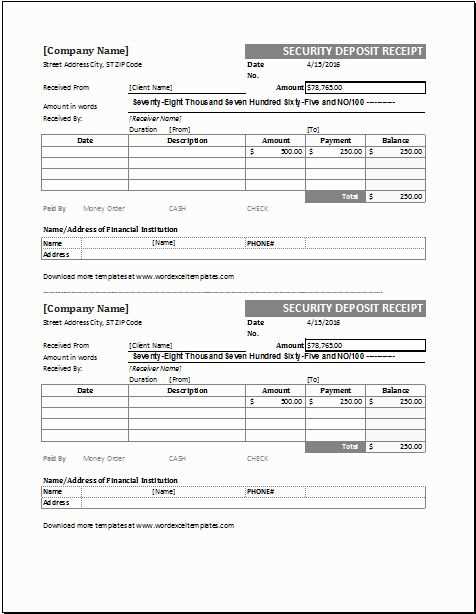
| Section | Description |
|---|---|
| Buyer Information | Name, contact details, and identification of the buyer. |
| Product Description | Clear description of the item being purchased. |
| Deposit Amount | Amount of the initial deposit paid by the buyer. |
| Remaining Balance | Amount due upon delivery or completion of the sale. |
| Payment Terms | Outline of when and how the remaining balance will be paid. |
Ensure both parties sign and date the document to confirm agreement. The buyer’s deposit secures the purchase, while the seller commits to providing the agreed-upon item under the specified terms.
Intent to Purchase Deposit Receipt Template
Creating an intent to purchase deposit receipt ensures clarity and transparency in any transaction. This document serves as proof that the buyer has made a deposit toward the purchase of goods or services, and outlines the terms surrounding that deposit. Here’s a simple template structure to get started:
Key Components to Include

- Buyer Information: Full name, contact details, and address of the buyer.
- Seller Information: Full name, contact details, and address of the seller.
- Transaction Date: The date the deposit was made.
- Deposit Amount: Clearly state the amount paid as a deposit.
- Total Purchase Price: Mention the total amount for the item or service being purchased.
- Purpose of Deposit: A brief description of what the deposit is for (e.g., goods, services, or reservation).
- Deposit Terms: Outline any conditions related to the deposit, such as non-refundable clauses or refund terms if applicable.
- Signature of Buyer and Seller: Space for both parties to sign, acknowledging agreement.
Template Example

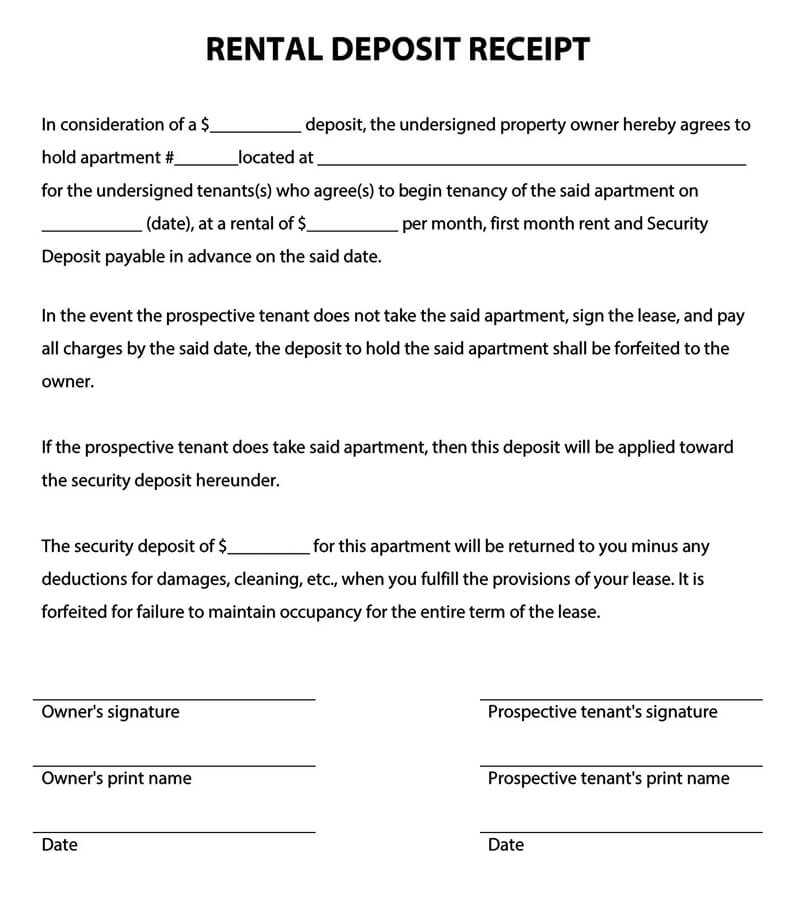
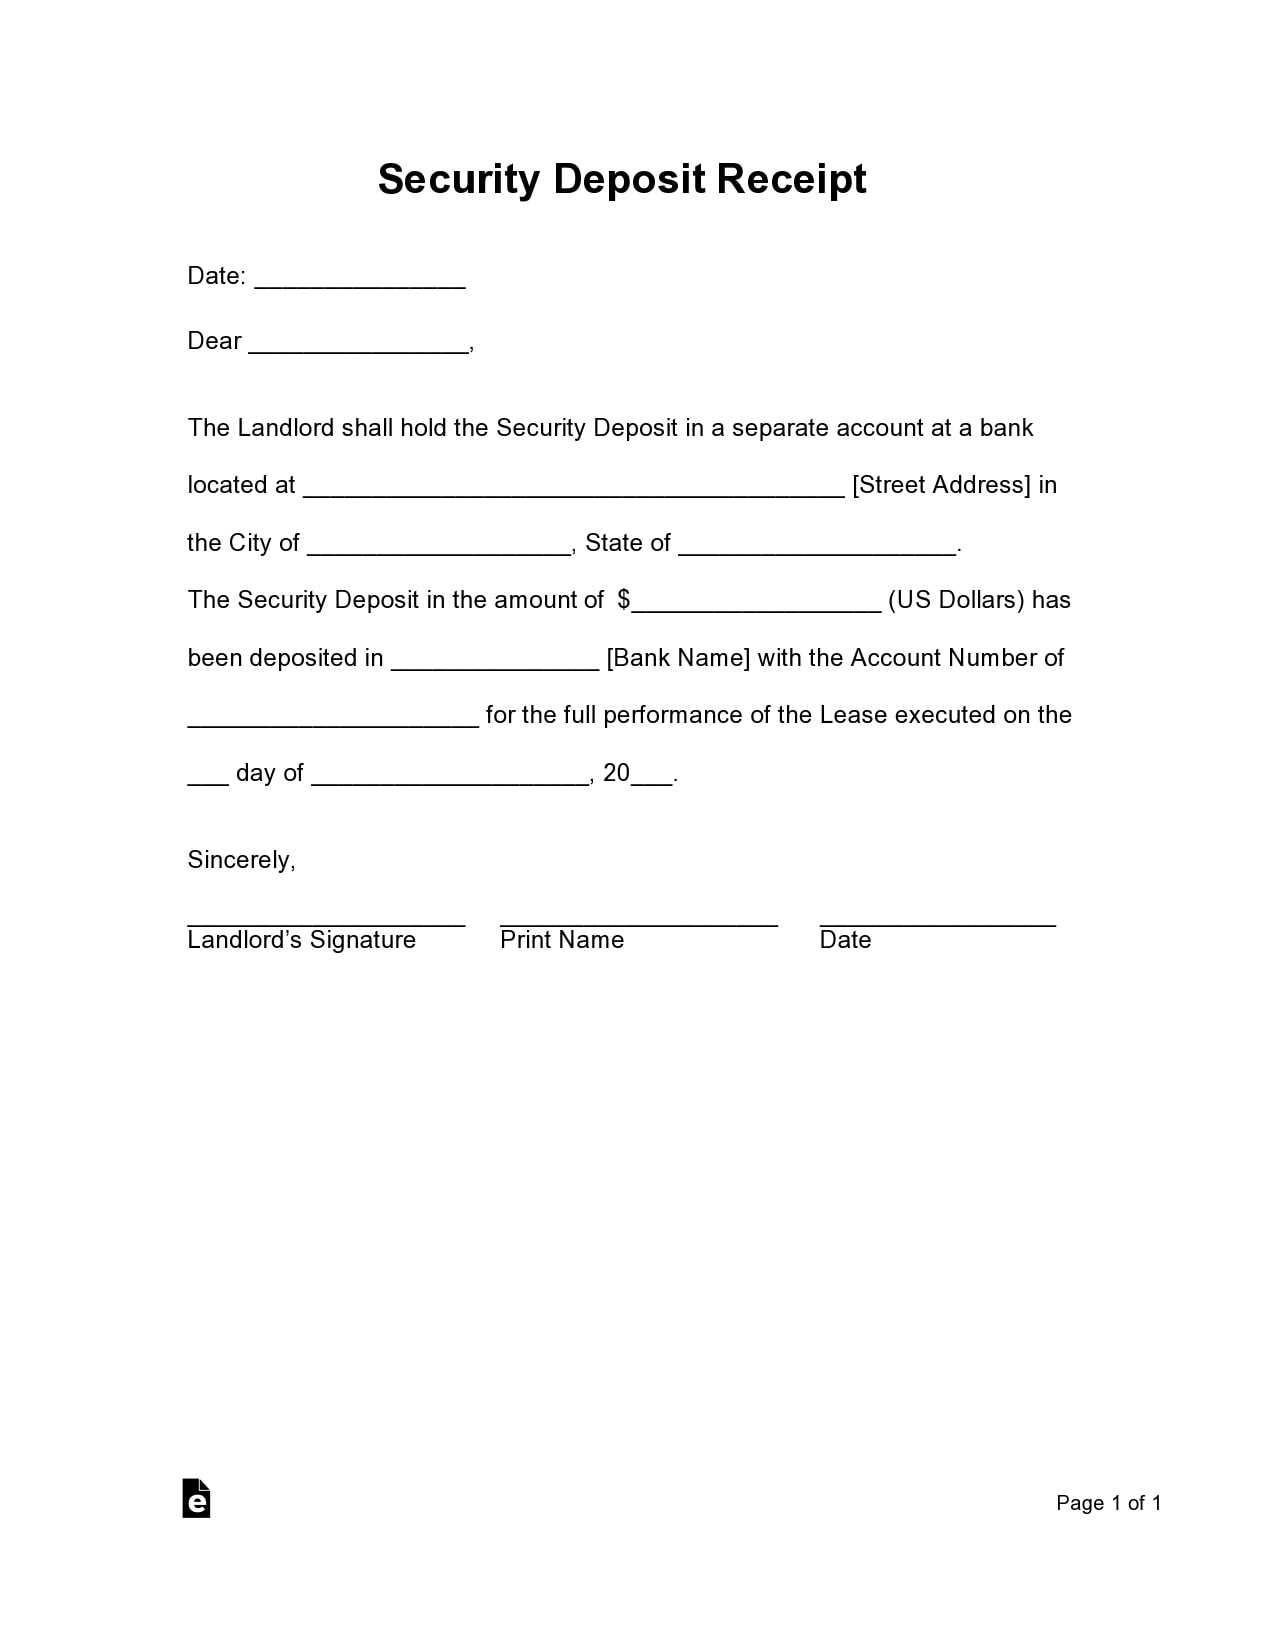
Here’s a simple example of what your intent to purchase deposit receipt could look like:
INTENT TO PURCHASE DEPOSIT RECEIPT
Buyer’s Name: ___________________________
Seller’s Name: ___________________________
Date of Deposit: ________________________
Deposit Amount: $_______________________
Total Purchase Price: $___________________
Purpose of Deposit: _______________________
Terms of Deposit: _________________________
By signing below, both parties acknowledge the terms outlined above.
Buyer’s Signature: _______________________
Seller’s Signature: _______________________
Make sure both parties keep a copy of this receipt for their records. It can be a useful reference if there are any disputes regarding the deposit or the transaction later on.
To customize an intent to purchase deposit receipt, focus on clarity and specificity. Tailor the receipt to reflect the unique details of the transaction. Here are key elements to include:
1. Basic Transaction Details
- Purchase date and time
- Full name of the buyer
- Seller’s name and contact information
- Amount of deposit paid
- Payment method (cash, credit card, etc.)
2. Item or Property Information
- Detailed description of the item or property being purchased
- Serial numbers, model names, or any identifying features
- Agreement terms (e.g., final price, additional deposits)
Make sure the document is clear and includes any relevant terms about refunds or cancellation policies. Customizing this receipt ensures both parties have a precise record, which helps avoid misunderstandings later.
Begin with a clear statement confirming the deposit. Mention the amount paid and the purpose of the deposit. For example: “A deposit of $500 has been received for the purchase of [item name or service].”
Include the full name and contact details of the buyer and seller. This ensures both parties are clearly identified in case of future queries.
Specify the payment method. Indicate whether the deposit was made via cash, check, credit card, or another method. This adds transparency to the transaction.
State the total purchase price of the item or service, along with the balance due. Break down the remaining amount to be paid after the deposit is accounted for.
Provide the date of the deposit. This ensures the transaction is documented accurately for future reference.
Include any terms regarding the deposit. For instance, if the deposit is refundable, non-refundable, or if there are specific conditions attached to the payment.
Finally, provide both parties’ signatures or initials. This confirms mutual agreement to the terms outlined in the receipt.
Double-check the deposit amount. One of the most frequent mistakes is incorrectly entering the amount received. Ensure the deposit figure matches what was agreed upon and paid. Incorrect figures can lead to confusion and disputes later.
Neglecting Clear Terms
Don’t leave any room for ambiguity. Clearly specify the purpose of the deposit and the items or services it’s for. Failure to state these terms may cause misunderstandings with the buyer regarding what their deposit applies to.
Missing Seller and Buyer Details
Always include both parties’ full names, addresses, and contact details. Leaving out any of this information makes it harder to identify the involved parties, which could lead to challenges in case of disputes or claims.
Skipping the deposit date is another issue. Record the exact date the deposit is made, as this sets a clear timeline for the transaction and provides proof of when the commitment was made.
Finally, don’t forget about refund conditions. If the deposit is refundable or non-refundable, state it explicitly. Failing to clarify this can result in confusion and legal problems later on.
For creating a clear intent to purchase deposit receipt, focus on key details like the buyer’s name, the date of deposit, and the agreed purchase amount. The template should also include the product or service description, including quantity, model, and other specifics to avoid any ambiguity.
Ensure that the deposit amount is clearly stated, along with the terms of the refund if the transaction doesn’t proceed. The receipt should mention any deadlines or conditions attached to the deposit, making it transparent for both parties. A section for the buyer and seller signatures can help to validate the agreement and reduce misunderstandings later.
In the case of a partial payment, include a breakdown of what the deposit covers. If the deposit is non-refundable, this should be highlighted to prevent confusion. Including a statement on what happens next in the purchase process after the deposit is made can also streamline the transaction for all parties involved.
Lastly, ensure that both parties have access to a copy of the receipt once signed, either in digital or physical form, for record-keeping. Make sure the receipt template is simple but comprehensive to prevent disputes down the line.