If you’re managing charitable donations, creating a clear and structured donation receipt is crucial for both you and your donors. This document serves as a confirmation of the contributions made, ensuring transparency and legal compliance. A simple and effective donation receipt template will make the process smoother for both sides, helping donors claim their tax deductions while you maintain accurate records.
Start by including the donor’s name, address, and the amount donated. This is standard information required for tax purposes. Then, provide a brief description of the donation, specifying whether it was a monetary contribution or a gift of goods. Do not forget to mention the date of the donation, as this is essential for the donor’s annual tax filing.
It’s also beneficial to add your organization’s details, such as its name, address, and tax identification number. This reassures donors that their contribution has been processed by a legitimate entity. Additionally, including a thank-you message at the end can reinforce a positive relationship with your supporters and encourage future donations.
Annual Donation Receipt Template
For nonprofit organizations, creating an annual donation receipt template is key to maintaining clear and accurate records for donors. A well-structured template helps donors keep track of their contributions for tax purposes. Here’s a practical approach to crafting such a template:
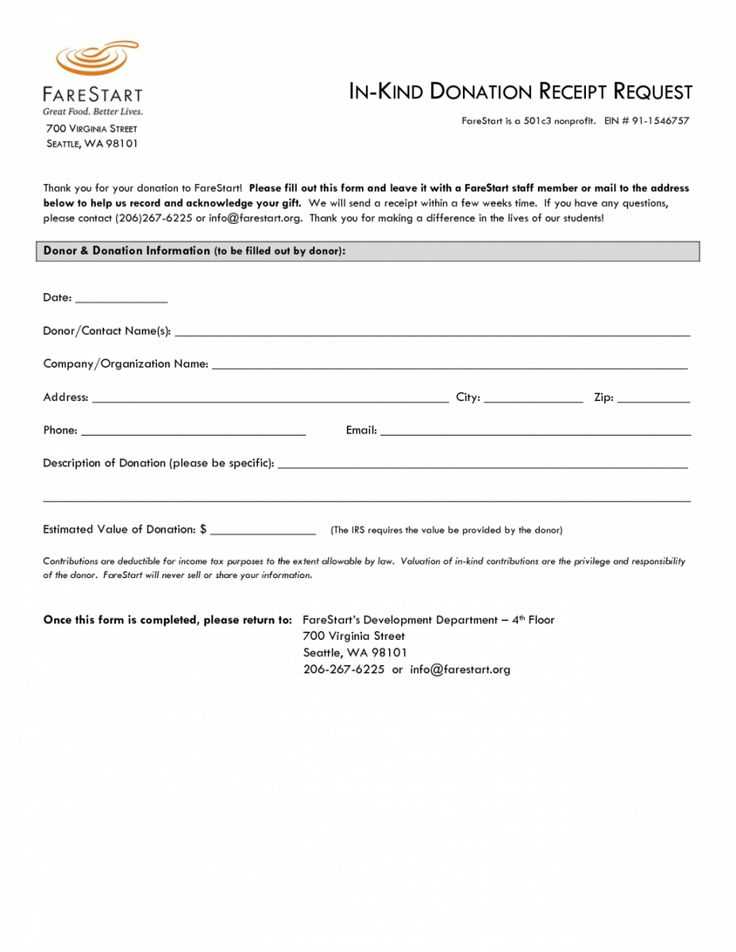
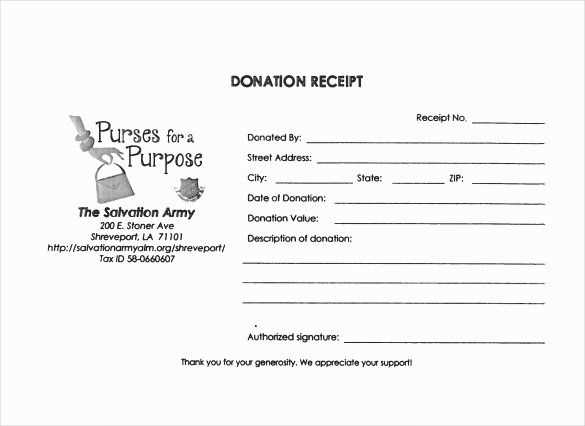
- Donor Information: Include the donor’s full name and address. This ensures the receipt can be linked to their personal tax records.
- Donation Date: Clearly state the date of the donation to establish a time frame for tax reporting.
- Donation Amount: Specify the exact monetary value or the description of donated goods. If applicable, note whether the donation was cash, goods, or services.
- Nonprofit Information: Include the nonprofit’s legal name, address, and tax-exempt number. This allows donors to verify the status of the organization for tax deductions.
- Tax Deduction Disclaimer: Make it clear that no goods or services were provided in exchange for the donation. If any goods or services were provided, list their estimated value.
- Signature or Representative: The receipt should be signed or digitally signed by an authorized representative of the organization.
Once these details are added, the receipt becomes a valid record for both the donor and the nonprofit, streamlining year-end tax filings. By standardizing the format, you’ll ensure that your organization meets legal requirements while providing donors with easy-to-use documentation.
How to Customize a Donation Receipt Template
Adjust your donation receipt template by incorporating your organization’s logo, name, and contact details at the top. This adds a professional touch and ensures donors can easily reach out if needed. Make sure the receipt includes the donor’s full name, address, and the donation amount, along with the date the donation was made.
Personalize the Content

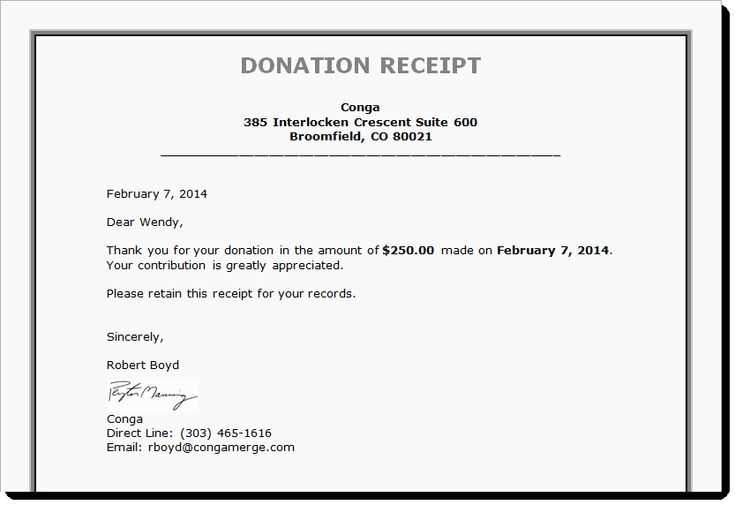
Customize the wording to reflect your organization’s mission and the impact of the donation. For example, instead of a generic “Thank you for your donation,” you could write, “Your generous contribution supports our ongoing efforts to [specific mission or project].” Tailoring the language to your values strengthens the connection with your donors.
Include Required Tax Information

Ensure the receipt includes any necessary tax-exempt information, such as your nonprofit status and tax ID number. This is important for donors who may want to claim deductions on their taxes. Always check the local regulations to verify the required details.
Key Information to Include in a Donation Receipt
Clearly state the name of your organization and its tax-exempt status. Include your official registration number and the type of charity (e.g., nonprofit, foundation, etc.). This ensures the donor knows they are supporting a legitimate cause.
Specify the date of the donation and the amount donated. If the donation is a cash gift, list the exact dollar amount. For non-cash donations, provide a brief description of the items received and their estimated value.
Clarify whether the donation was a one-time gift or part of a recurring arrangement. If the donation was in the form of a pledge, note the payment schedule and the total pledged amount.
Provide a statement on whether any goods or services were exchanged for the donation. If no goods or services were provided, include a declaration stating that the donor received no tangible benefit in return for their donation. This helps clarify tax deductions.
End the receipt with a thank-you note or acknowledgment. A simple, sincere expression of appreciation can go a long way in strengthening donor relationships.
Common Mistakes to Avoid When Creating Receipts

Ensure the donation amount is clearly listed, including the currency. Avoid vague wording like “donation received” without specifying the exact amount. If possible, use both numbers and words to prevent any confusion.
Double-check that the date and year are correct. An incorrect date can lead to confusion during tax filing, especially if the donation is claimed for a specific year.
List the donor’s full name or legal entity name. Do not abbreviate or omit details; this could cause issues with proper tax deductions.
Be specific about the nature of the donation. If it’s a monetary gift, specify the exact amount; if it’s an in-kind donation, describe the item or service in detail. Avoid using general terms like “donation received” without further clarification.
Include your organization’s name, address, and tax identification number. Not having these details can make the receipt invalid for tax purposes.
Don’t forget to specify whether the donation was in cash, check, or credit. Always include the payment method for transparency.
Lastly, provide a clear acknowledgment of any goods or services provided in exchange for the donation. Failing to mention this may cause complications for the donor during tax filings.