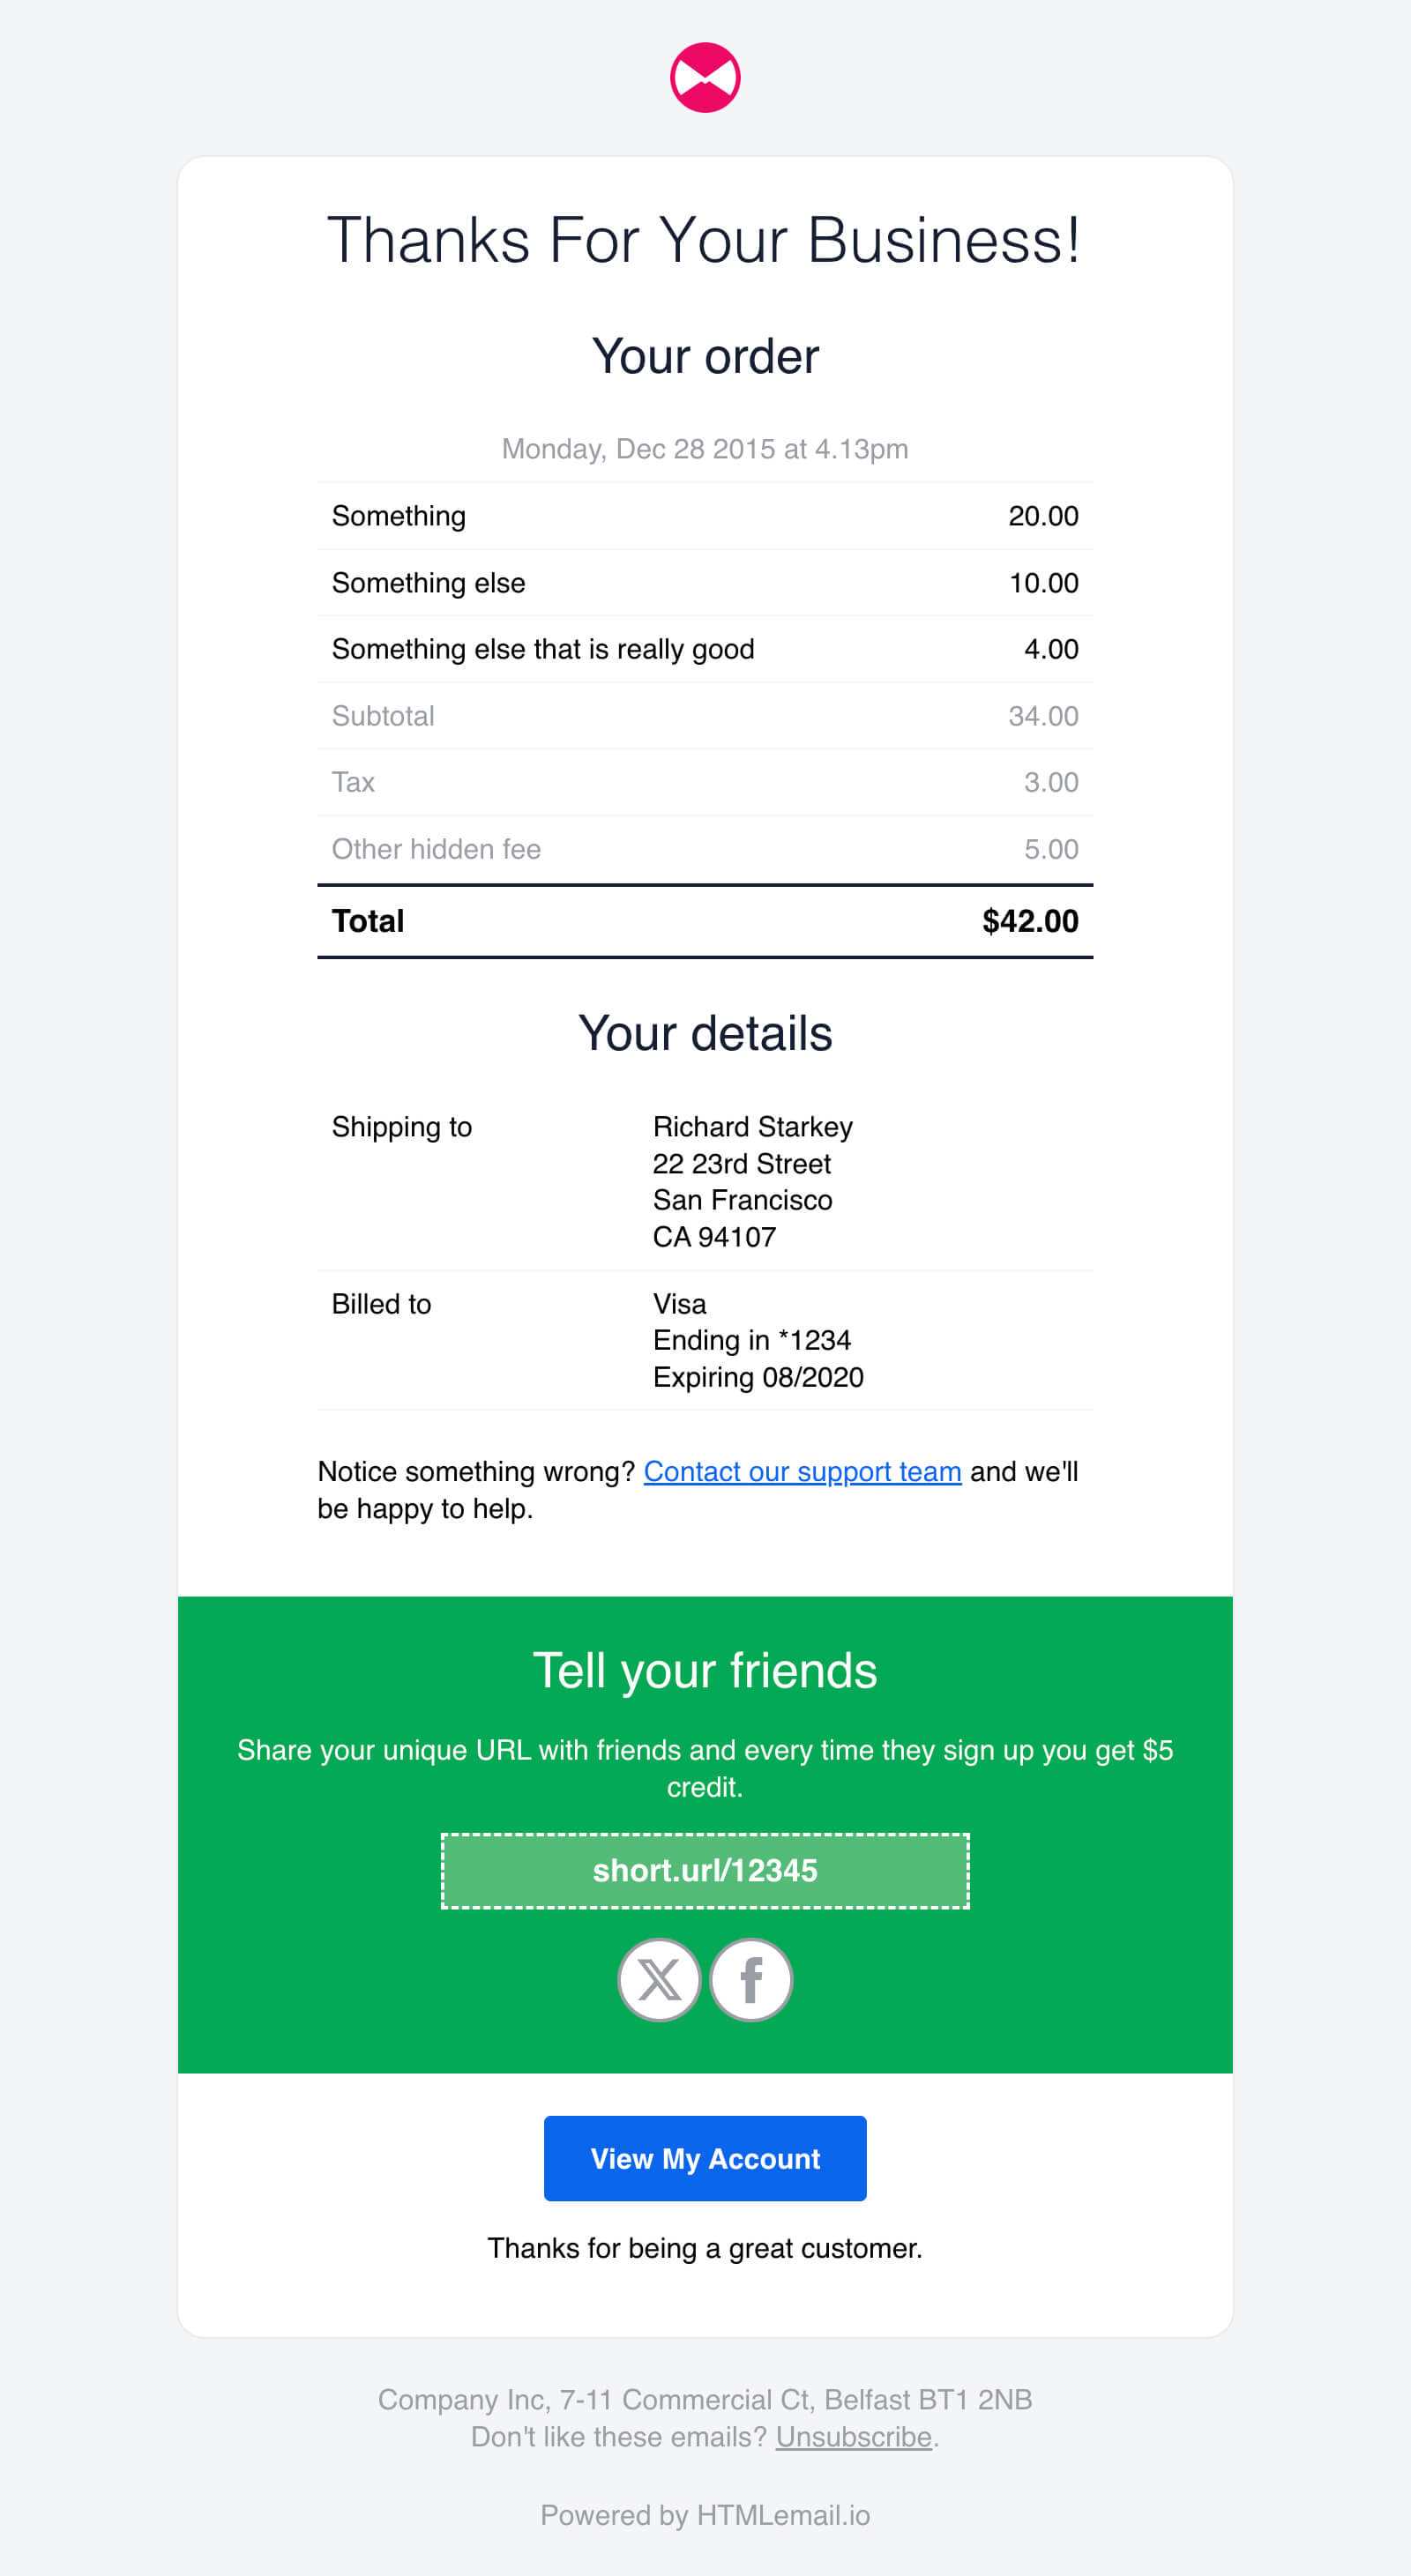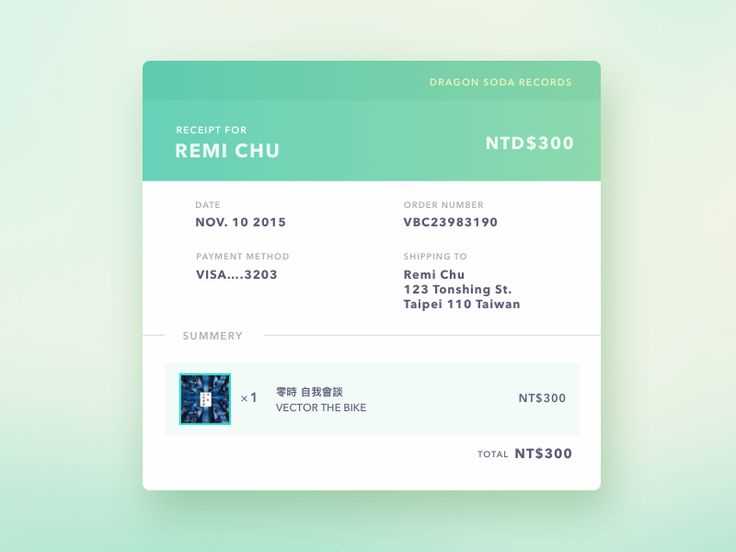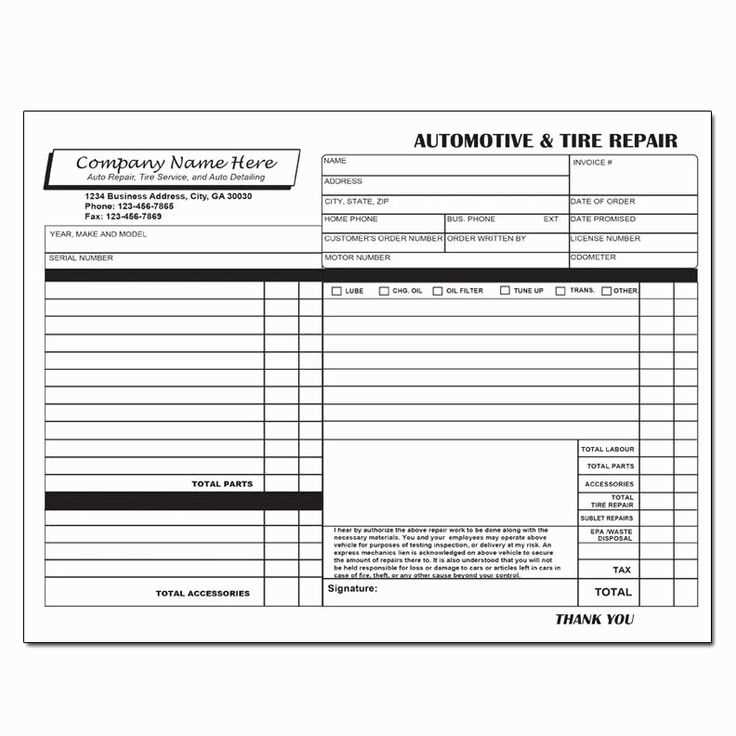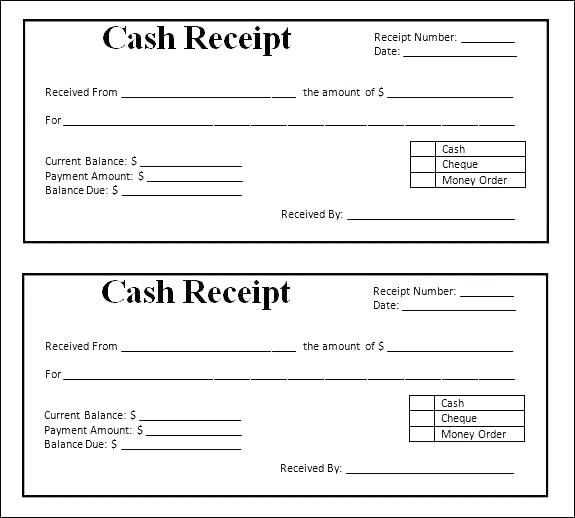
If you’re looking to create a professional receipt email template, using HTML can make your message stand out while maintaining clarity and structure. Start by choosing a simple, clean layout that organizes all the necessary details–purchase date, items, amounts, and payment method–into easy-to-read sections.
Consider adding personalized content such as the recipient’s name or a thank-you message. This enhances the user experience and makes the email feel more tailored. You can use inline CSS to customize fonts, colors, and spacing, ensuring the design aligns with your brand identity.
For functionality, include a clear call to action, such as a link for tracking or returning items. This gives your customers easy access to next steps. Make sure your template is mobile-friendly, as many users will view it on smartphones or tablets. Test responsiveness before sending to ensure a smooth experience across all devices.
By using a free HTML receipt email template, you can save time and resources while delivering a polished, professional communication to your customers. Customize it to fit your needs and enhance your branding with just a few tweaks.
How to Create a Basic HTML Receipt Template
To build a simple receipt template in HTML, use a clear structure with essential elements. Focus on organizing content in a way that is easy to read for both users and devices.
- Start with a basic HTML structure: Use
<html>and<body>tags to define the document. Inside the<body>tag, place the receipt content. - Include a header section: Add a
<header>tag for the company name, logo, or title. Use<h1>for the main title, like “Receipt” or “Invoice”. - Receipt details: Organize the receipt information using
<table>. Divide the items and prices using rows<tr>and columns<td>. - Item list: Inside the table, each row should contain the item name, quantity, price per item, and total cost. Here’s an example:
| Item | Quantity | Price | Total |
|---|---|---|---|
| Product 1 | 2 | $10.00 | $20.00 |
| Product 2 | 1 | $15.00 | $15.00 |
- Total section: Add a final row or section to display the total amount. This can be placed below the table.
Total: $35.00
- Footer: Include payment method, date, and any additional details in the footer section with the
<footer>tag.
With these steps, you can create a clean, simple HTML receipt template that works well on both desktop and mobile screens.
Customizing the Design of Your Receipt Email Template
To make your receipt email stand out and feel personal, adjust the layout, fonts, and colors. Use a clean, organized structure with plenty of white space. Keep sections distinct to improve readability and ensure your customers can easily spot the key information like transaction details and contact support.
Adjusting Layout and Spacing

Begin by creating a well-organized structure with clear sections for different types of information. Use grids or tables to separate items like the transaction summary, customer details, and company contact info. Add enough padding around each section so the text doesn’t feel cramped. This makes the email more comfortable to read and looks more professional.
Typography and Colors
Select legible fonts and stick to a maximum of two font types–one for headings and another for body text. Make sure the font size is large enough for easy reading, especially on mobile devices. Use your brand colors for headings and buttons, but keep the background neutral to avoid overwhelming the reader. A subtle background color or a faint pattern can add depth without distracting from the content.
Integrating Payment Details into Your Receipt Template

To create a professional and clear receipt, include precise payment information. Start by listing the payment method used, such as “Credit Card,” “PayPal,” or “Bank Transfer.” Clearly display the transaction date and time for transparency.
Ensure that you include the payment amount, along with any taxes, fees, or discounts applied. This can be done using a clean table format, where each item (e.g., subtotal, tax, total) is listed separately for clarity.
Consider adding a unique transaction or invoice number to help customers easily reference their payment. This will also streamline any potential customer service inquiries.
For digital payments, include a confirmation number or transaction ID to provide proof of the payment’s success. This adds another layer of verification and security.
Finally, include the total amount paid and the currency in which the payment was made. This ensures that the customer can quickly see the total cost and understand the details of the transaction.


