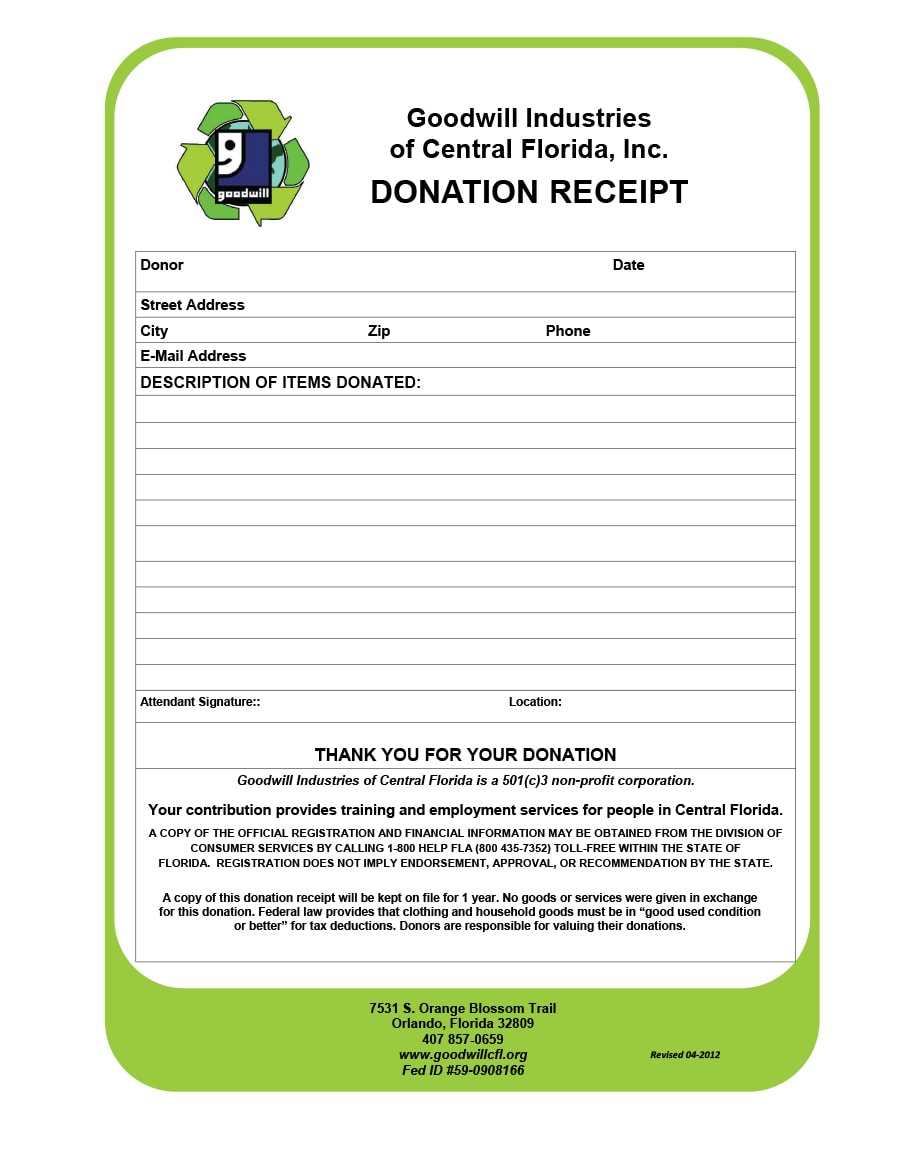
For creating a non-profit receipt, use a Word template designed to meet the requirements of both your organization and the donor. Choose a format that includes all necessary details, such as the donor’s name, the date of donation, the amount, and the purpose of the gift. A professional template will help ensure that the receipt looks polished and maintains a consistent style with your organization’s other documents.
Start by selecting a clear, simple layout that includes fields for essential information. Incorporate the non-profit’s tax identification number and a statement that the donation is tax-deductible. If the donation is in-kind, include a description of the item(s) received. This avoids any confusion and ensures the receipt meets legal standards for tax purposes.
Always include a thank-you note to the donor for their contribution. This personal touch can make a significant impact and strengthens the relationship with supporters. A well-structured template not only helps with legal compliance but also reinforces your organization’s commitment to transparency and accountability.
Non Profit Receipt Template Word: A Practical Guide
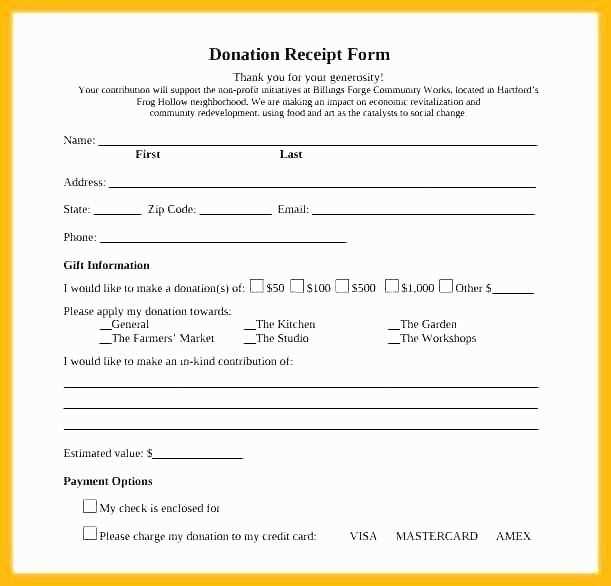
To create a receipt for donations or payments, start with a clear and simple template in Word. Here’s how to set one up efficiently:
- Choose a Layout: Use a clean, professional format. Place your organization’s name, address, and contact details at the top.
- Donation Details: Include the donor’s name, donation amount, and the date of the transaction. Ensure accuracy to avoid confusion.
- Tax Information: Clearly state whether the donation is tax-deductible. Many organizations include their tax ID number for this purpose.
- Receipt Number: Add a unique receipt number for reference and tracking purposes.
- Purpose of Donation: Briefly mention the cause or project that the donation is supporting.
Once the template is set up, customize it according to your specific needs. Here’s what to keep in mind:
- Keep the language simple and direct. Avoid jargon or excessive text that could confuse the donor.
- Ensure that the format is consistent across all receipts to maintain a professional appearance.
- Use tables or simple formatting tools in Word to align the details properly.
- Consider including a thank-you message at the bottom to acknowledge the donor’s contribution.
To save time in the future, save your template as a .dotx file. This way, you can quickly generate receipts without needing to start from scratch each time.
Choosing the Right Layout for Your Receipt
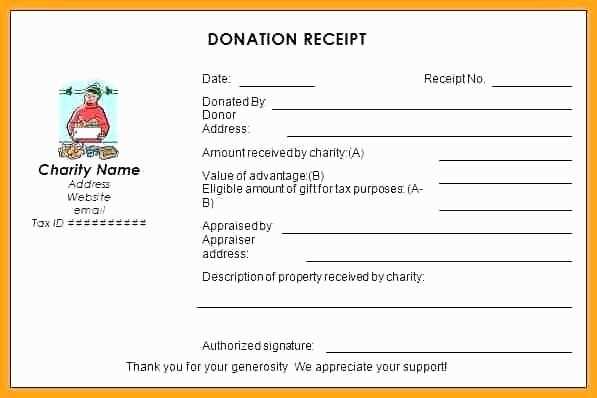
Choose a layout that ensures clarity and simplicity. A clean and organized design helps recipients quickly find key information such as the amount, date, and description of the donation. Avoid clutter by using clear sections for each data point, and use appropriate spacing to make the receipt easy to read. Place the organization’s name and contact information at the top, followed by the donor’s details, donation amount, and date in a logical sequence.
Include an area for a thank-you note or message, as this adds a personal touch. Make sure the layout supports quick customization, so you can easily adjust for different types of donations or events. Use a simple font style, such as Arial or Times New Roman, and avoid overly decorative fonts that may detract from the document’s professionalism. Choose a size that ensures readability without overwhelming the page.
Ensure the layout is easily adaptable for both printed and digital formats. For digital receipts, consider creating a version with clickable links for further communication. A simple, professional design ensures the receipt serves its purpose–documenting the transaction clearly and helping maintain positive relationships with your donors.
Customizing the Template for Your Non-Profit Needs
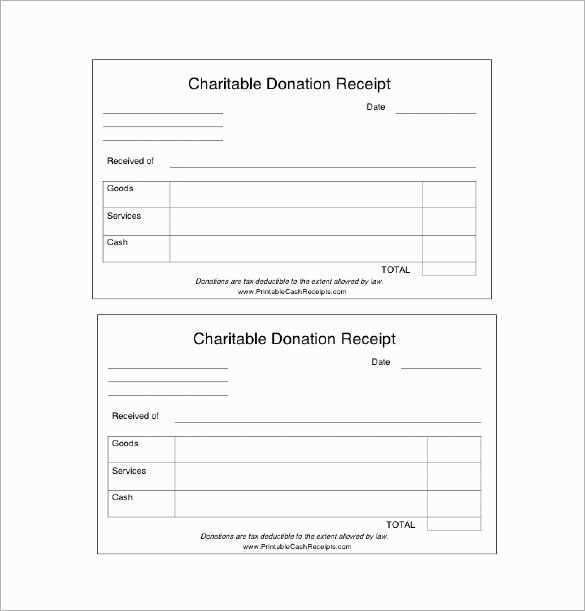
Adjust the receipt template to match your non-profit’s identity by including your organization’s logo, address, and mission statement at the top. This adds a personal touch and helps recipients recognize the source of the donation. Ensure your contact details are clear, making it easy for donors to get in touch for future contributions or inquiries.
Modify the fields to reflect the specifics of your donations. Include information such as the donation type, whether monetary or in-kind, and ensure there’s a clear space for the donor’s name, address, and donation amount. This makes record-keeping more accurate and provides transparency to both parties.
Incorporate a space for tax-related information if your organization is tax-exempt. This lets donors know they can claim the donation as a tax deduction. Include the necessary details like your tax identification number and any additional instructions for filing claims.
Consider adding a thank-you message tailored to your cause. A brief note of appreciation at the bottom can make a significant impact on your donor’s experience, helping to build long-term relationships.
Adjust the layout for clarity and ease of use. Make sure all information is easy to read and well-organized. Use bold headings for each section, and ensure there’s enough white space between fields to avoid a cluttered look.
Once you’ve customized the template, test it by creating a sample receipt. Review the content carefully to ensure all details are accurate and the design is professional. Make adjustments as necessary, and remember to save the template for future use, ensuring consistency in all receipts issued.
Ensuring Compliance and Accuracy in Your Receipts
Double-check that your receipts include all required details such as the donation amount, date, and nonprofit organization’s name. These are necessary for tax deductions and maintaining transparency. Use a clear template to avoid missing critical information.
Follow Local Regulations
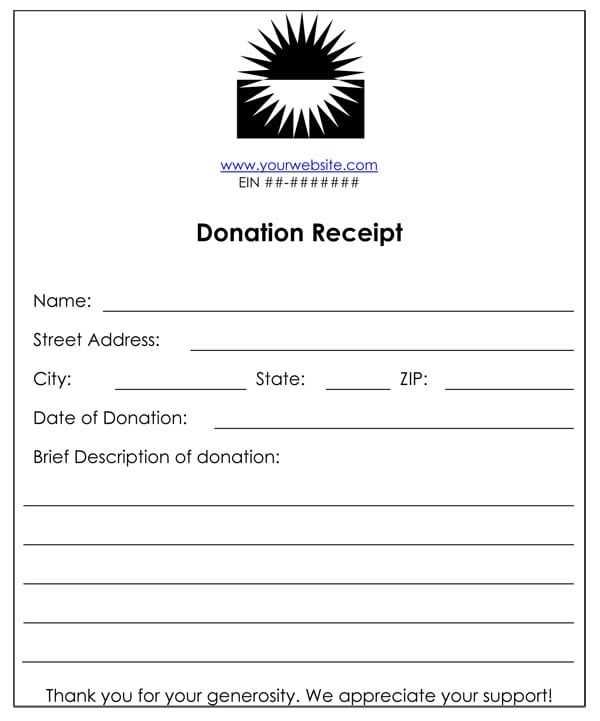
Ensure the receipt format complies with local tax laws. Some jurisdictions require specific language, such as a disclaimer stating no goods or services were provided in exchange for the donation. Familiarize yourself with these regulations to ensure you’re fully compliant.
Maintain Consistency
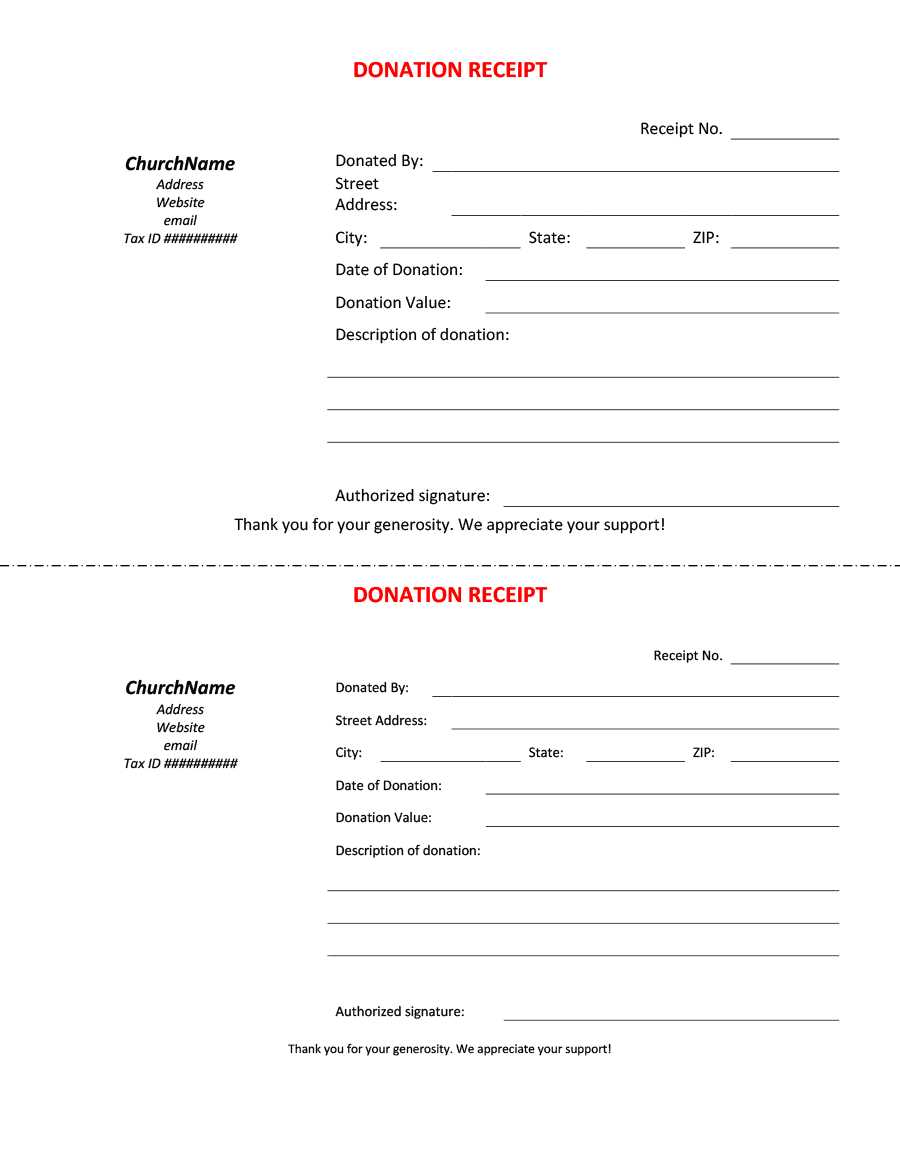
Use a consistent format for every receipt issued. This helps both your organization and your donors stay organized. A standardized format ensures that the correct information is captured and reduces the chances of errors. Revisit your templates regularly to confirm they meet all necessary standards.


