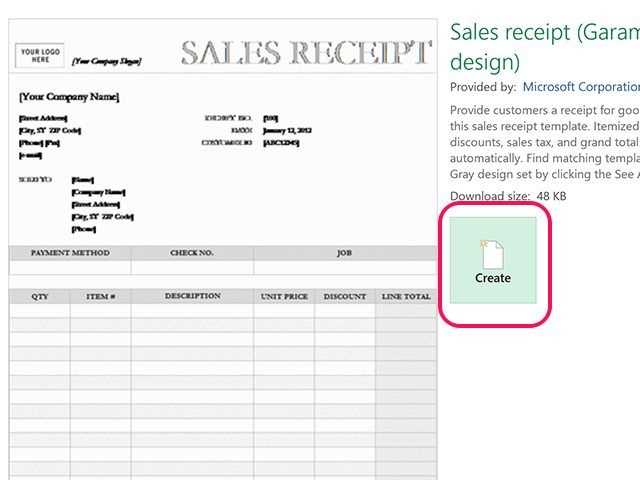
Customize the Sales Receipt Layout
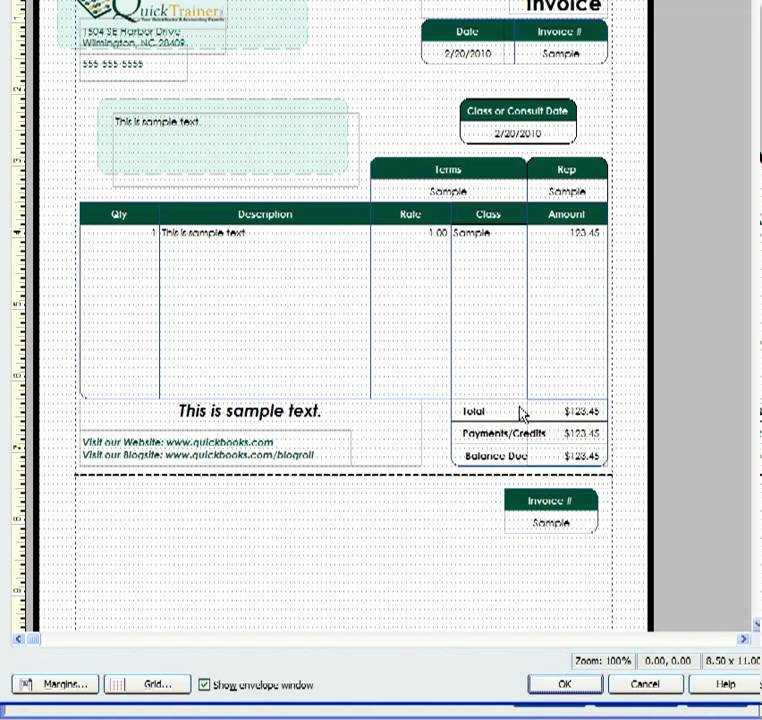
Open QuickBooks Online and go to Settings, then select Custom Form Styles. Click New Style and choose Sales Receipt. Modify the template by adjusting the design, adding a logo, and selecting preferred fonts and colors.
Adjust Fields and Labels
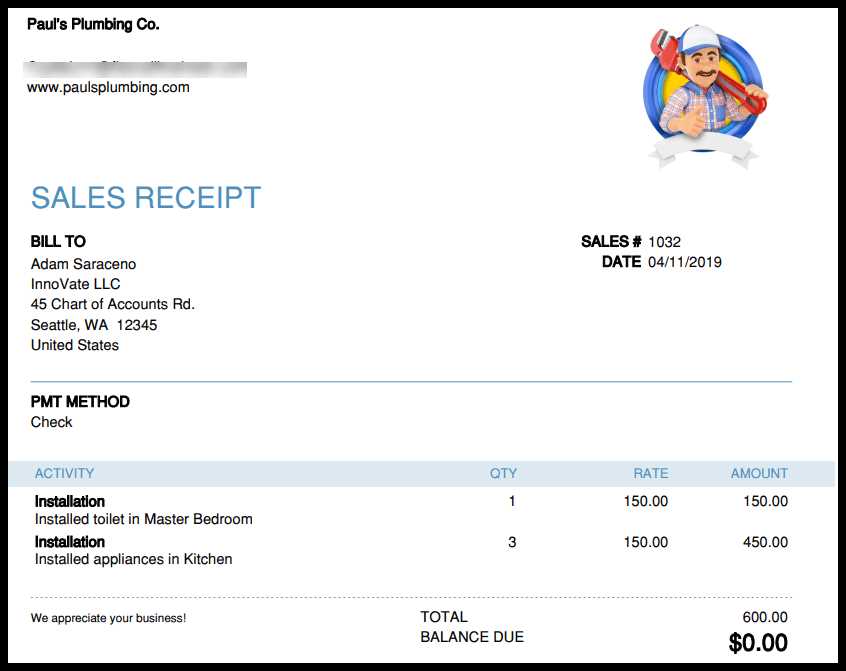
Switch to the Content tab to edit sections of the receipt. Click each area to rename labels, remove unnecessary fields, or add custom text. Use the Footer section for disclaimers or thank-you notes.
Enable Email and Print Preferences
Navigate to the Email tab and format the default message customers receive. Adjust the PDF settings to ensure the receipt prints correctly.
Save and Apply the Template
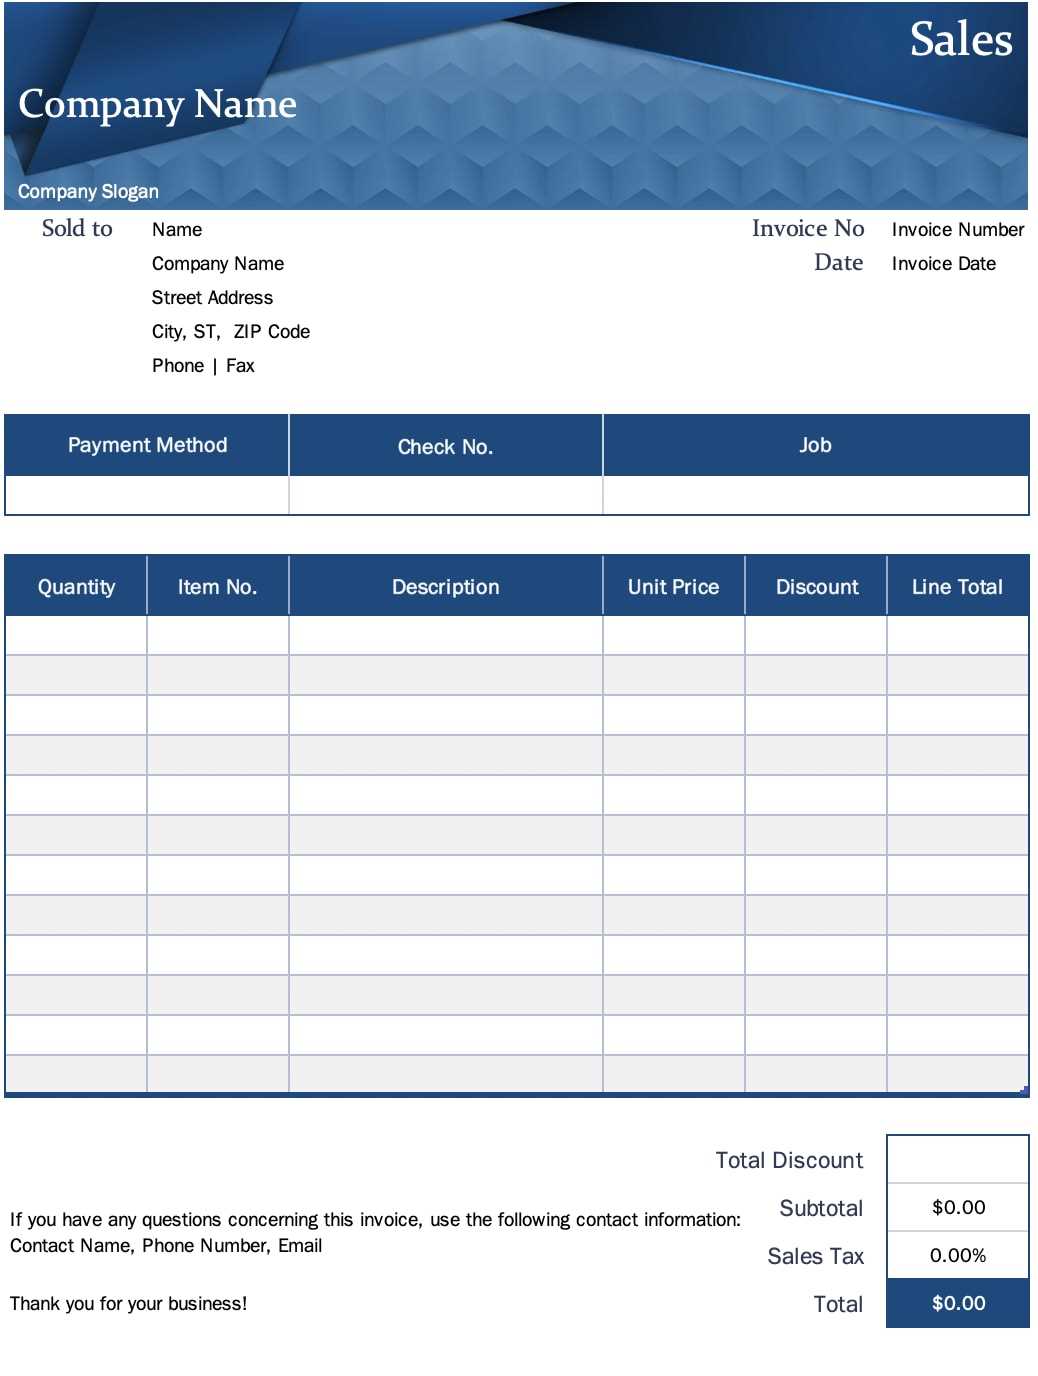
Once all adjustments are made, click Save. To use the template, go to + New and select Sales Receipt. Choose the customized template from the Customize dropdown before finalizing the transaction.
How to Design a Sales Receipt Template in QuickBooks Online
Accessing the Customization Settings for Receipts
Modifying Layout and Branding Features
Adding and Adjusting Personalized Fields
Configuring Default Payment Options and Terms
Saving and Implementing the New Template
Testing and Reviewing the Receipt Format
Open QuickBooks Online and navigate to “Settings” by selecting the gear icon. Choose “Custom Form Styles” and click “New Style” to start creating a receipt template. Select “Sales Receipt” as the form type to ensure proper customization.
Adjust the layout by clicking the “Design” tab. Modify the header, footer, and overall structure to match your business needs. Use the “Logo & Colors” section to upload a company logo and select brand-specific colors. Ensure fonts and alignment are clear and professional.
Switch to the “Content” tab to edit specific sections. Modify the “Header” to include a custom title, business contact details, and any necessary legal disclaimers. Adjust the “Body” to rearrange or rename fields such as item descriptions, quantity, and rates. Utilize the “Footer” to add personalized messages or payment instructions.
Enable or adjust payment terms in the “Payments” section. Configure default payment options, such as credit cards or bank transfers, and ensure due dates reflect your business policies. If offering discounts or deposits, activate these features for clarity on transactions.
Save the customized template by clicking “Done.” Assign it as the default receipt format by selecting “Make Default” under “Custom Form Styles.” This ensures all new receipts automatically use the updated template.
Review the template by generating a test receipt. Navigate to “Sales” and create a new sales receipt. Enter sample data to confirm field placement, branding elements, and payment details appear correctly. If adjustments are needed, return to “Custom Form Styles” to refine the design.
Once satisfied, apply the template to all transactions, ensuring a consistent and professional presentation for customers.


