Creating a rent receipt in Adobe Illustrator can be a streamlined process with the right template. Start by setting up a new document in a clean and organized format. Use guides to ensure alignment and consistency throughout the design. This will allow you to create a professional-looking receipt that meets the needs of both the landlord and tenant.
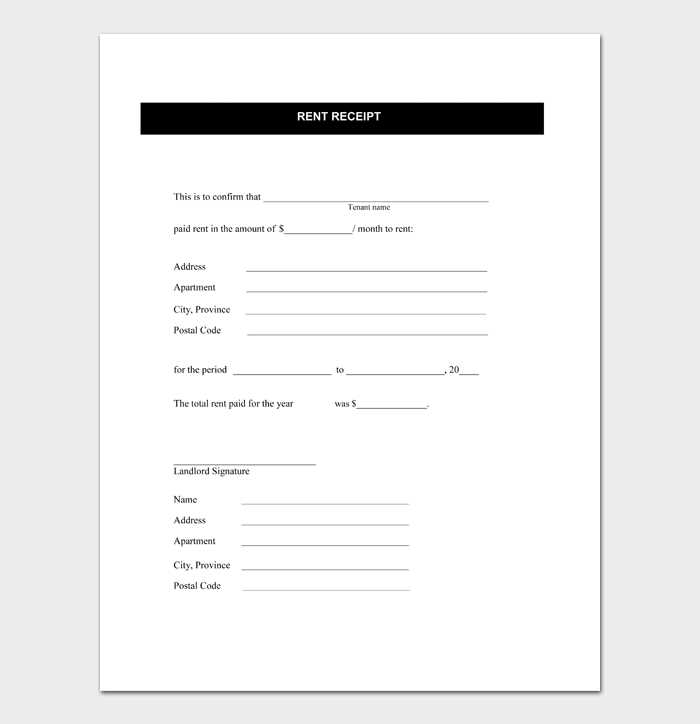
Begin by including key details such as the tenant’s name, the rental property address, and the amount paid. Incorporating a section for payment method, date, and rental period is also recommended. For clarity, use separate text boxes for each field to ensure the information is easily distinguishable. If necessary, include a small section for additional notes or terms of the agreement.
To add an extra layer of professionalism, consider incorporating simple branding elements such as a logo or custom fonts. Keep the design minimalistic to avoid clutter while ensuring all essential information is present. Once your template is complete, save it in multiple formats for easy access and printing.
Designing a Simple and Clear Layout

Use clean lines and ample white space to avoid clutter. Align elements consistently, and ensure the text is easy to read with a simple font like Arial or Helvetica. Keep the layout grid-based, using columns to organize sections logically and guide the viewer’s eye across the page.
Limit the use of colors. Stick to a neutral palette with one or two accent colors for emphasis. This keeps the receipt looking professional and easy to understand. Avoid overly bright or harsh colors that could make the text harder to read.
Ensure that the most important details, such as the date, amount, and recipient’s name, are prominent. Use larger fonts or bold text for these key pieces of information. Subtle use of icons can also help make the layout more intuitive without overcomplicating the design.
Leave space between sections. Separating different categories like rent details, payment methods, and tenant information creates a flow that’s easy to follow. Don’t overcrowd any one area with too much content.

Use borders and shading sparingly. A subtle border around each section can help differentiate between different categories without overwhelming the page. Use shadows only for emphasis if needed, but ensure they don’t interfere with the legibility of the text.
Incorporating Customizable Fields for Flexibility

Design your rent receipt template in Illustrator with customizable fields to adjust for different rental situations. These fields allow users to input specific details like the tenant’s name, payment amount, or due date directly into the template. By keeping these fields editable, you provide flexibility for varying transaction types, whether for monthly payments, one-time fees, or partial payments.
Use Illustrator’s text tool to create placeholders for key details such as tenant information, property address, and payment breakdowns. Make these areas editable by selecting “Create Outline” on the text and leaving spaces where specific details can be inserted manually later. This simple strategy ensures that your template can be quickly adapted to different tenants or rental agreements without needing a full redesign each time.
Consider adding drop-down menus or checkboxes where appropriate. For example, include a “Payment Method” option to select between cash, check, or online transfer. This not only streamlines the process but also reduces the risk of errors by limiting input options to predefined categories.
Incorporating these editable elements increases efficiency, making your template a practical tool that adapts to the needs of both the landlord and tenant. With Illustrator’s flexible design capabilities, you can offer a professional-looking receipt that can be customized as required for every rental situation.
Exporting and Saving the Template for Future Use

Once your rent receipt template is finalized, saving it properly ensures you can reuse it without losing any formatting. First, go to the “File” menu in Illustrator and select “Save As.” Choose your desired format, such as AI for editing or PDF for printing. If you plan to make small changes later, saving it as an AI file is a smart choice, as it keeps all layers and editable elements intact.
For templates that you’ll use regularly, export them in a more universal format. Select “Export” from the File menu, then choose formats like PNG or JPEG. These options are perfect if you need a version of the template for quick printing or sharing. Keep in mind, exporting to raster formats (PNG, JPEG) will flatten your design, removing any layer functionality.
For future-proofing your template, create a dedicated folder where you save all your related files, including the original AI file and exported versions. This way, everything stays organized, and you’ll always know where to find the template when needed. It’s also a good idea to include version numbers in the file names (e.g., Rent_Receipt_v1.ai) to avoid confusion between different drafts or updates.