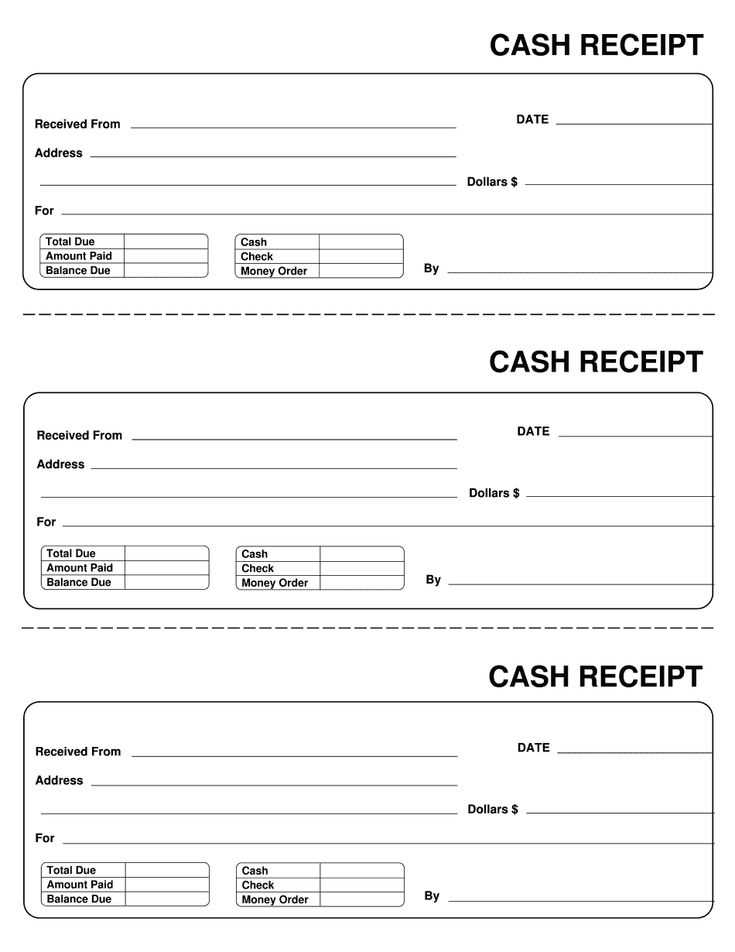
A receipt for work completed serves as a clear record of a transaction between a service provider and a client. It confirms that services have been rendered and payments have been received. By using a template, you save time and ensure consistency across all transactions. The template should include specific details that provide both parties with accurate and verifiable information.
Start by including the date of the transaction and the names of both the service provider and the client. A description of the work performed is necessary to clarify what services were provided. Be precise and include any relevant details that will help avoid confusion in the future. Alongside this, clearly state the amount paid and the payment method, whether it’s cash, check, or online transfer.
For greater transparency, it’s a good idea to list any additional costs or taxes if applicable. An itemized breakdown makes it easier for both parties to understand the final amount. Finally, include a section for both parties to sign, confirming that the services have been completed and the payment has been made. This receipt acts as proof in case of any disputes or for future reference.
Here are the corrected lines:
When drafting a receipt for work completed, clarity is key. Below are specific guidelines for presenting the information clearly and professionally:
1. Detailed Description of Work
Ensure each task or service provided is outlined with sufficient detail. Use concise language to describe what was done, avoiding vague terms like “work” or “service.” For example:
- Instead of “Cleaning service,” write “Complete carpet cleaning in the living room and hallway.”
- Instead of “Repairs,” write “Repaired leaking faucet in the kitchen sink.”
2. Accurate Date and Time
Always specify the date and the time range when the work was completed. This helps verify the service provided, especially for ongoing contracts or future reference. Include:
- The exact date of the service.
- The start and end time of the work, if relevant.
3. Clear Payment Terms
Clearly state the total amount due, the breakdown of costs (if applicable), and any taxes or discounts. Additionally, include payment instructions to avoid confusion. For instance:
- Total: $250.00
- Tax (8%): $20.00
- Discount: -$10.00
- Amount Due: $260.00
- Payment Method: Bank transfer (Bank details)
4. Acknowledgment of Work Completion
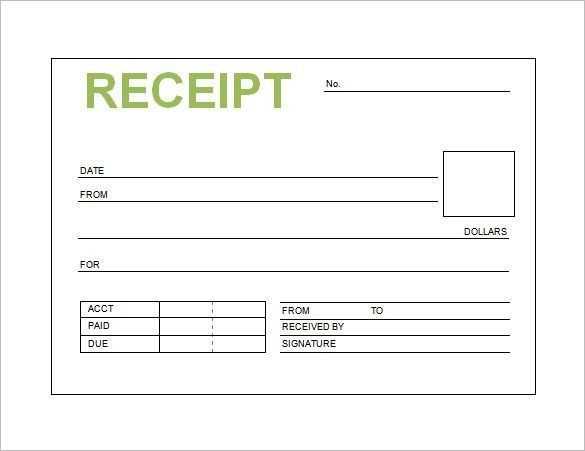
It’s helpful to include a line indicating that the work was completed to satisfaction. A simple statement like:
- “Work completed as per agreement on [date], and no further actions are required at this time.”
5. Contact Information
Provide your contact details for follow-up questions or concerns. Include at least an email address or phone number:
- Email: [email protected]
- Phone: (123) 456-7890
- Receipt for Completed Work Template
Use this template to confirm payment for work completed. A receipt should include the client’s details, the service or product provided, the payment amount, and the date of transaction. Ensure clarity and accuracy to avoid future confusion.
Template Overview
Below is a basic format for creating a professional receipt. You can adapt it to match the specifics of your service or industry. Fill in the relevant details such as names, dates, and amounts.
Receipt Template Example
Receipt Number: [Unique Receipt ID]
Date: [Date of Payment]
Paid By: [Client’s Name or Company Name]
Received From: [Service Provider’s Name or Company Name]
Description of Work: [Brief Description of Services or Work Completed]
Amount Paid: [Total Amount Paid]
Payment Method: [Cash, Credit Card, Bank Transfer, etc.]
Balance Due: [If applicable, state any remaining balance]
Signature: [Client’s Signature or Digital Confirmation]
This format provides all the critical information in a simple layout. You can customize the fields as necessary. If the transaction involves multiple stages, it’s helpful to list each one separately for clarity. Keep a copy for your records and provide the client with a copy upon payment receipt.
A receipt for completed work should be clear and direct, listing all key details. Begin with the name of the service provider or business at the top, followed by their contact information. If the work was completed by an individual contractor, include their full name, phone number, and email address.
Include Date and Payment Information
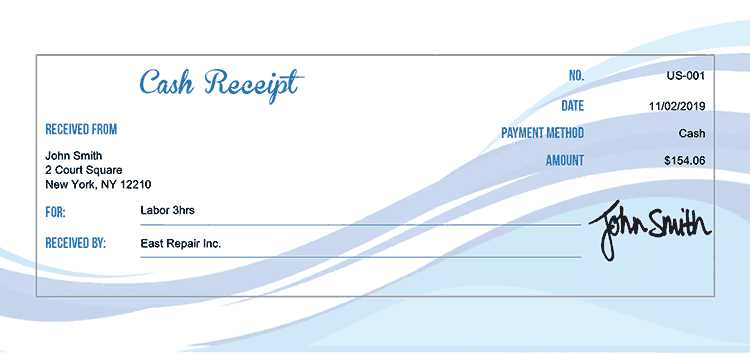
State the date of the transaction, clearly marking when the work was finished. Include the amount paid for the work, specifying whether the payment was made in full or if there was a deposit. If applicable, mention any taxes, fees, or discounts applied to the total cost. This helps ensure both parties are on the same page regarding the financial details.
Describe the Work Done
Provide a concise description of the services performed. Avoid overly technical terms unless necessary, and be specific about what was accomplished. Include any key materials used or any unique aspects of the work. A brief summary can prevent misunderstandings later on.
Finally, add a statement confirming that the work has been completed to the satisfaction of both parties. This can help close the transaction on a positive note, especially if additional follow-up or future work is anticipated.
Include the date the work was completed. This serves as a reference point for both parties and confirms that the task has been finished. Clear documentation of the completion date prevents misunderstandings.
State the exact work or services provided. Describe what was done in clear terms, avoiding vague descriptions. This detail helps both parties understand the scope of the completed task and prevents disputes over whether the work was performed as agreed.
List the agreed-upon price or rate for the work. If there were multiple stages or payments, break down each charge to make the total amount transparent. Transparency in cost is key to avoiding confusion or disputes about payment later.
Specify the payment method used. Whether it’s cash, credit, bank transfer, or another method, recording the payment details clarifies how the transaction was settled and provides proof of payment.
Include the contact details of both parties. Ensure the names, addresses, and phone numbers of both the service provider and the client are listed. This information serves as a quick reference if follow-up is needed.
Note any warranties or guarantees provided. If the service includes any type of follow-up work, corrections, or guarantees, these should be clearly outlined. This adds an extra layer of clarity for future reference, especially in case of issues with the completed work.
Record the service provider’s signature and the client’s signature. Signatures offer legal validation, ensuring both parties acknowledge the completion of the work and agree on the terms outlined in the receipt.
Finally, include any additional notes or conditions. If there are specifics that didn’t fit neatly into the categories above, such as deadlines or future requirements, these should be addressed in a separate section to avoid confusion.
Missing or incomplete details can create confusion. Always include the work description, total cost, payment terms, and the names of both parties involved. These elements provide a clear record and protect both sides if issues arise later.
Another mistake is unclear payment terms. Specify how and when payment should be made–whether upfront, in installments, or after completion. Vague terms can lead to misunderstandings about expectations.
Not providing a receipt number or unique identifier can complicate tracking. Use a numbering system to keep your records organized. This helps avoid duplicate receipts and makes future reference easier.
Failing to state the completion date of the work is another oversight. This date is critical for both the service provider and the client to confirm when the job was finished and when payments are due.
Avoid overcomplicating the document. Keep language simple and direct. Adding unnecessary clauses or complex terms can create confusion and may not hold up in the event of a dispute.
Don’t forget to include both your contact information and that of the client. If any issues arise, having this readily available ensures quick communication and resolution.
| Mistake | Why It Matters | How to Fix It |
|---|---|---|
| Missing Details | Can lead to confusion or disputes | Include work description, cost, and payment terms |
| Unclear Payment Terms | Creates uncertainty around expectations | Be specific about when and how payment is due |
| No Receipt Number | Hard to track and reference later | Use a unique number for each receipt |
| No Completion Date | Can cause confusion about when work was done | Always include the work completion date |
| Overcomplicating the Document | Can make it harder to understand | Keep language clear and to the point |
| Missing Contact Info | Reduces communication efficiency | Include contact details for both parties |
Receipt for Work Completed Template
Begin by clearly listing the service or product provided along with the agreed-upon details such as quantity, unit price, and total cost. Specify the date the work was completed and reference any contract or agreement number for clarity.
Key Elements to Include
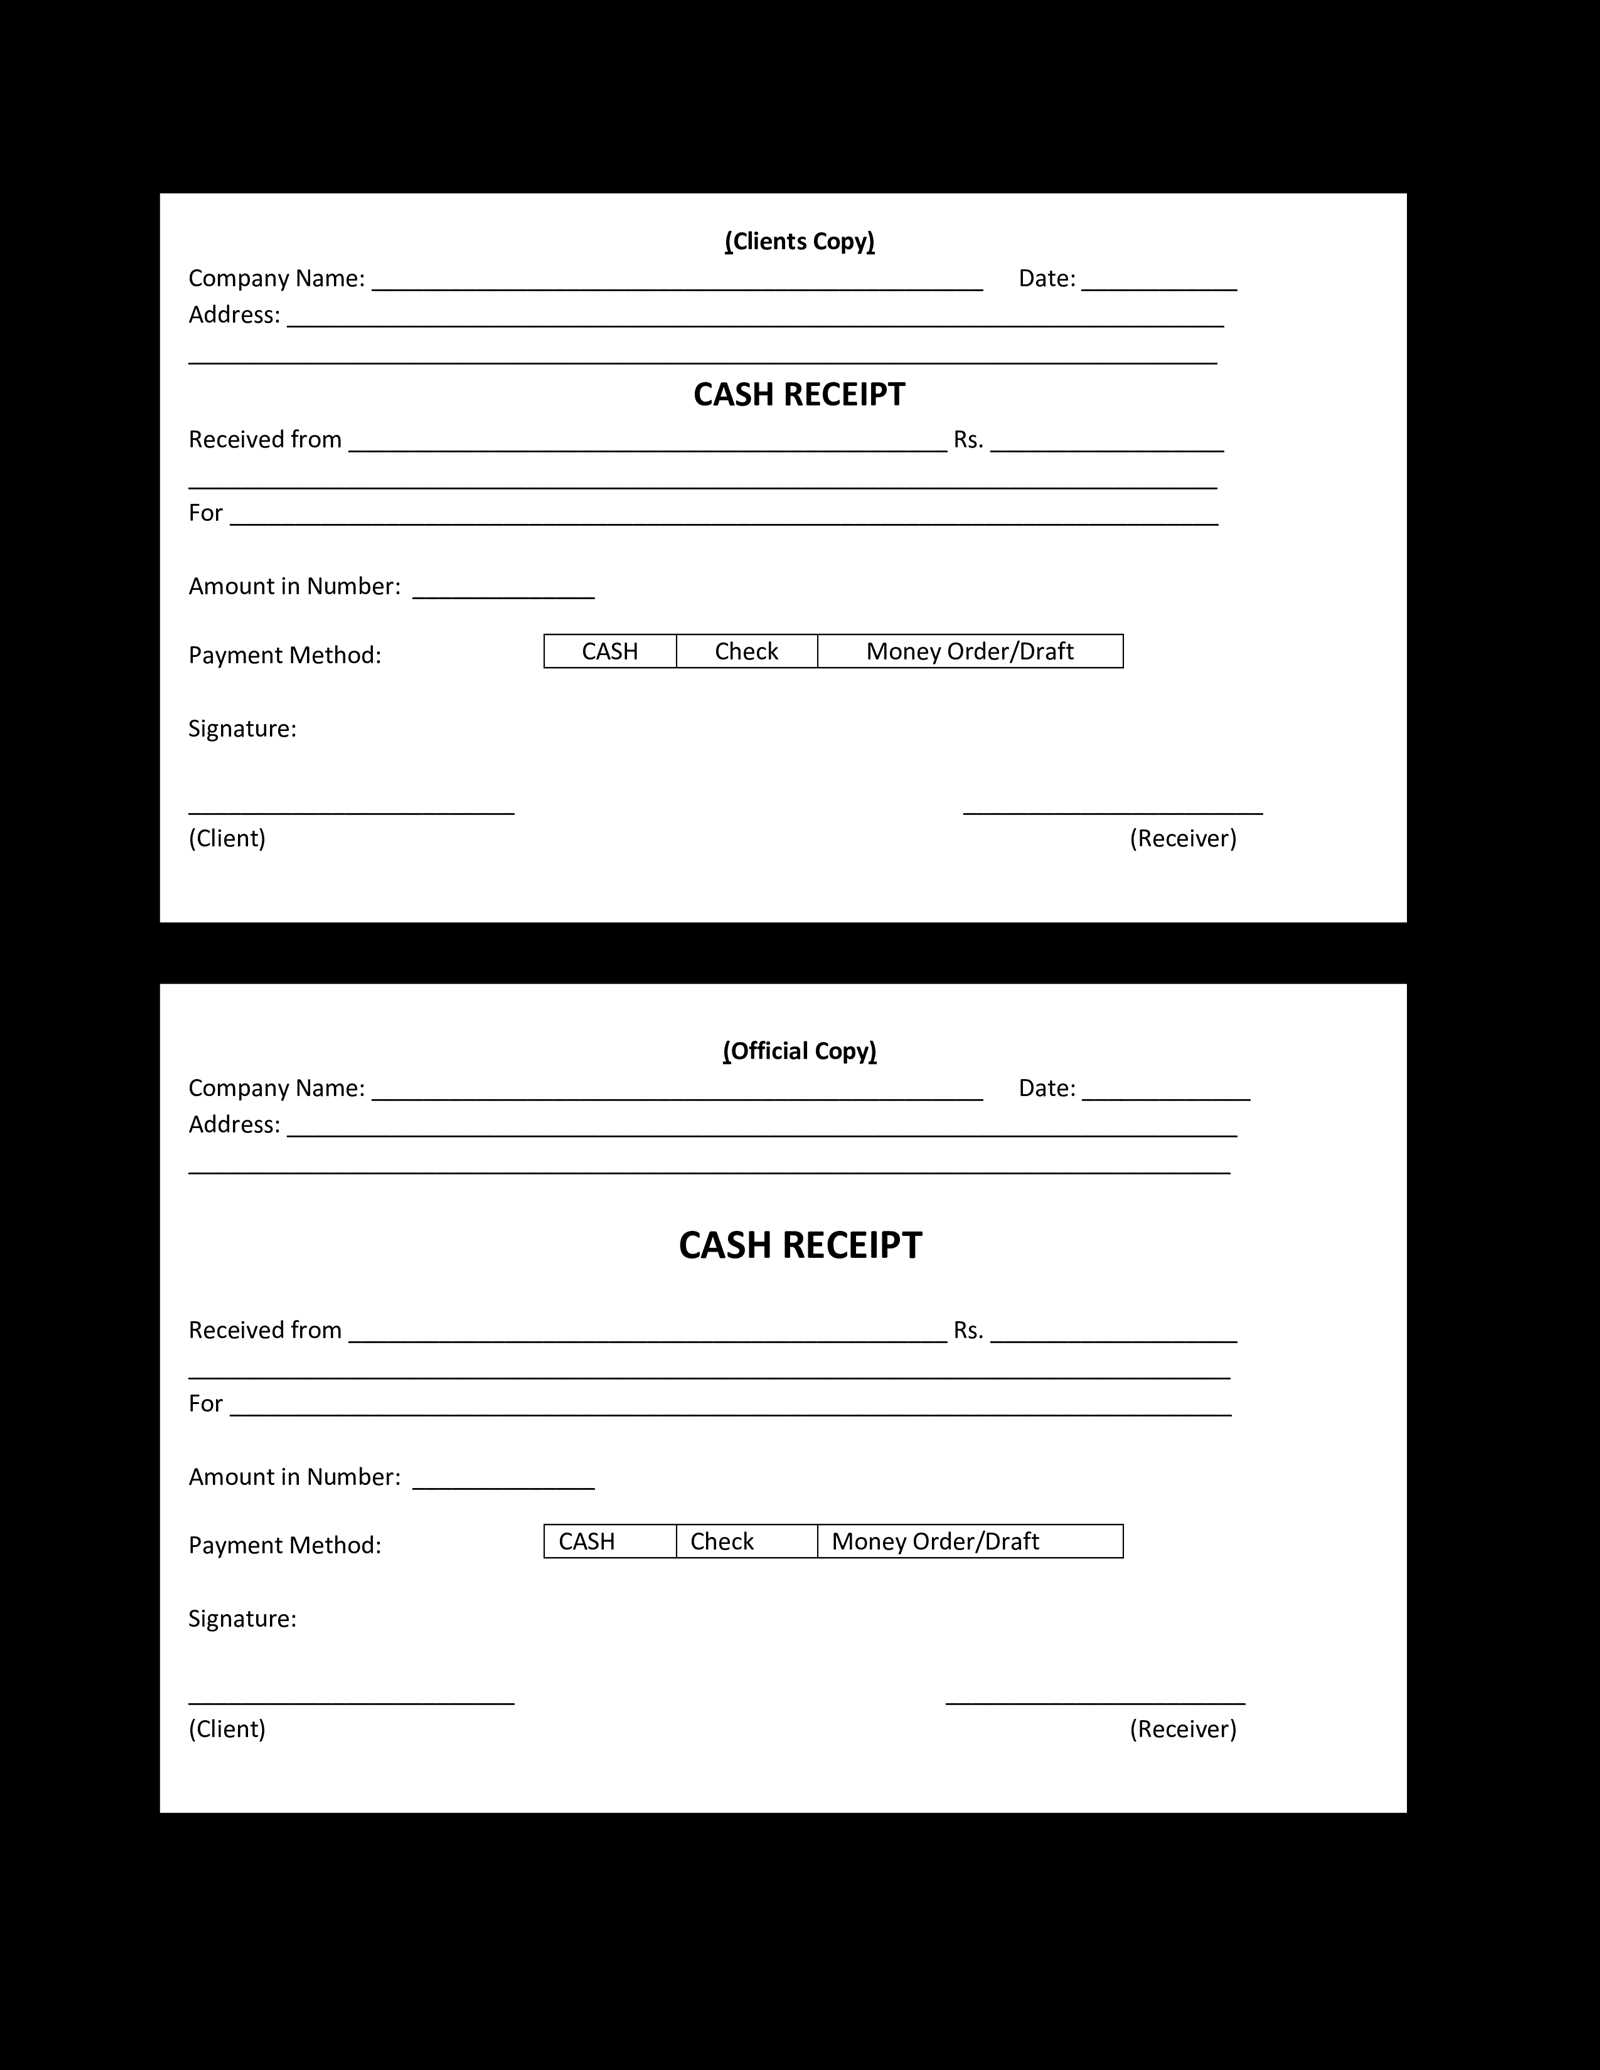
Include the names of both the service provider and the recipient. Indicate the payment method and any taxes applied. If applicable, provide a breakdown of discounts or additional charges. A statement that confirms the work was finished to satisfaction can help ensure both parties are on the same page.
Final Touches
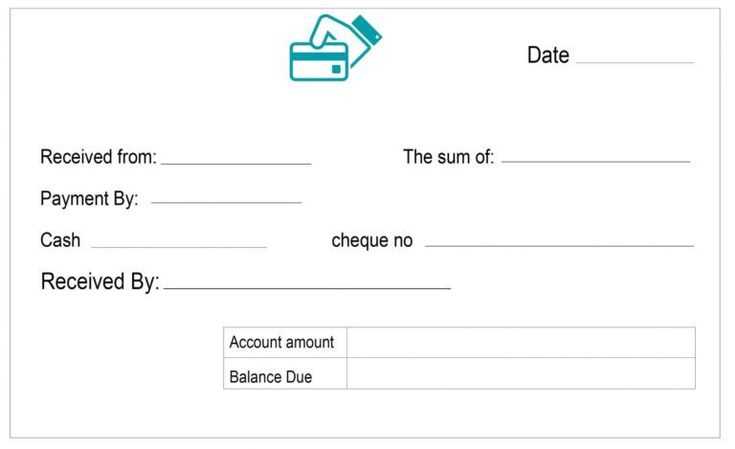
Ensure the template includes a thank-you note or acknowledgment of the working relationship. A professional tone while maintaining clarity will avoid misunderstandings. Close with your contact information for any follow-up questions.


