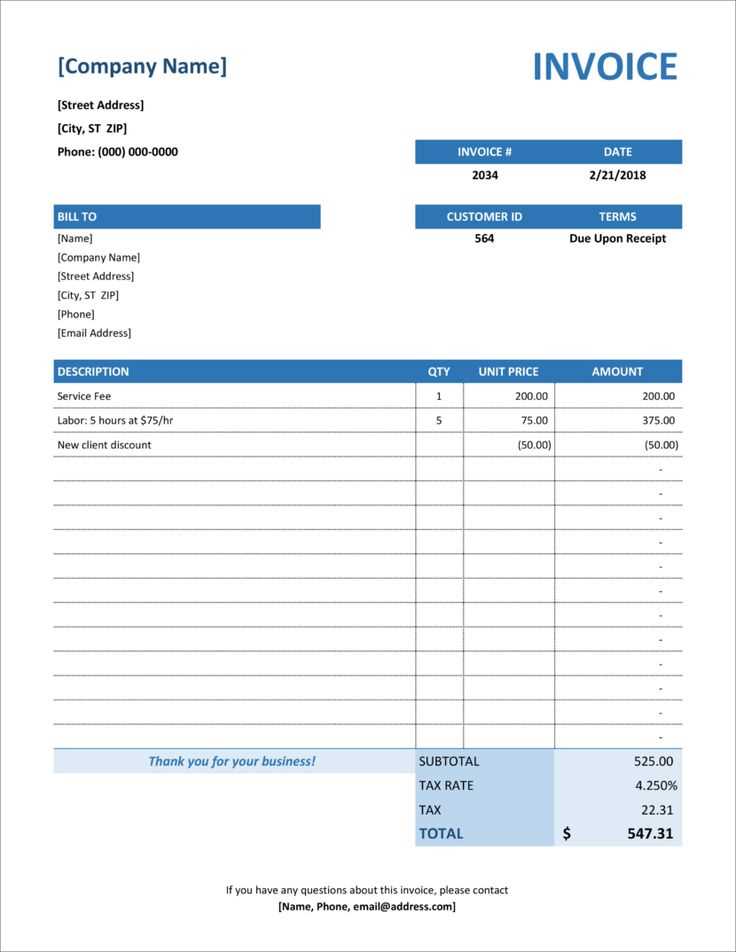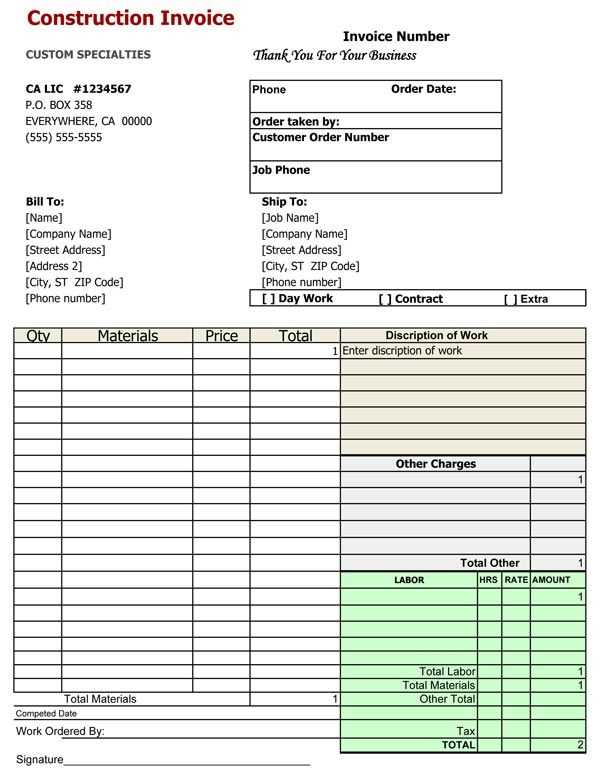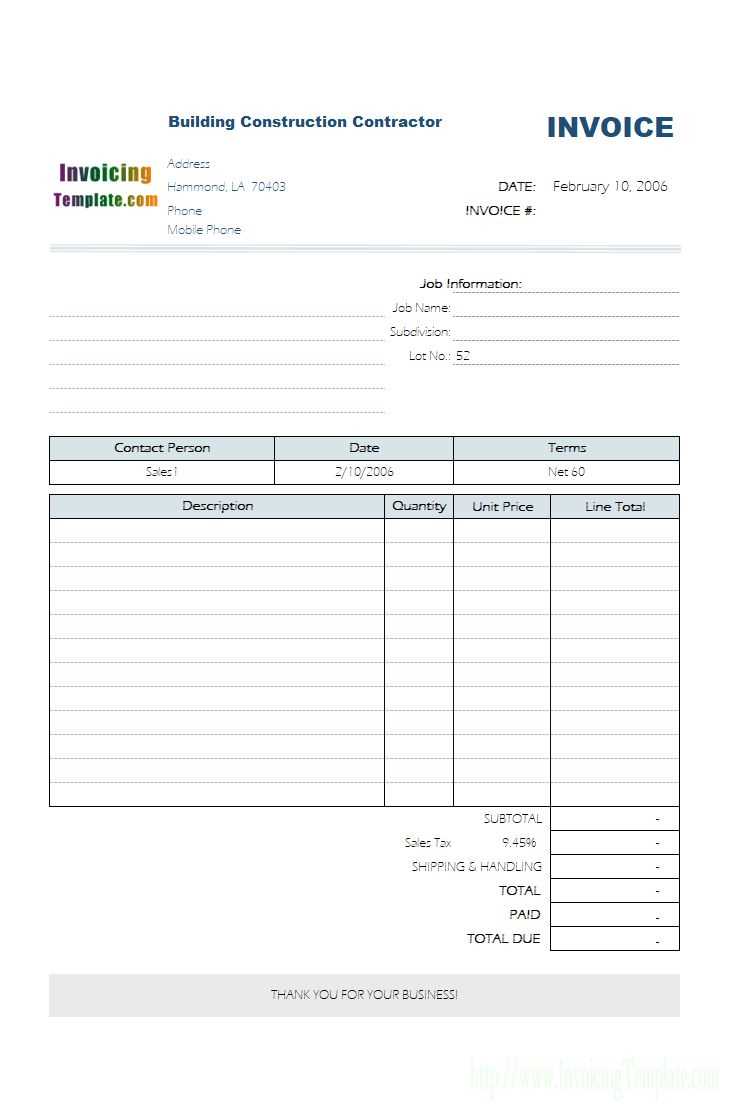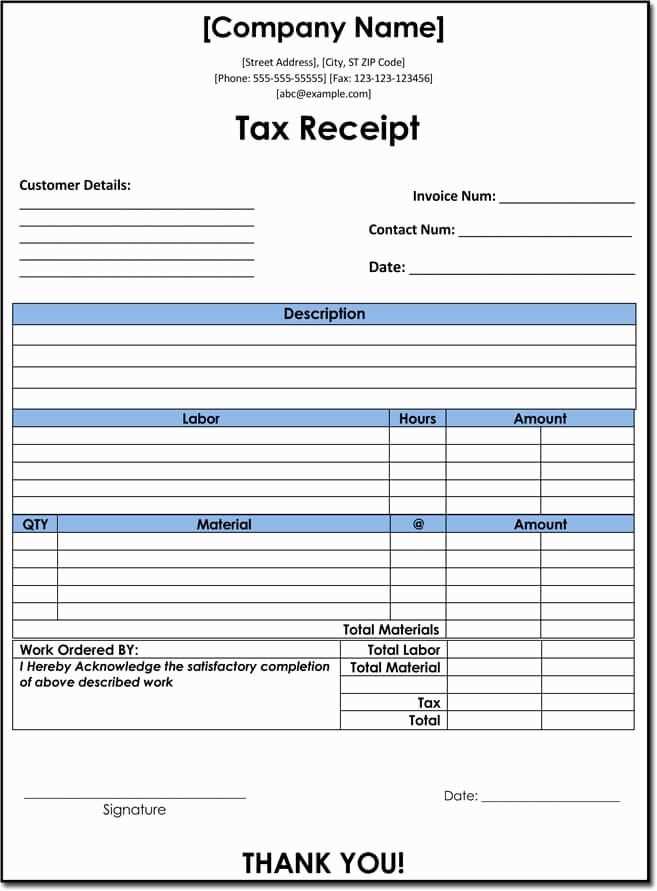
To streamline your billing process, use a construction company receipt template that reflects both the professionalism and detail your clients expect. Make sure the template includes fields for job specifics, material costs, labor charges, and payment methods. This ensures all information is clear and accessible for both you and your client.
Ensure that your receipt template is customizable to match the specific requirements of each project. Include sections for project number, contractor details, and client information. You can also add a breakdown of services provided, which helps eliminate confusion and improves transparency.
Additionally, add a space for the payment status and due dates. This will keep both you and the client on the same page regarding outstanding balances. Include a section for payment method (cash, check, or card) and any necessary tax information to ensure full legal compliance.
With these elements, your receipt template not only serves as proof of payment but also maintains an organized record for both parties, making future reference or audits simpler.
Construction Company Receipt Template
A construction company receipt template should be clear and professional, ensuring all necessary details are included. The template should highlight key components such as the company name, contact information, the client’s details, a breakdown of the services provided, and the total amount due. This structure minimizes confusion and provides both parties with a reliable record of the transaction.
Key Elements to Include

Start with your company’s full name, address, and phone number at the top. Include the date the transaction took place. Next, add the client’s name, address, and contact information. Provide a detailed list of the construction services rendered, including descriptions, quantities, and costs for each service or material provided. A subtotal section for the sum of individual items, followed by taxes or additional fees, should be clearly indicated. Finally, list the total amount payable, with the payment terms and methods clearly stated.
Formatting Tips
Ensure that the template is easy to read. Use a clean layout with bold headings to separate sections. Make the service details column wide enough to include brief descriptions and quantities without cluttering the page. Avoid unnecessary design elements that could distract from the main details. If applicable, leave space for a unique invoice or receipt number for better tracking. Providing a professional format enhances credibility and streamlines record-keeping for both parties.
A well-organized receipt protects both your business and your clients, offering clarity and preventing disputes down the line.
How to Include Detailed Service Descriptions on Your Receipt
Clearly outline the services you’ve provided by specifying tasks completed, materials used, and time spent. Break down each service or product line in a concise but informative manner, so the customer knows exactly what they are paying for. This will help avoid any confusion and build trust.
List Each Service Separately
Separate each service or product with its own description and cost. For example, instead of listing a general charge like “Construction services,” break it down into individual tasks such as “Concrete pouring,” “Framing,” or “Electrical installation.” Include specific details like the number of hours worked, the type of materials used, and any other relevant information.
Include Material Costs
If you provided materials, list them individually. Include the quantity, type, and unit price. This transparency makes it clear to the customer how their money is being spent and avoids disputes later on. For instance, “Cement, 10 bags @ $5 each” provides all the details needed for that line item.
By offering detailed descriptions, your receipts will not only be more professional but also give your clients a clearer understanding of your work, improving communication and trust.
Customizing Your Construction Company Receipt for Tax and Legal Compliance

Include your company’s legal name, address, and contact information at the top of the receipt. This ensures that clients and tax authorities can easily identify your business. Make sure the business name matches the one registered with your local tax authority to avoid discrepancies.
Itemized Breakdown for Clarity
Provide a clear list of services rendered with detailed descriptions. Include the type of construction work, the date it was completed, and the labor or material costs associated with each task. This helps both you and your client track expenditures and serves as a transparent record for tax reporting.
Tax Information and Compliance

Specify the applicable tax rate and the amount of tax charged for each item or service. Ensure that the tax rates used align with your local government’s requirements. Include your company’s tax identification number (TIN) or VAT number to ensure that the receipt is valid for tax purposes.
For larger projects, include a subtotal before taxes, a breakdown of taxes, and a final total. This helps clients understand the full financial picture and makes it easier for you to report accurate income during tax season.
Don’t forget to add any legal disclaimers or terms related to refunds, warranties, or payment policies. These can protect your business from potential disputes while keeping your receipts legally sound.
Choosing the Right Payment Methods to List on Construction Receipts
Select payment methods that align with your business practices and customer preferences. Include a variety of options to ensure ease and flexibility for both you and your clients. Here’s what to consider:
- Cash – If cash payments are common in your business, include this option. Ensure you have a secure process for handling cash transactions.
- Bank Transfer – This is a reliable and traceable option for larger amounts. Provide your bank details clearly, including the account number, routing number, and bank name.
- Credit and Debit Cards – Many customers prefer using cards for convenience. Include space for card type and the last four digits for reference.
- Online Payment Platforms – Consider listing options like PayPal, Venmo, or other payment processors that clients might use for ease and security.
- Checks – If you accept checks, clearly state your requirements (e.g., check payable to, bank name, and check number).
- Mobile Payments – As mobile wallet services grow, it’s important to list options like Apple Pay, Google Pay, or other common mobile payment methods.
Ensure your receipts include the method used, payment confirmation, and any additional fees or adjustments associated with the transaction. This will provide clear and transparent records for both parties.


