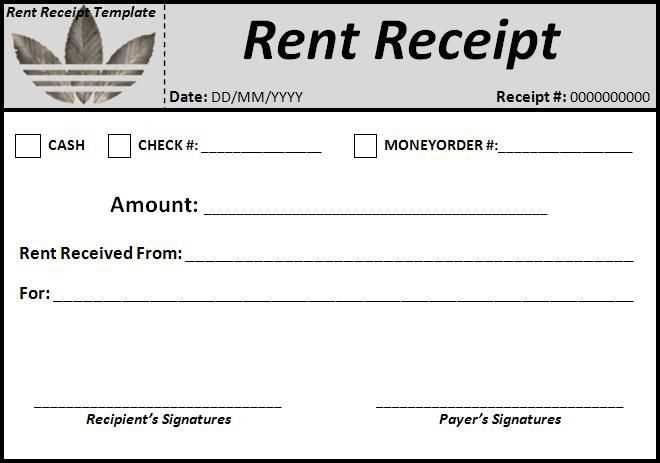
When you need a reliable receipt template in New Zealand, it’s best to choose one that matches local tax requirements. The GST (Goods and Services Tax) field is mandatory, as is the unique invoice number, which helps in tracking each transaction efficiently. A good template should be straightforward, showing all necessary details without clutter.
Include fields for the business name, contact information, and payment method. This will make the receipt clear for both you and the customer. Keep in mind that clear formatting and logical sections help avoid confusion when reviewing past transactions.
Many businesses use online templates to streamline this process, ensuring compliance and reducing manual errors. Customizing your template is an easy step to adapt it to your specific needs, but make sure it remains simple and clear for anyone to understand. A good receipt reflects professionalism and builds trust with customers.
Receipt Template NZ: Practical Guide
When designing a receipt template for New Zealand, make sure to include the following key components for accuracy and compliance with local requirements:
- Business Details: Clearly display your business name, address, and contact information at the top of the receipt.
- Tax Information: Include your Goods and Services Tax (GST) number. If applicable, separate the GST amount from the total price.
- Item Description: List each item or service sold, along with quantities and individual prices.
- Payment Method: Specify the method of payment (cash, credit card, EFTPOS, etc.) used by the customer.
- Date and Time: Record the exact date and time of the transaction for clarity and reference.
- Receipt Number: Assign a unique receipt number for tracking and auditing purposes.
Using these elements ensures that your receipt template is both functional and compliant with New Zealand regulations. Ensure the layout is clean and easy to read to avoid confusion and maintain professionalism in every transaction.
How to Create a Custom Receipt Template for Small Businesses in NZ
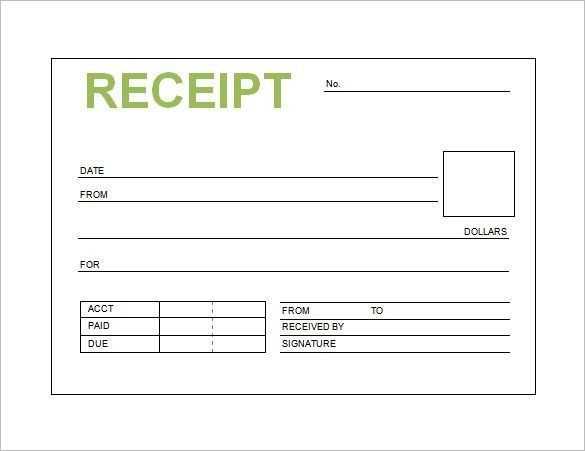
Start by including your business name and contact details. Make sure this information is clear and easy to find at the top of the receipt. This helps customers identify your business quickly, especially if they need to refer to the receipt later.
Next, list the items or services provided with a brief description and price for each. Ensure the item names are concise and the prices are accurate. If applicable, include any applicable taxes or fees, making it transparent for the customer.
Include the date and time of the transaction. This helps with record-keeping for both you and your customers, ensuring that there is a clear reference for future inquiries.
For added professionalism, provide a unique receipt number. This can be a simple sequential number that helps you track transactions and manage your sales records efficiently.
If you offer returns or refunds, include a short note on your business policy. This makes it clear for customers and can prevent misunderstandings later on.
Tips for Customizing Your Template
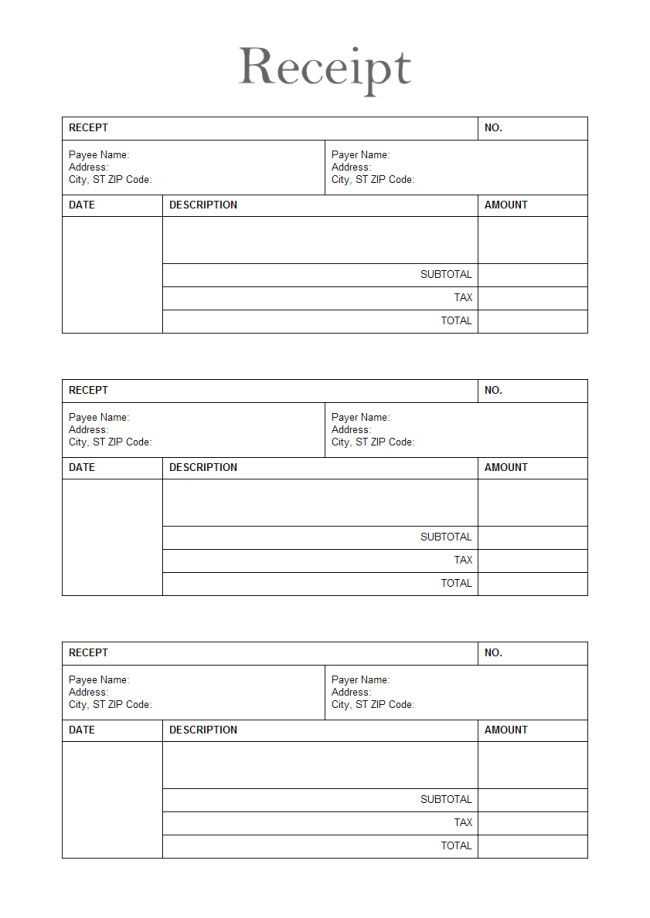
- Branding: Incorporate your logo or color scheme to reflect your business identity. This adds a personal touch to each receipt.
- Payment Method: Always specify the payment method used, such as cash, card, or digital payment. This adds another layer of transparency to the transaction.
- Discounts: If you offer any discounts, ensure they are clearly displayed with the final amount to avoid confusion.
- Legal Requirements: In New Zealand, make sure your receipt meets any legal obligations, such as displaying GST if your business is GST-registered.
Using Software or Tools to Create Your Template
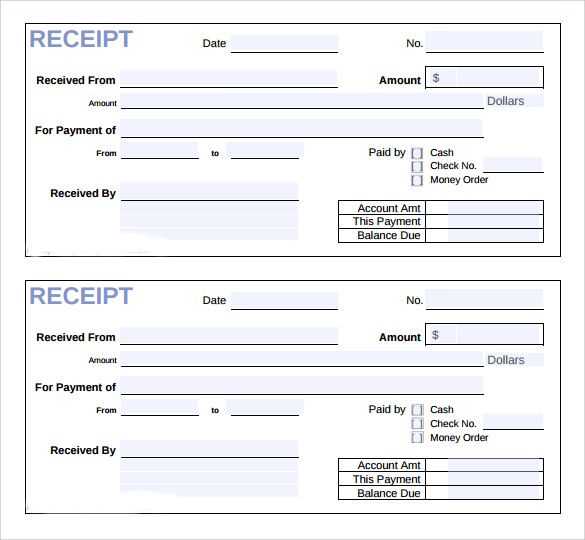
- Word Processors: A basic option where you can design a receipt template manually. Many software tools allow customization to suit your business needs.
- Online Receipt Generators: There are free and paid tools that provide templates tailored for small businesses. Some even allow you to automatically calculate taxes.
- Accounting Software: If you use accounting software, check if it has receipt generation capabilities. This saves you time and ensures your records are consistent with your accounts.
Key Legal Requirements for Receipt Templates in New Zealand
Receipt templates in New Zealand must meet specific legal standards to ensure they are valid and comply with tax regulations. These standards help businesses maintain clear and accurate records for both customers and authorities.
Required Information
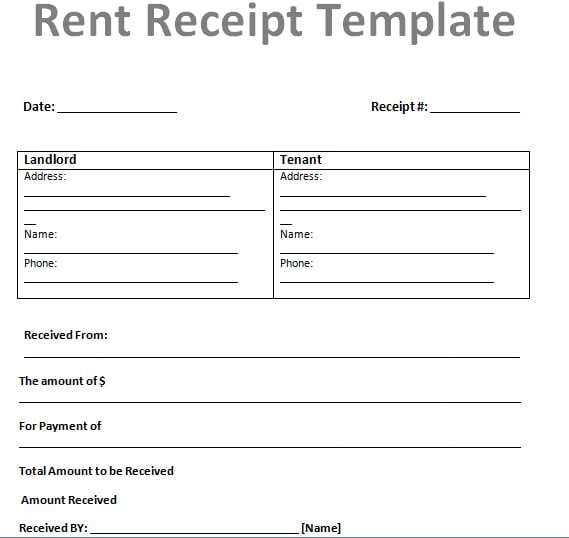
Receipts must clearly display the following details:
- Business Name and Contact Information: Include the business name, address, and contact details, allowing customers to reach the business for any inquiries or disputes.
- Transaction Date: The exact date of the transaction must be included for record-keeping purposes.
- Description of Goods or Services: Specify the items purchased or services rendered. A clear breakdown of products or services helps avoid misunderstandings.
- GST Information: If applicable, receipts must state the Goods and Services Tax (GST) amount or clearly mention that the price includes GST. GST-registered businesses are required to issue receipts that comply with GST guidelines.
- Amount Paid: The total amount paid, including any applicable taxes, must be listed to confirm the transaction.
- Unique Transaction Identifier: Some businesses may include a unique receipt number to track and identify specific transactions easily.
GST and Tax Compliance
For businesses registered under the Goods and Services Tax (GST) system, receipts must comply with the rules set by the New Zealand Inland Revenue (IRD). This includes the proper display of GST amounts and the business’s GST number if relevant. Failure to follow these rules can result in penalties and complications with tax filings.
Receipts serve as key documents in proving tax compliance, and accurate record-keeping helps businesses avoid legal issues during audits.
Best Tools for Designing and Printing Receipts in New Zealand
For quick and precise receipt design and printing in New Zealand, consider using Receipt Printer Designer. It offers custom templates, barcode generation, and seamless integration with thermal printers. Perfect for businesses looking for simplicity and flexibility in their receipt systems.
1. Xero
Xero provides an intuitive platform for designing and printing receipts directly through your accounting system. It supports integration with various printers, ensuring fast and accurate printouts. This tool is ideal for businesses that already use Xero for accounting, offering both receipt creation and management in one place.
2. QuickBooks
QuickBooks offers customizable receipt templates that allow businesses to create tailored receipts for every transaction. With direct printing options and easy integration with both POS systems and thermal printers, QuickBooks simplifies the entire receipt generation process. This tool is highly recommended for companies seeking a user-friendly solution with additional features like invoice management.
For more complex setups, consider using Receipt Bank. It allows users to scan and convert receipts into data, which is then easily exported into accounting systems like Xero or QuickBooks. This tool is excellent for businesses that require frequent data entry and want to automate receipt processing.


