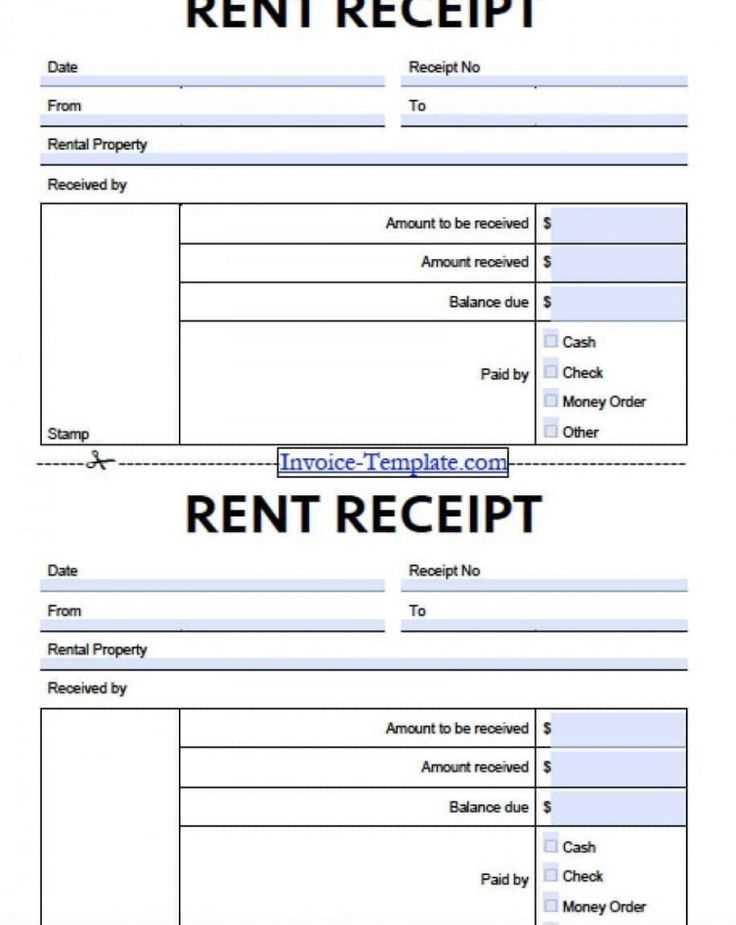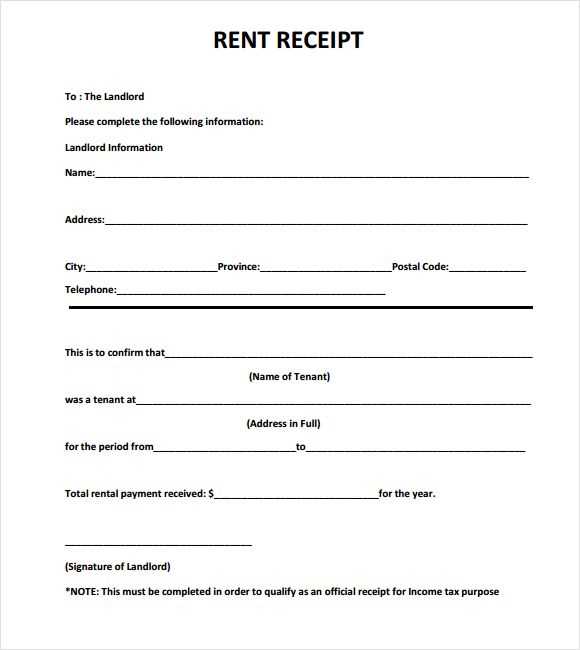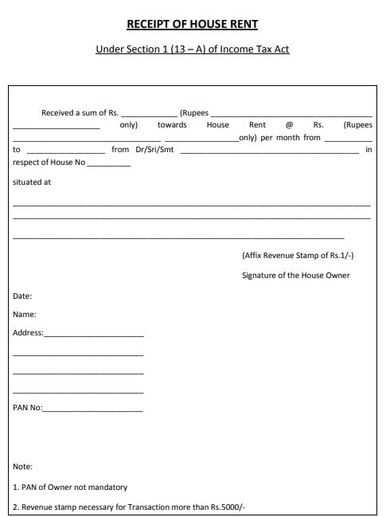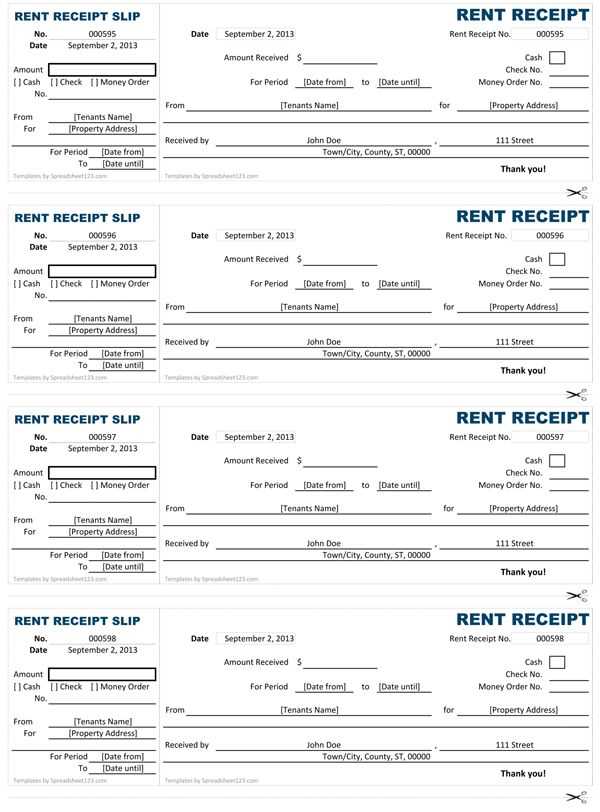
Using a Microsoft Excel rent receipt template helps you create professional and organized receipts for rental payments. It simplifies tracking payments and provides a clear record for both tenants and landlords. Whether you’re renting residential or commercial property, this template ensures you stay on top of rental transactions.
The template typically includes fields for the tenant’s name, property address, payment amount, and the date the rent was paid. You can easily customize it to suit your specific needs, such as adding late fees or adjusting payment terms. Excel’s built-in formulas can also automate calculations, saving you time and reducing the chance of errors.
To get started, open a new Excel file and search for “rent receipt” templates available within the application. If you prefer to design one from scratch, use Excel’s formatting tools to create a clean, easy-to-read layout. You can also consider adding your logo or any other branding elements to personalize the receipts for your business.
Detailed Guide on Microsoft Excel Rent Receipt Template
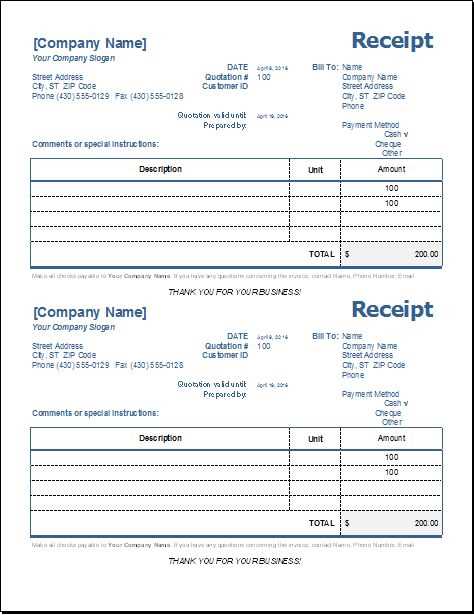
To create a rent receipt in Microsoft Excel, begin by opening a new worksheet. Label the first section with the renter’s details: their name, address, and contact information. Make sure the font is clear for easy reading. Underneath, include the landlord’s details in a similar format. Keep this area organized for clarity.
Next, create a table with the following columns: rent amount, payment date, payment method, and any additional notes. The rent amount should be formatted as currency for consistency. You can use Excel’s built-in date format to ensure the date is correctly displayed. For payment method, you may want to add options like cash, check, or electronic transfer, depending on your preference.
Include a unique receipt number for each transaction for tracking purposes. You can easily do this by setting up a formula that increments the number automatically as you create new receipts. This helps maintain an organized record of all transactions.
Finally, add a section for landlord and tenant signatures to formalize the receipt. Use lines or empty cells where signatures can be added manually or printed later. It’s a good idea to include a “Thank you” message at the bottom to add a professional touch.
Once your template is ready, save it as a reusable file. If needed, you can customize the layout further by adjusting borders, colors, or fonts to match your preferences. Regularly updating the template ensures that all necessary fields are included.
How to Create a Rent Receipt Template in Excel
Create a rent receipt template in Excel by setting up a clear structure that includes essential details such as tenant information, rental property address, payment date, and amount paid. Begin by organizing the document into sections: the header, payment details, and footer.
Step 1: Set Up the Header
In the first row, include the name of the landlord or property management company, followed by contact details. Next, insert a section for the tenant’s name and address. This makes the document easily identifiable and ensures the information is linked to the right individual.
Step 2: Add Payment Information
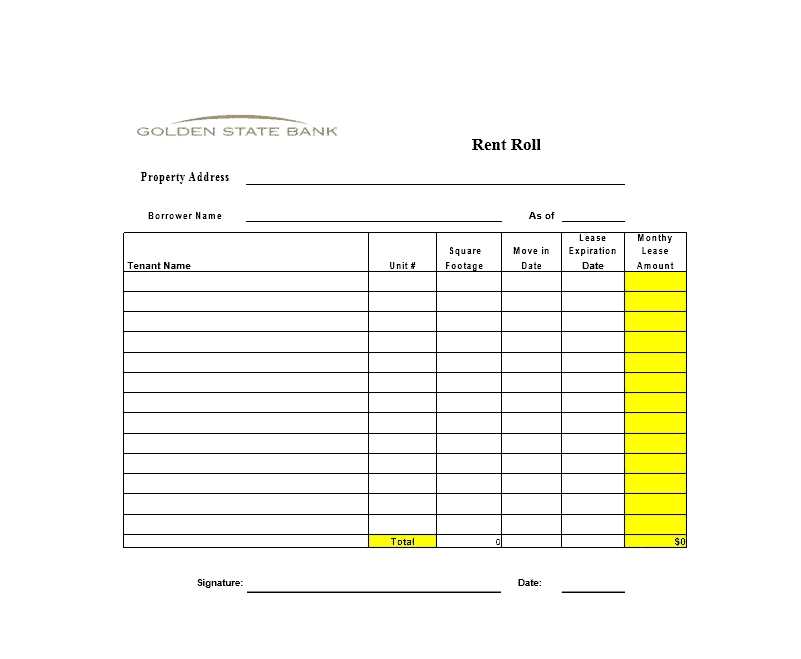
Below the header, create columns for the payment date, amount received, rental period (e.g., month and year), and payment method. You can use Excel’s date format for consistency. You may also add a note section for special remarks such as late fees or additional charges, if applicable.
Finally, make sure the footer includes a space for the landlord’s signature and any disclaimers or conditions, such as payment verification. To streamline the process, save the template for future use and modify details as needed for each transaction.
Customizing the Template for Different Payment Types
Adjust the template to match various payment methods by modifying the “Payment Type” section. For instance, if the tenant pays via bank transfer, input the bank name, transaction ID, and payment date. For cash payments, specify the cash amount received and note any relevant details, such as the payment being made in person.
Payment via Check
- Include the check number and bank details.
- Enter the check amount in the appropriate field.
- Note the date on which the check was received and deposited.
Credit Card Payments
- Document the last four digits of the credit card number for verification purposes.
- Include the payment processing fee if applicable.
- Ensure the date and transaction ID are recorded for accuracy.
For each payment method, customize the template to reflect any unique transaction details specific to the tenant’s payment process. This ensures clear and accurate records for both parties.
How to Automate Date and Amount Calculations in Excel
To automate date and amount calculations in Excel, use formulas that dynamically update based on changes in your data. Start with the DATE function to calculate specific dates, like rent due dates. For example, the formula =DATE(year, month, day) creates a date value that Excel will automatically update when you adjust any of the parameters.
Automating Amount Calculations
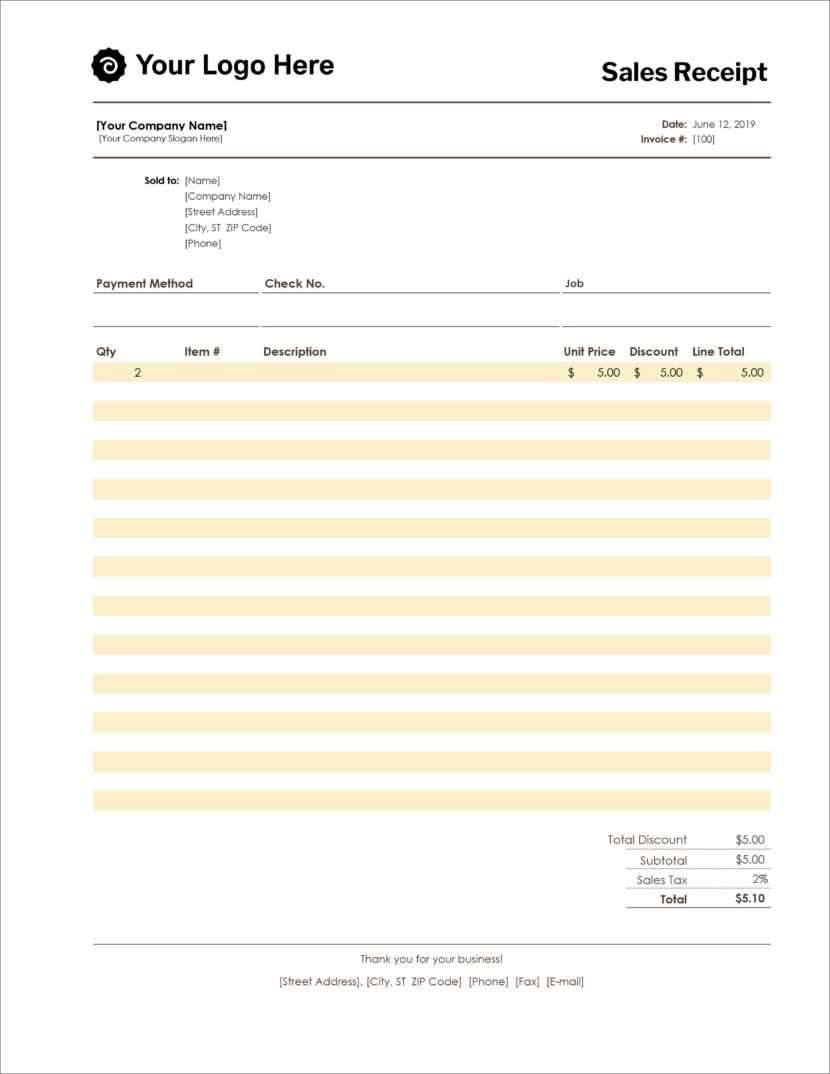
For amounts, leverage the SUM function to calculate totals based on a range of cells. Use =SUM(A2:A10) to automatically calculate the sum of amounts in a specified range. If you’re working with conditional amounts, consider using SUMIF or SUMIFS to apply criteria to the calculation, such as summing amounts greater than a certain threshold or within a particular date range.
Adding Date-Based Formulas
To calculate amounts based on dates, try using IF combined with date functions. For instance, =IF(A2
