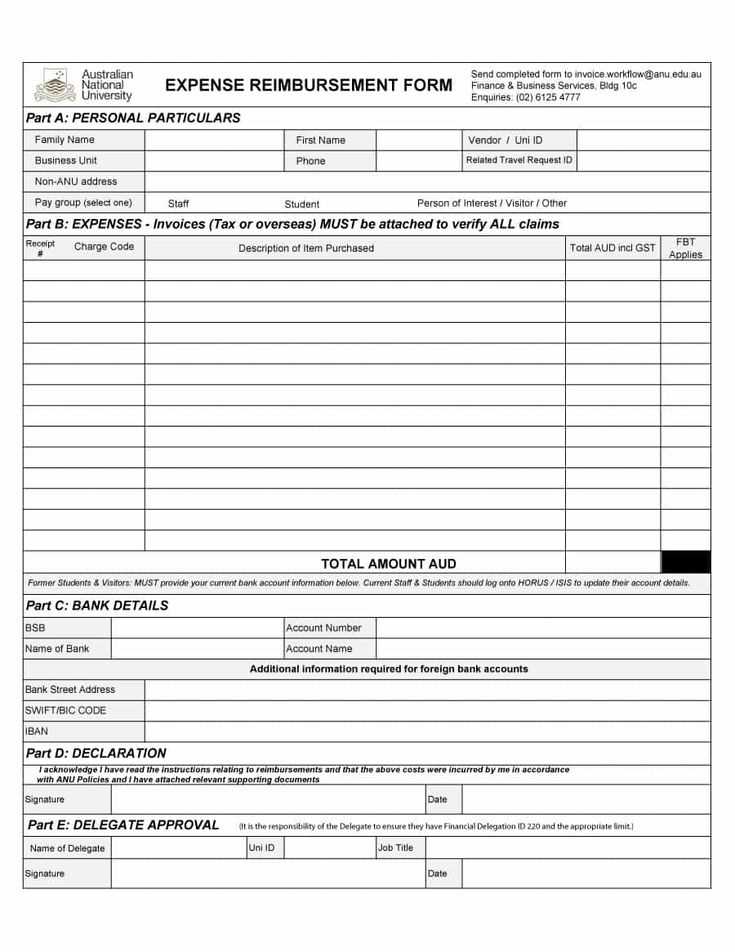
For accurate record-keeping and smooth reimbursement processes, use a structured template that covers all necessary details. A well-organized receipt can prevent confusion and streamline the submission process for both employees and employers.
Make sure to include the date of the transaction, a clear description of the item or service purchased, the amount paid, and the method of payment. This ensures transparency and makes it easier to verify claims. Include the name of the recipient and the department or project associated with the expense to ensure proper categorization.
Double-check your entries before submitting the receipt. Missing information or inaccuracies could delay the reimbursement process. An organized format also minimizes the risk of errors, speeding up the approval time.
Always save copies of the receipts for your records, as they can be useful for future reference or audits. Keep a digital version in case you need to resend it or access it quickly.
How to Create a Reimbursement Receipt
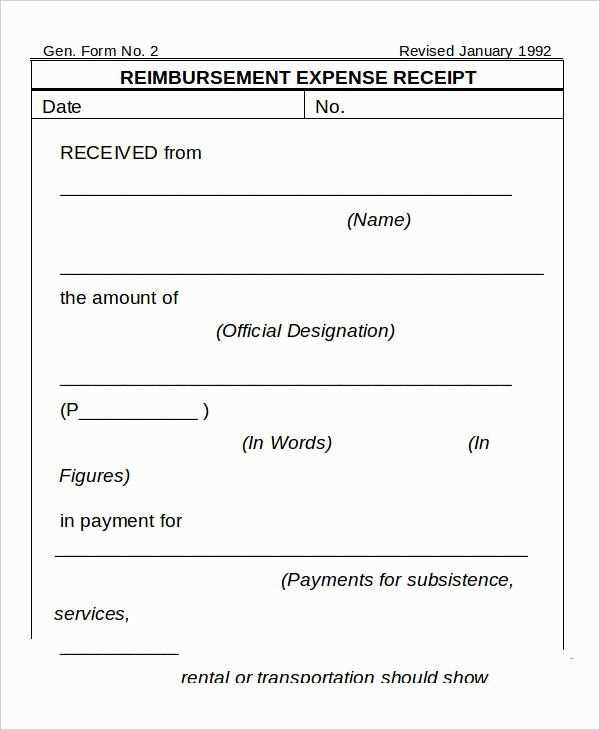
Begin by including your company’s name, address, and contact details at the top of the receipt. This makes it clear who issued the document. Next, add the recipient’s name and contact information. This identifies who is receiving the reimbursement.
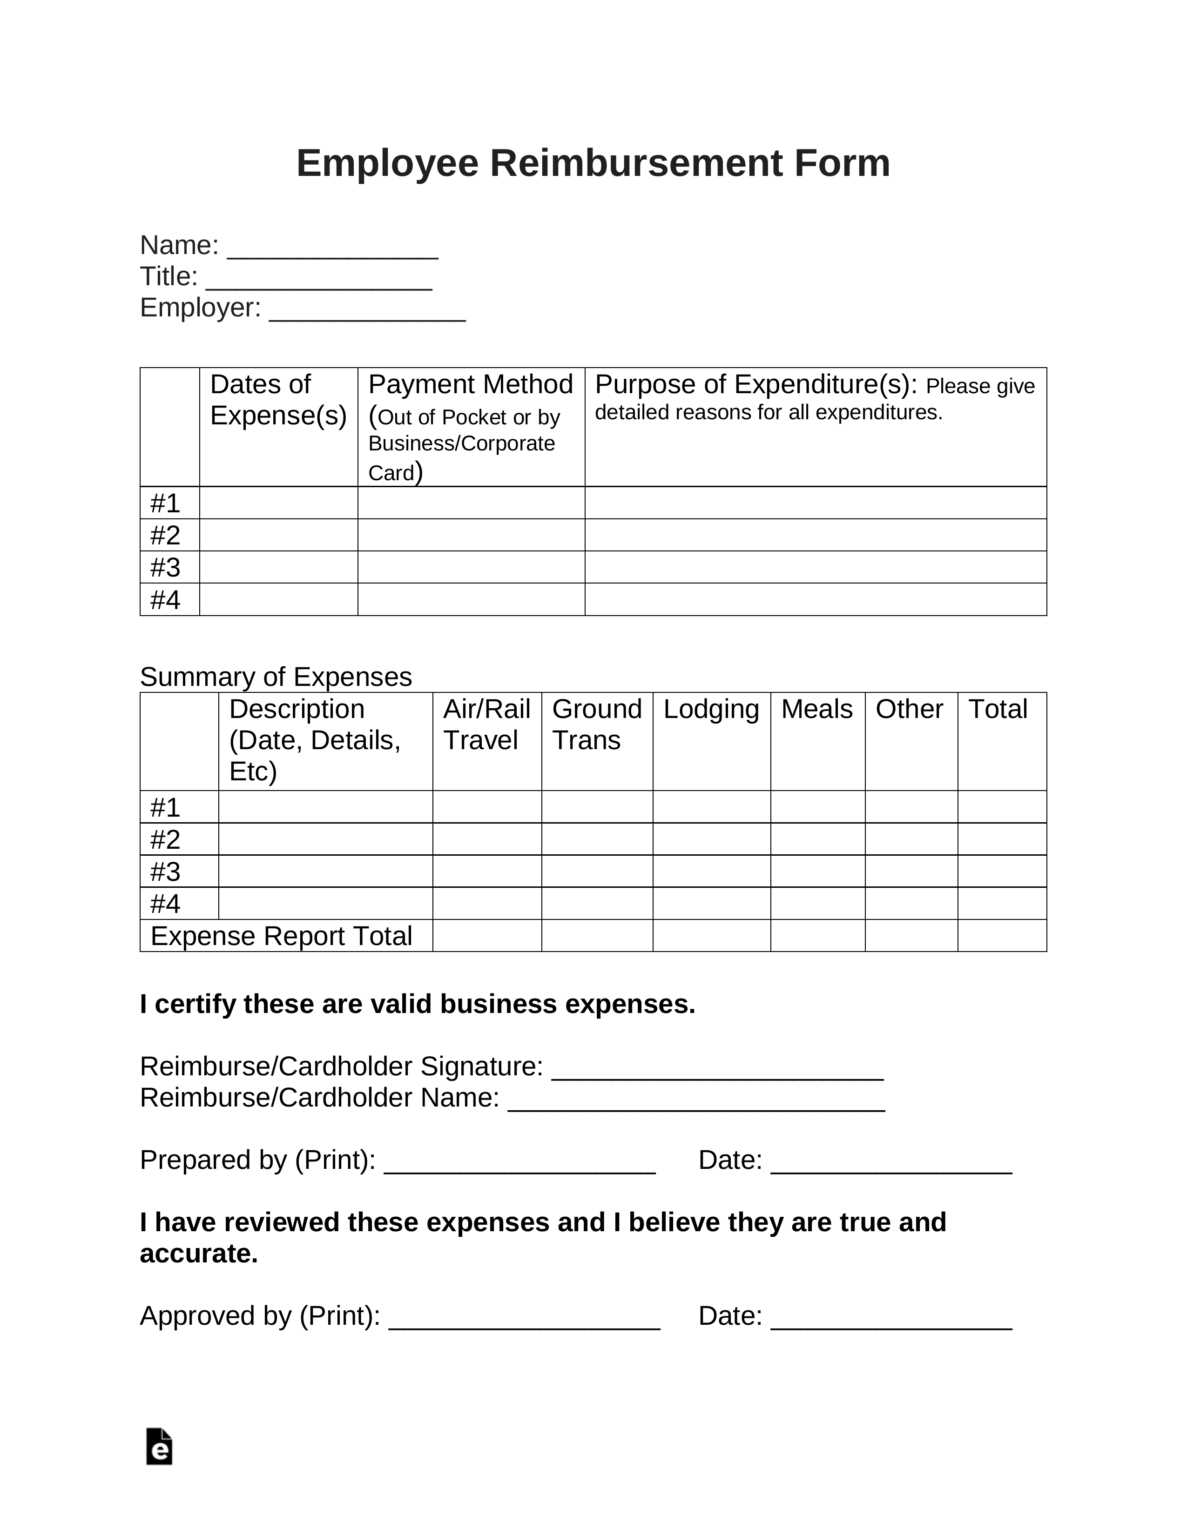
Clearly list the date when the payment was made. Then, describe the expense being reimbursed. Break down the expense in a simple format, including the type of purchase, amount, and any supporting details such as receipts or invoices. Make sure to include the total reimbursement amount at the end of the breakdown.
Don’t forget to note the method of payment. Whether it was through a bank transfer, cash, or another method, this helps in verifying the transaction.
Finally, provide a signature line for the person authorizing the reimbursement. This adds credibility to the document and confirms the payment process was completed correctly.
Key Information to Include on a Receipt
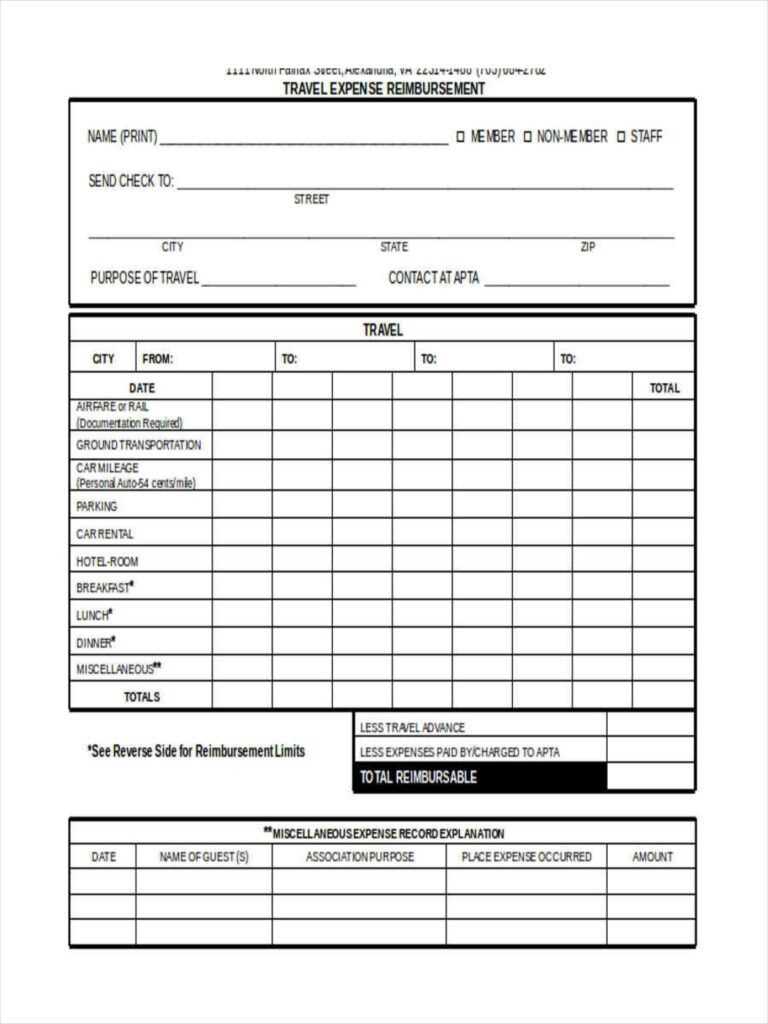
Include the date of the transaction. This helps track purchases and ensures clarity when referencing the receipt later. Specify the name and contact details of the business providing the service or product. This confirms the identity of the vendor and establishes trust.
Clearly state the amount paid, listing the breakdown of charges, taxes, and discounts. This transparency avoids confusion and helps the customer understand the pricing. Mention the method of payment (e.g., credit card, cash, bank transfer) to provide clarity on the transaction process.
Provide a unique receipt or transaction number. This serves as a reference for both the buyer and seller, allowing easy tracking of the transaction. If applicable, include the purchaser’s name or account number to personalize the receipt and add an extra layer of reference for future needs.
Lastly, include any terms or conditions that apply to the sale, such as return policies or warranty information. This ensures customers are fully informed about their rights and responsibilities related to the purchase.
Common Mistakes to Avoid When Writing a Receipt
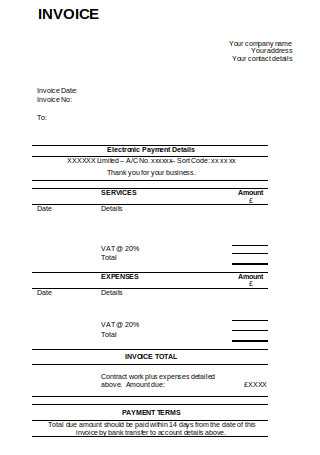
Ensure all information is legible. If the receipt contains unclear handwriting or an overly complicated format, it can lead to confusion and errors when reviewing the document later. Stick to a clean, simple layout that’s easy to read at a glance.
Don’t omit critical details. Always include the date of the transaction, a detailed list of items or services purchased, the amount paid, and any taxes applied. Omitting these details could cause misunderstandings or disputes in the future.
Avoid vague descriptions. Instead of using terms like “miscellaneous” or “various items,” provide specific descriptions of what was purchased. This ensures that both parties understand the transaction clearly.
Double-check calculations. Incorrect totals, whether from miscalculating tax or discount amounts, can create trust issues. Always verify the math before issuing the receipt.
Don’t forget to include contact information. In case of any follow-up or questions, provide a phone number or email where you can be reached. This adds a level of professionalism to the receipt.
Avoid using unprofessional language. The tone of your receipt should remain formal and respectful. Using slang or casual language can reduce the professionalism of the transaction.


