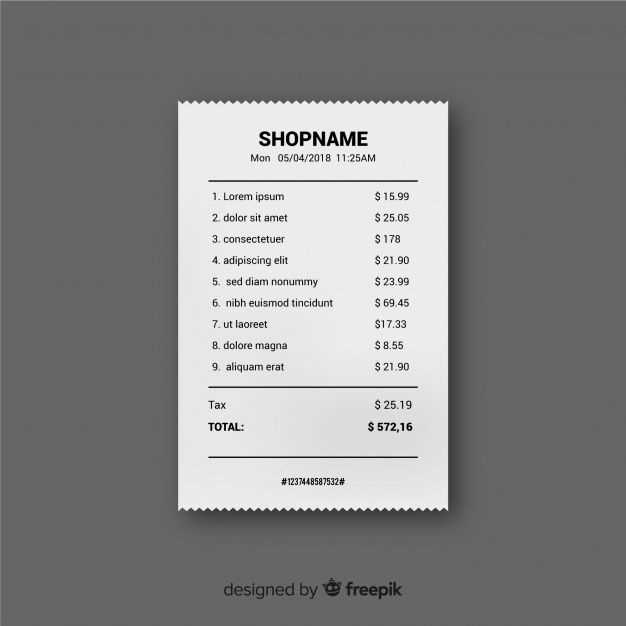
Creating a clear and well-organized store receipt template is crucial for businesses of all sizes. A simple, structured design enhances customer experience and ensures smooth record-keeping. Begin by incorporating sections for store details such as the name, address, and contact information. This gives your receipt a professional appearance and helps customers easily reach out if needed.
Next, include space for the transaction date, receipt number, and method of payment. These details are important for both the customer and business owner, providing transparency and serving as a reference for future queries. Add a section for a detailed list of purchased items, including quantities and prices, so that customers can easily verify their purchases.
Make sure to clearly display the total amount, taxes, and any discounts applied. This will prevent confusion and ensure that both the business and the customer are on the same page. Finally, consider adding a thank-you note or a feedback request. A little personalization can go a long way in building customer loyalty and improving the overall shopping experience.
Store Receipt Template
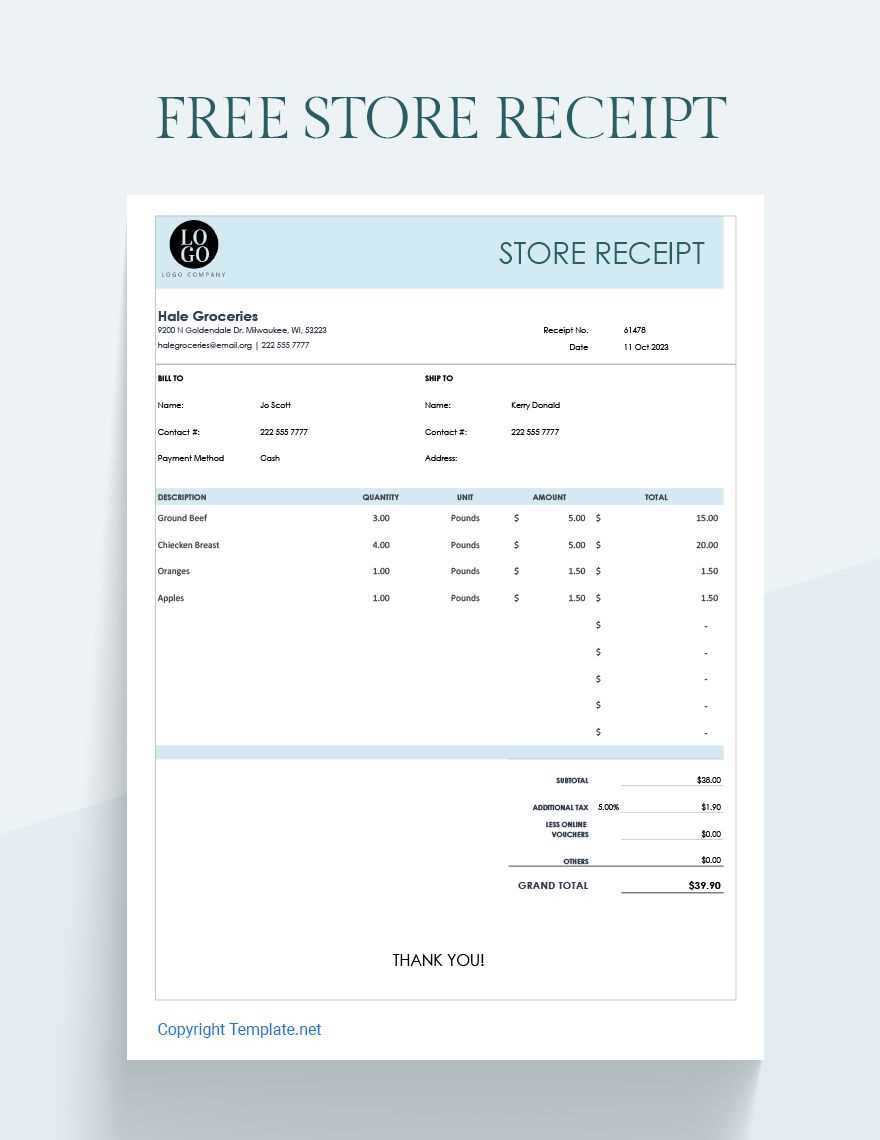
A store receipt template should be straightforward and easy to read. It includes all the necessary details to ensure clarity for both the customer and the store. Here’s what should be included:
Key Information
- Store Name and Address: Place the store name at the top, followed by the address, phone number, and website if applicable.
- Date and Time: Clearly display the transaction date and time for reference.
- Receipt Number: A unique identifier for the receipt helps track and manage records easily.
- Itemized List: List each product or service purchased, along with the quantity, unit price, and total price.
- Taxes and Discounts: Clearly show applicable taxes and any discounts applied to the items.
- Total Amount: Display the total amount to be paid at the bottom of the receipt, including taxes and discounts.
- Payment Method: Indicate whether the payment was made by cash, card, or another method.
Design Tips
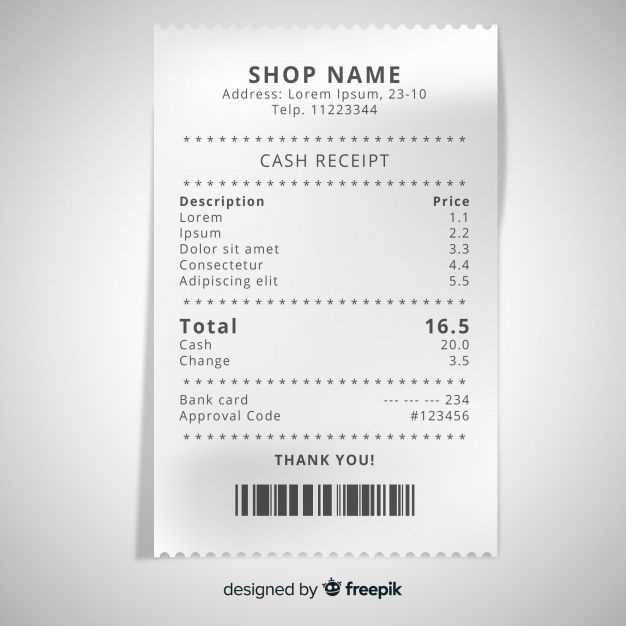
- Readability: Use a clean, legible font that is easy to read in various lighting conditions.
- Alignment: Ensure all columns (like product names, prices, and totals) are aligned properly for easy scanning.
- Whitespace: Include sufficient whitespace between sections to avoid clutter.
- Branding: If desired, add the store logo or branding elements to make the receipt feel official and cohesive with your business’s image.
This format helps avoid confusion and makes it easier for customers to review their purchases while keeping your records organized.
Creating a Basic Store Receipt Template Using HTML
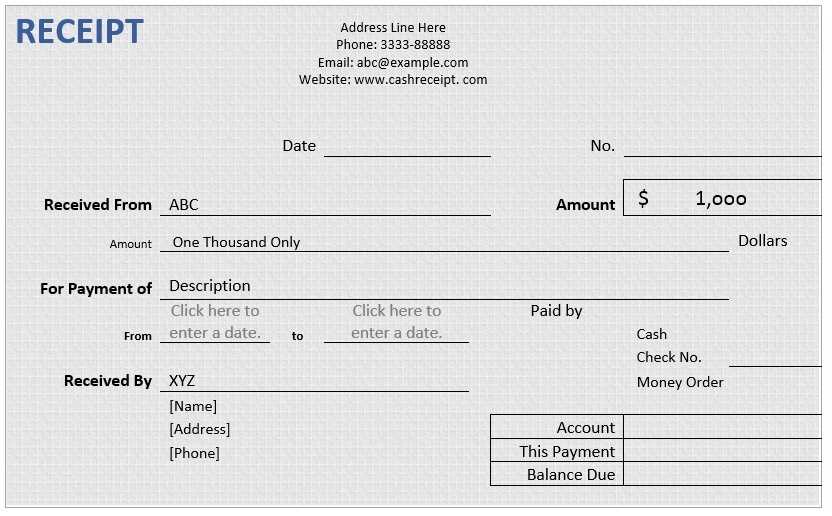
Use simple HTML to structure a store receipt with clear sections: a header, item list, and totals. Begin with the store name and contact information at the top.
For the itemized list, create a table with columns for the product name, quantity, price per unit, and total cost for each item. Use <table>, <tr>, <td> to organize this data. The header row should label each column clearly.
After listing all items, include a row for the subtotal, taxes, and the final total. Position these rows at the bottom of the table for easy reference. Use <strong> to highlight the total amount for better visibility.
To make the receipt more readable, separate sections with lines or extra padding using <br> tags or simple <p> for spacing.
Here’s a basic structure example:
| Store Name | Address | Phone Number |
| Item Name | Quantity | Price |
| Example Item | 2 | $5.00 |
| Subtotal | $10.00 | |
| Tax (8%) | $0.80 | |
| Total | $10.80 | |
This format makes the receipt clear and easy to modify with more items or pricing changes. Adjust the design with additional HTML or CSS as needed.
Customizing the Layout for Different Business Types
For retail businesses, emphasize product names, prices, and taxes. Include a section for discounts or promotions. Display a barcode for easy scanning during returns or exchanges. The layout should be clear and concise, with large fonts for easy reading.
Service-Based Businesses
For service-oriented businesses, focus on the description of services rendered, time spent, and hourly rates. Include a section for tips and service charges. The design should highlight these details, as they help customers understand the value of the service.
Restaurants and Cafes

For food and beverage establishments, list items ordered along with prices and any applicable taxes. Include space for tips and discounts. A clear breakdown of the total cost helps avoid confusion, especially when customers want to know how much each item costs.
Automating Receipt Generation with JavaScript
Use JavaScript to generate store receipts automatically by leveraging templates and dynamic data. The key is to structure the receipt layout with HTML and apply JavaScript to populate the fields with customer and transaction details.
Begin with creating a receipt template in HTML. Define sections like store information, items purchased, quantities, prices, and totals. Use placeholder elements like <span> or <div> for dynamic content.
Next, use JavaScript to gather transaction data. Store details in an array or object, including product names, prices, and quantities. For example:
let items = [
{ name: "Product A", price: 5.99, quantity: 2 },
{ name: "Product B", price: 3.49, quantity: 1 }
];
To update the receipt dynamically, loop through this data and insert it into the HTML template. Here’s an example function that fills in the item details:
function generateReceipt(items) {
const receiptContainer = document.getElementById('receipt');
let total = 0;
items.forEach(item => {
const itemRow = `${item.name} - $${item.price} x ${item.quantity}`;
receiptContainer.innerHTML += itemRow;
total += item.price * item.quantity;
});
document.getElementById('total').innerText = 'Total: $' + total.toFixed(2);
}
This function loops through the item array, appends each item’s details to the receipt, and calculates the total. Once the data is ready, use document.getElementById() to insert it into the receipt template.
Finally, enhance the user experience by adding a button to trigger the receipt generation:
This approach allows you to automate the creation of store receipts on the fly with minimal code. By adjusting the data structure and integrating more complex features like discounts or taxes, you can customize it to fit any business model.
