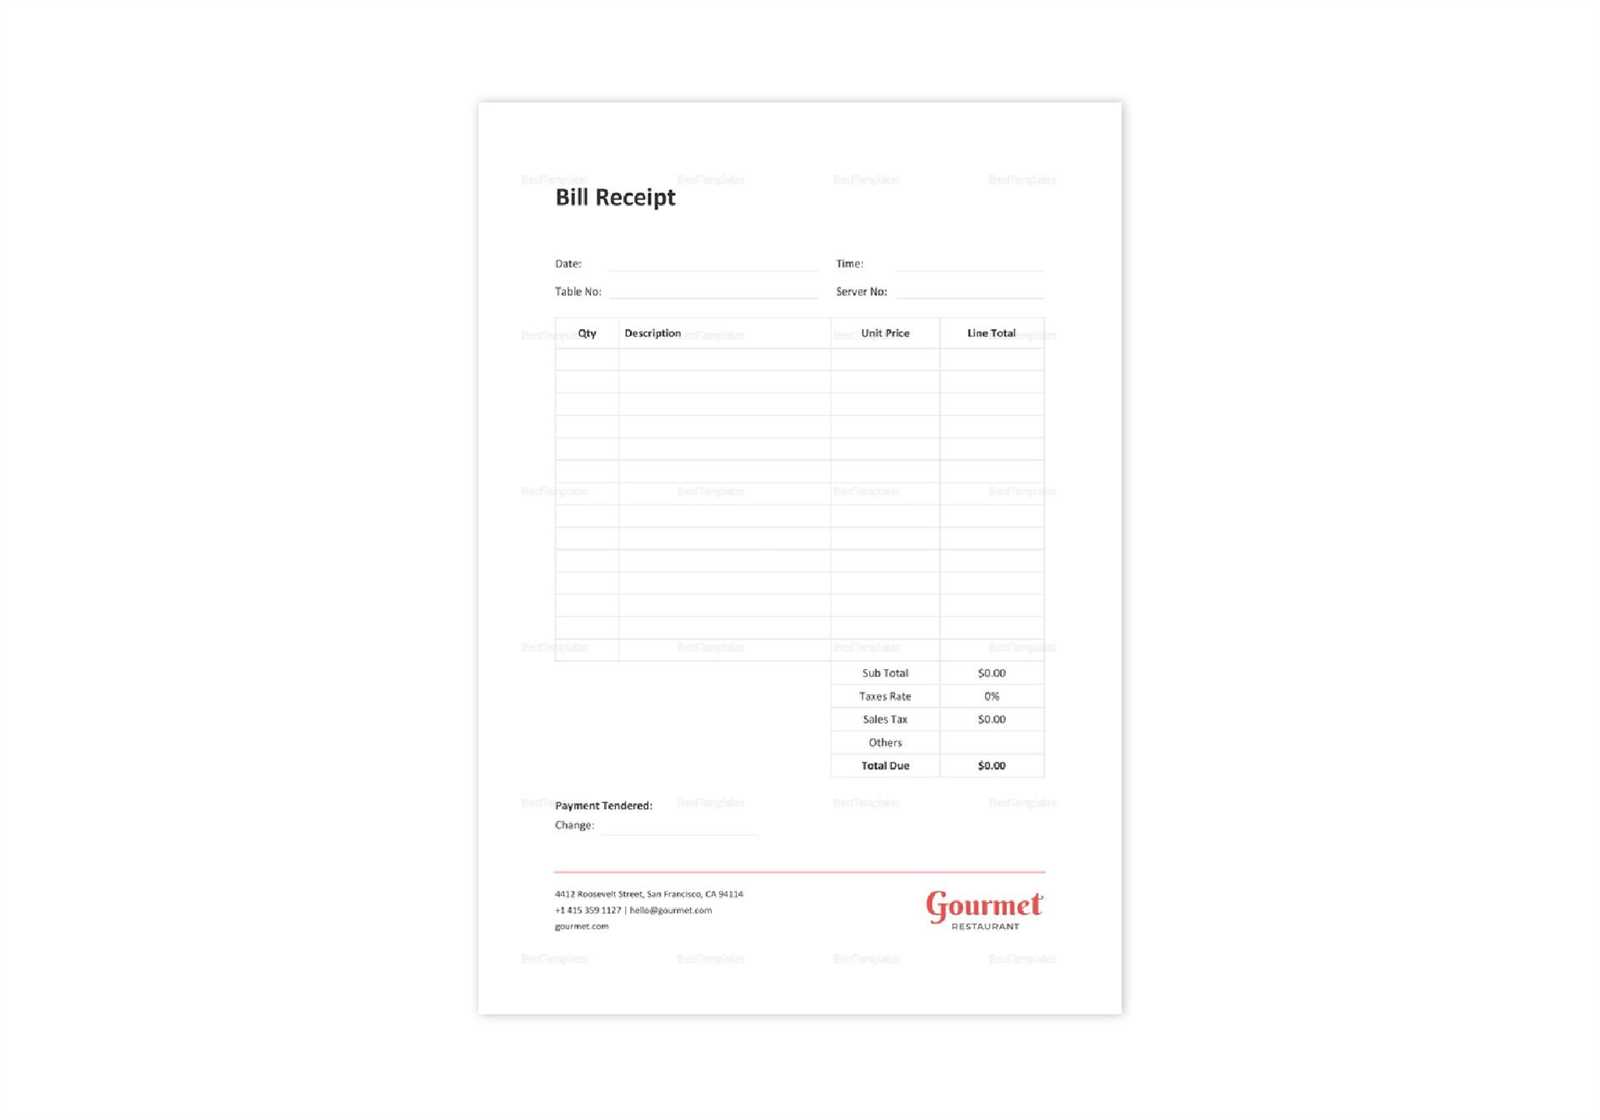
If you’re looking for a simple and straightforward way to generate receipts, an Excel template is a practical choice. It allows you to track transactions with ease and ensure consistency across all receipts. By creating a custom template, you can quickly input necessary details and have a polished result every time.
The Excel receipt template lets you include all required fields such as item descriptions, quantities, prices, and total amounts. You can even customize it with your company logo, contact information, and payment terms. This gives a professional touch without needing advanced software or tools.
To streamline your work, set up predefined formulas for calculating totals, taxes, and discounts. This eliminates manual calculations, reducing the chance of errors. Additionally, you can color-code different sections for better readability, making the process smoother for both you and your clients.
By keeping your receipt template simple yet detailed, you can focus on what matters: providing clear, accurate documentation for each transaction. With this setup, you’re not only saving time but also enhancing the reliability of your business records.
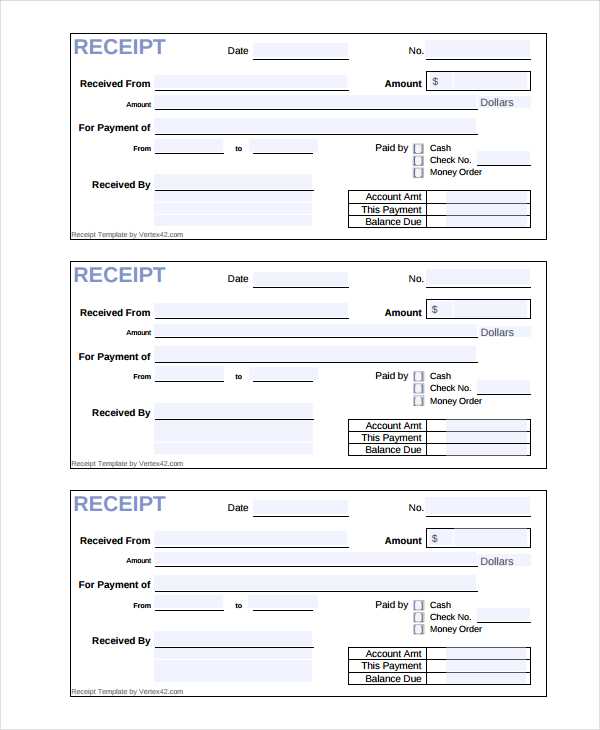
Sample Excel Receipt Template
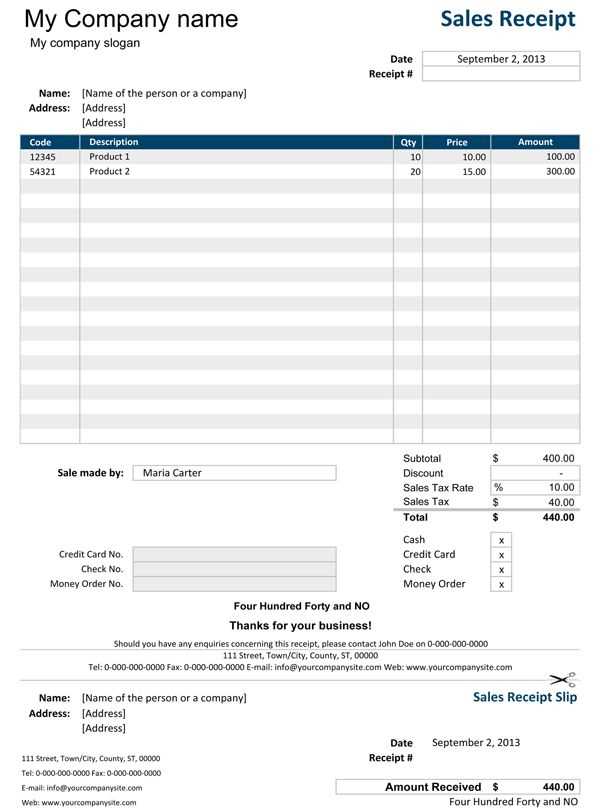
Use this simple Excel template to create clear and organized receipts. Begin by setting up columns for the date, receipt number, customer name, and item descriptions. Include another column for the quantity, unit price, and total amount for each item. Add a row at the bottom for subtotal, taxes, and final total. Make sure to format numbers correctly to avoid errors, and use Excel’s built-in functions for automatic calculations.
For easy customization, label the cells and apply borders for a clean and professional look. Include space for payment methods, whether by cash, card, or another method. You can also add a section for additional notes, such as return policies or contact information. Save the template for reuse or modification as needed for future transactions.
Lastly, use Excel’s print options to ensure that your receipts fit neatly on paper, whether you use A4 or letter-sized sheets. With these steps, you’ll have a reliable and professional receipt template in no time.
Customizing Your Template for Specific Transactions
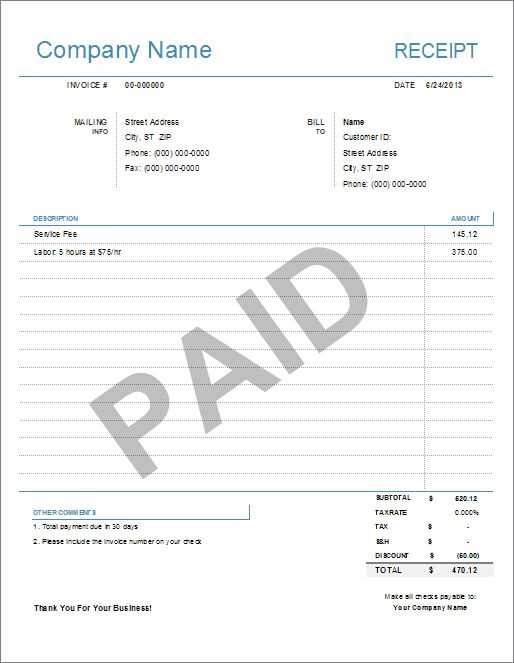
Tailor your receipt template to reflect the specific details of each transaction. Focus on adjusting the layout and fields to meet the requirements of the transaction type. Here are some ways to customize the template effectively:
Adjust Fields for Product or Service Information
- Include detailed descriptions of products or services purchased. Add columns for item codes, quantities, and unit prices if needed.
- If the transaction is a service, remove or replace product-related fields with hours worked, service descriptions, and applicable rates.
Incorporate Tax and Discount Calculations
- Ensure the template has clear fields for taxes and discounts. Customize the calculation area to reflect specific rates based on the location or item type.
- For promotional transactions, add a dedicated section to show discounts applied, with the option to specify promotional codes or loyalty points used.
By focusing on transaction-specific details, your template can better align with the needs of your business and customers, creating more professional and useful receipts.
Setting Up Automatic Calculations for Totals and Taxes
To automate the calculation of totals and taxes in an Excel receipt template, use formulas to simplify the process. For the total amount, apply the SUM function to add up all item prices. For example, if your item prices are listed in cells B2 to B10, use the formula =SUM(B2:B10) to get the total amount.
Calculating Taxes
For tax calculations, first define the tax rate. If your tax rate is 8%, input it in a separate cell (e.g., C1). To calculate the tax on the total, multiply the total amount by the tax rate. For example, if your total is in cell B11 and the tax rate is in cell C1, use the formula =B11*C1 to calculate the tax.
Applying the Formula to the Final Total
To calculate the final total, simply add the calculated tax to the total. If your total is in B11 and your tax amount is in B12, use the formula =B11+B12 to get the final amount including tax. This setup ensures that totals and taxes are updated automatically as you add or change the item prices.
Design Tips for Clear and Professional Receipt Layout
Use a clean, organized structure to make information easy to follow. Align key details like item names, prices, and totals in a way that allows the eye to scan effortlessly. Group similar data together to avoid clutter. A neat alignment of columns and rows helps guide the customer’s attention directly to what matters most.
Choose Readable Fonts
Opt for simple, sans-serif fonts like Arial or Helvetica for easy readability. Avoid fancy or stylized fonts that may create confusion. Keep the font size consistent for the majority of the text but increase the size slightly for headings, totals, or company name to make them stand out.
Utilize White Space
Don’t overcrowd the receipt with information. Ample white space between sections, like the product list, totals, and contact details, helps create a more organized look and improves readability. White space balances the design and gives the content room to breathe, making it easier to process at a glance.


