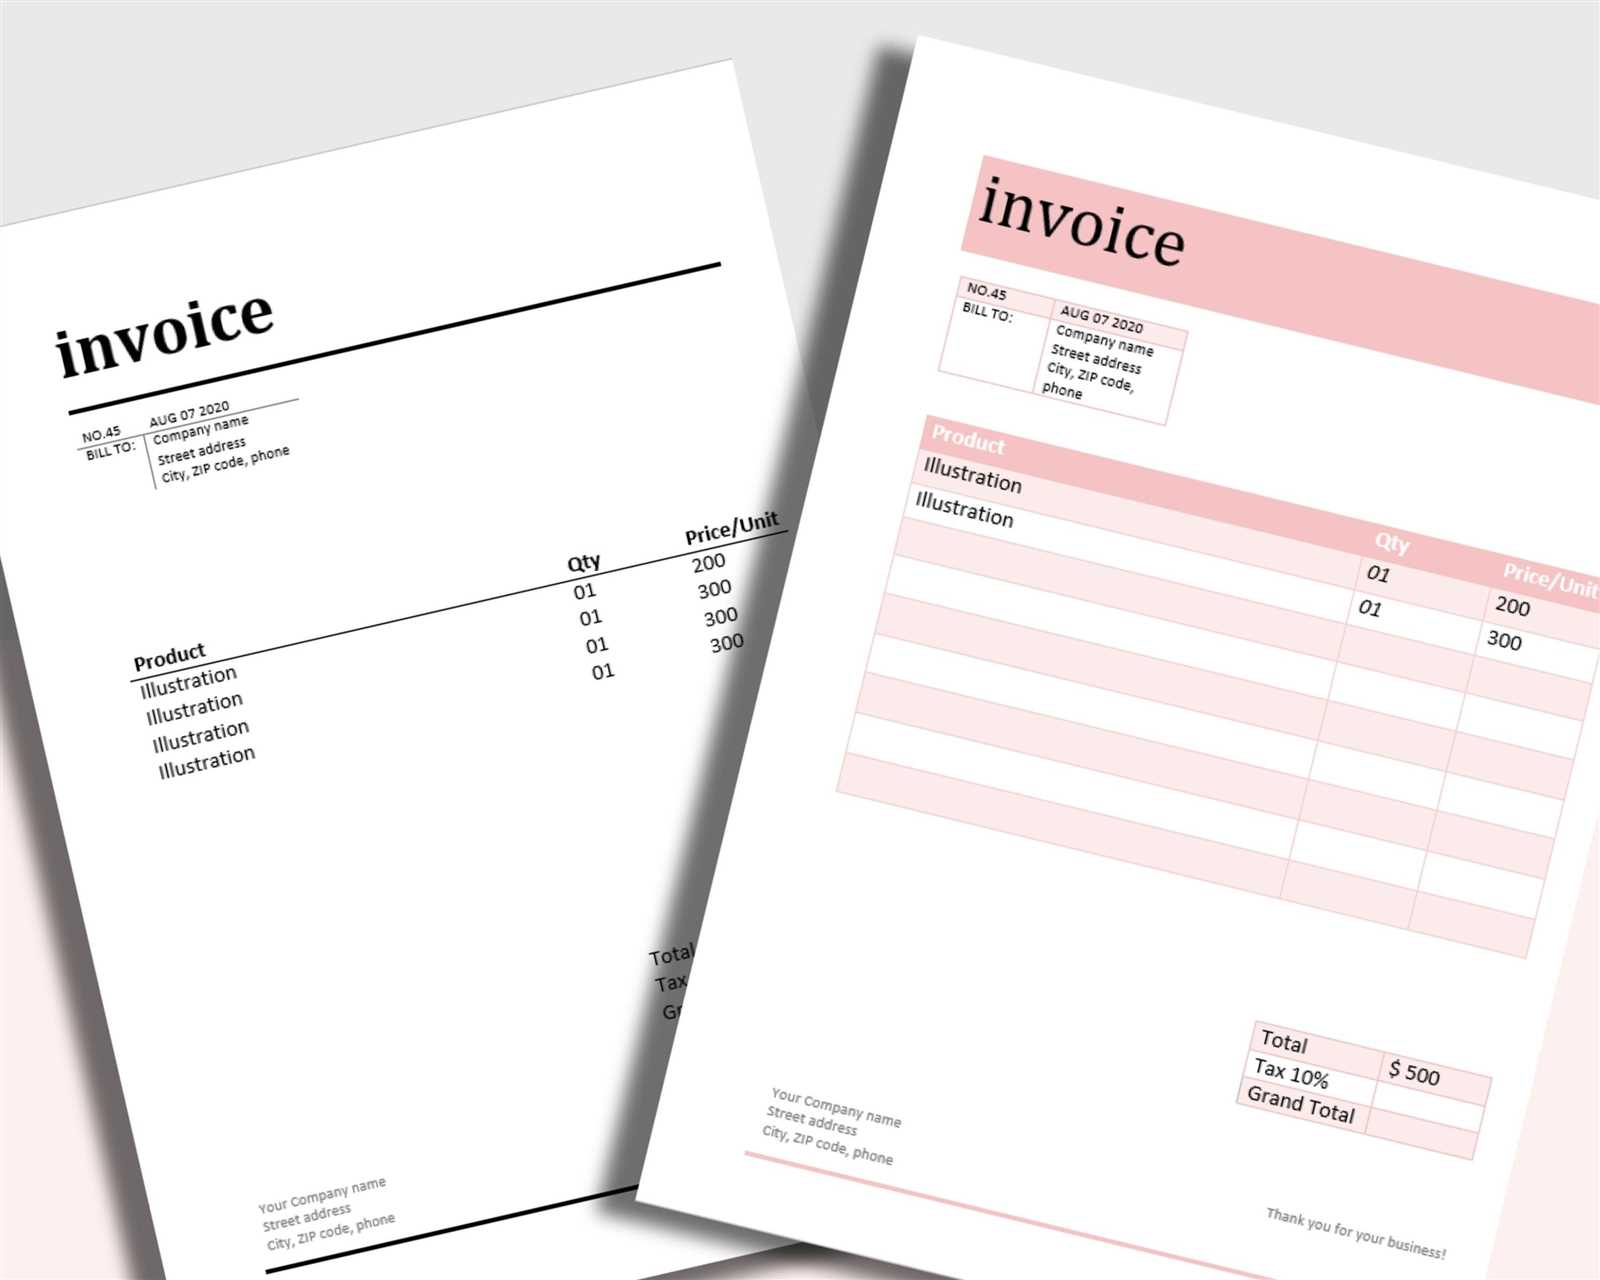
Designing a modern receipt template is straightforward once you focus on the key components. Ensure it includes essential details such as the store name, address, and contact information. These should be placed at the top for easy reference.
The next step is organizing the transaction information. Each item purchased must have a clear description, quantity, and price. Use columns for this, keeping everything aligned and legible. Adding taxes and total amounts clearly at the bottom eliminates confusion.
For a more polished look, choose a simple, readable font and avoid clutter. A minimalist design helps keep the focus on the information. You can also add a barcode or QR code for quicker processing or customer engagement.
Finally, incorporate a section for the return policy or any relevant terms. This builds trust and provides customers with important information post-purchase. A well-designed receipt makes the transaction experience more professional and user-friendly.
Modern Receipt Template
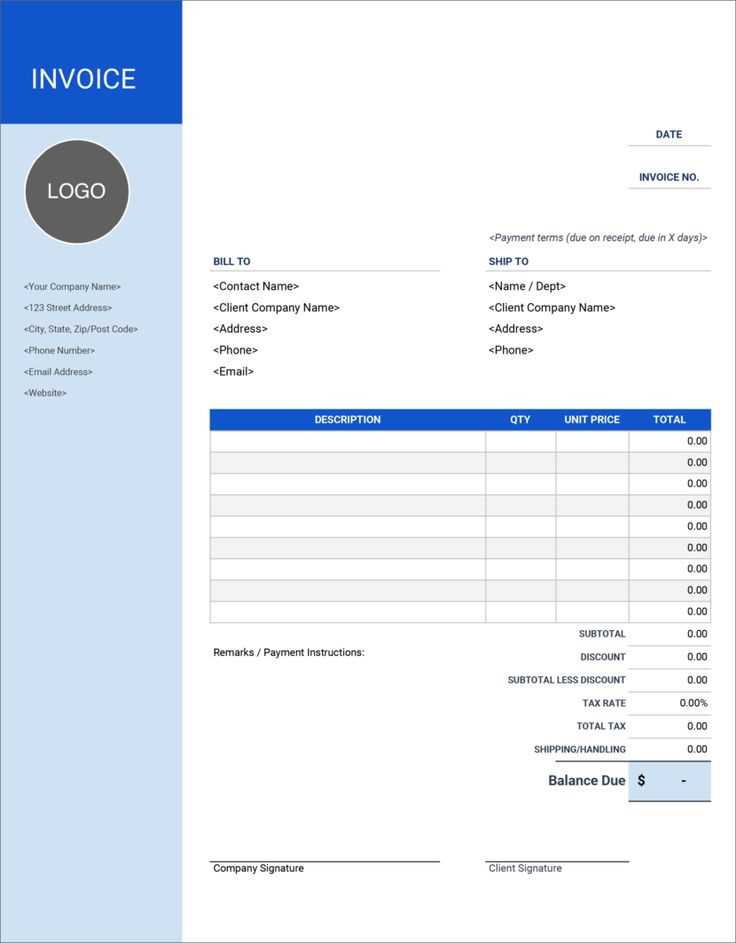
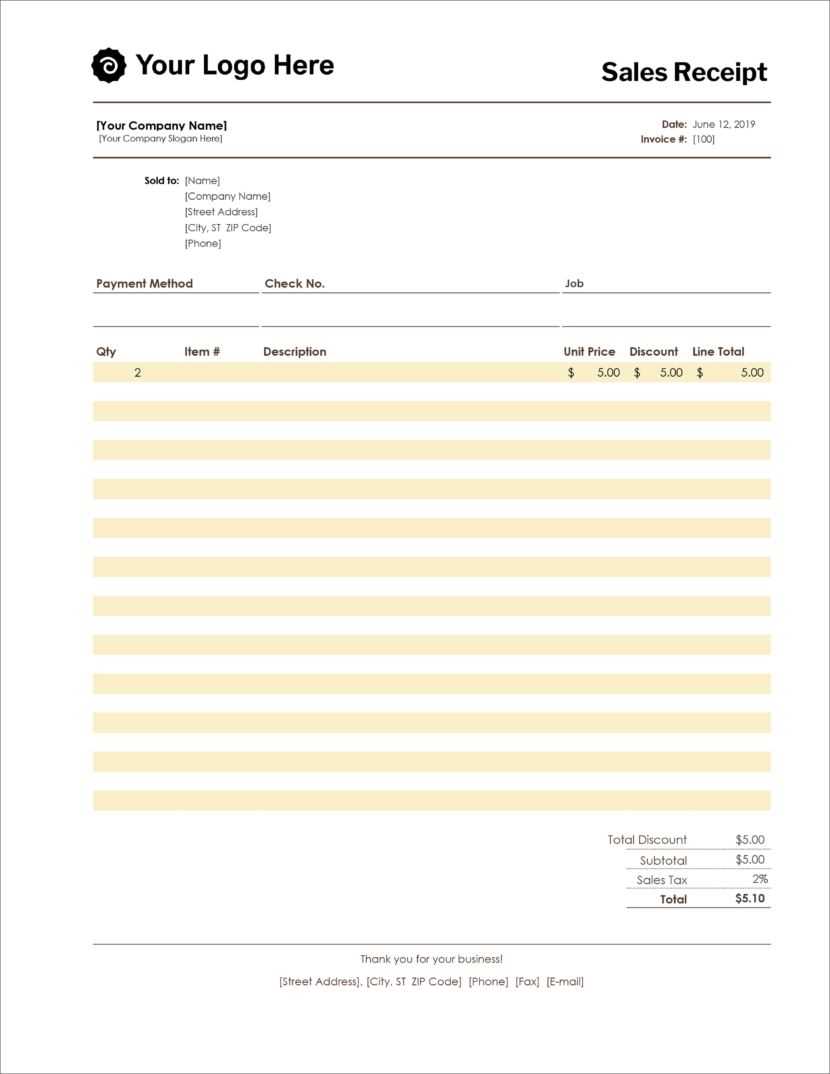
Design a modern receipt template with clean lines and clear structure. Prioritize readability by choosing legible fonts and spacing. Include the business logo at the top left, followed by the company name, address, and contact details. Place the receipt date and unique identifier (receipt number) prominently below the header.
Use a well-organized table format for listing purchased items. Each item should have its name, quantity, unit price, and total price clearly displayed. A bold subtotal section should follow, making it easy to see the total cost before taxes and discounts. Display taxes, fees, and any discounts applied in separate lines for transparency.
Leave space at the bottom for payment information, including the payment method used, total amount paid, and change given if applicable. Add a thank you note or a call to action like a discount for the next purchase to personalize the experience. Keep the overall layout balanced, using borders and spacing strategically to avoid clutter while making sure every section is easy to navigate at a glance.
How to Design a Customizable Receipt Template for Small Businesses
Focus on simplicity and clarity when creating a customizable receipt template. Small businesses need receipts that are both functional and easy to modify as per their needs. Here’s how to create a template that suits various business models:
1. Include Key Business Information
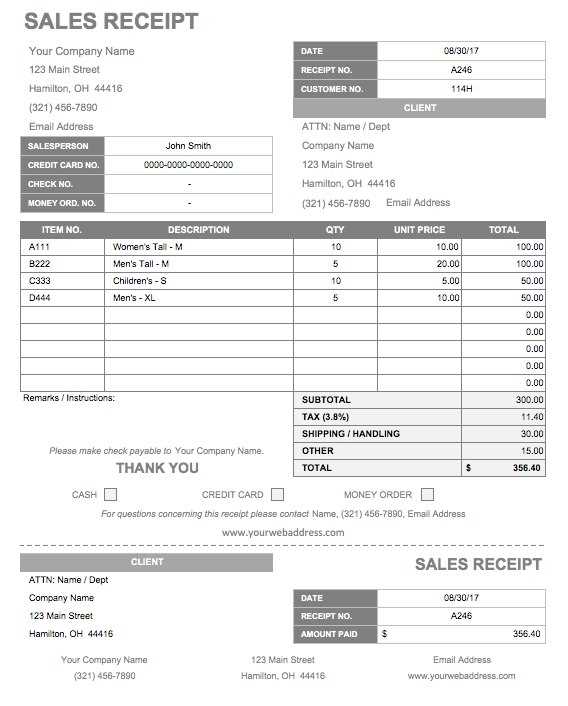
- Business name and logo
- Business address and contact details
- Tax identification number (TIN) or VAT number
Ensure these details are placed at the top of the receipt, where they are easy to find. This makes it easier for customers to contact you if needed and is useful for tax purposes.
2. Design for Flexibility
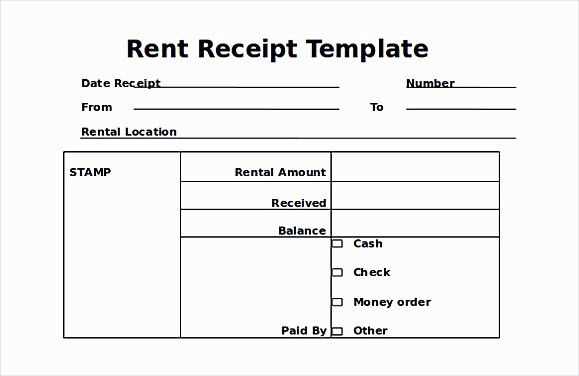
- Use placeholders for dynamic fields (e.g., date, transaction number, item descriptions, quantities, prices).
- Offer room for additional charges, discounts, or tips.
- Consider leaving space for promotional messages or loyalty program information.
Design the template with clean lines and easily adjustable fields. This allows for quick edits without overhauling the entire design.
3. Choose a Readable Font and Layout
- Use legible fonts like Arial or Helvetica for clear visibility.
- Balance between text size and spacing to avoid cluttering.
- Keep the layout organized: categorize items, subtotal, taxes, and total separately.
A readable, straightforward layout ensures that customers can quickly understand their purchase details. Avoid complex designs that could confuse customers or create additional work for you.
4. Include Payment and Return Information
- Clearly state the accepted payment methods.
- Provide return and exchange policies in a concise, visible spot.
Adding this information helps customers and minimizes future disputes regarding payments or returns.
5. Test and Get Feedback
- Try the template with a few transactions to check its functionality.
- Ask customers for feedback on how easy the receipt is to read and understand.
By testing your receipt template with real transactions, you ensure it serves its purpose and is genuinely useful in day-to-day operations.
Key Elements to Include in a Professional Receipt Template
Include the business name and contact details at the top. This establishes clear identification for your customer. Ensure the address, phone number, and email are easy to find, allowing customers to reach you quickly if needed.
Clearly display the transaction date. This helps customers track their purchases and serves as a reference for future inquiries or returns.
List each item or service purchased with a brief description and accurate price. If applicable, include any quantity or size information to avoid confusion. Make sure taxes and any discounts are outlined separately to provide transparency.
Indicate the total amount paid, including taxes and discounts. Double-check the calculations for accuracy to avoid disputes. If the payment was made via card or another method, include this detail as well.
Provide a unique receipt number for reference. This makes it easier to track transactions and ensures both parties can identify the receipt quickly in case of follow-up communication.
Include a return or exchange policy. This section sets expectations for customers and protects your business by outlining clear terms for refunds or exchanges.
Finally, consider adding a thank-you note or message. It adds a personal touch that can improve customer satisfaction and loyalty.
Best Practices for Formatting and Printing Modern Receipts
Keep receipts clean and concise. Use clear fonts and proper spacing to make important details stand out. Avoid clutter by limiting the number of elements on the receipt. Stick to the most relevant information: date, total amount, transaction details, and company information.
Utilize a simple, easy-to-read font like Arial or Helvetica. These fonts ensure clarity, especially on smaller receipt paper. Ensure text size is consistent, with the total amount in a larger font for emphasis.
Organize the receipt using logical sections. Start with company details, followed by transaction specifics, and end with payment details. Maintain consistent margins around the text for better readability.
For printing, choose a printer that supports high-quality thermal printing. This ensures text stays legible over time, even if the receipt is exposed to light or heat.
| Section | Best Practices |
|---|---|
| Company Information | Include name, address, contact details, and website. Place at the top for easy reference. |
| Transaction Details | List items or services purchased with itemized prices. Group related items to save space. |
| Total Amount | Display the total prominently at the bottom, making it easy to locate. |
| Payment Information | Include payment method, last 4 digits of the card number, or transaction ID. |
Ensure receipts are printed in black and white for contrast. Color can complicate legibility, especially in low-quality printers. Also, consider environmental impact by using recyclable receipt paper.
Finally, avoid excessive use of logos or graphics. While a small logo is acceptable, too many graphics can overwhelm the layout and reduce the effectiveness of the receipt.


