To simplify the process of documenting child care expenses, use a clear and straightforward receipt form template. This template should include all necessary fields to record the provider’s details, service dates, and total amount paid. Make sure to include space for both the caregiver’s and the parent’s contact information, as well as a signature line for confirmation.
Include the following key components:
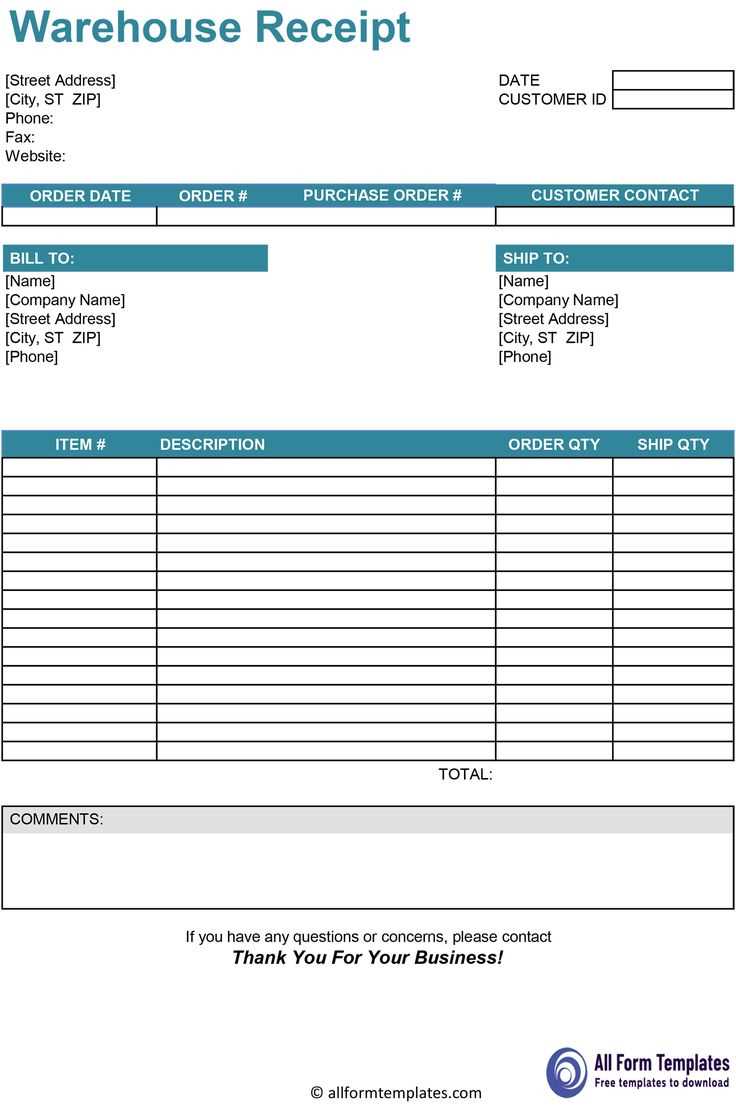
- Provider Information: Name, address, and contact details.
- Service Dates: Start and end dates of care provided.
- Amount Paid: Clearly state the total payment amount.
- Service Description: A brief breakdown of the services provided.
- Signature: Both parties should sign to confirm the transaction.
This template ensures that both parents and caregivers have a record of transactions for personal or tax purposes. When designing the template, make sure it’s easy to understand and fill out. Having a well-organized form minimizes confusion and provides a solid foundation for maintaining accurate records.
How to Create a Simple Child Care Receipt

To create a child care receipt, begin with the child’s full name and the date of service. Include the name and contact details of the child care provider, such as their business name, address, and phone number. Clearly state the total amount paid for the services provided, including any applicable taxes or discounts. Specify the payment method used, whether cash, check, or credit card. Add a brief description of the service, including the dates the care was provided and the number of hours. Finally, provide a unique receipt number for record-keeping purposes. This format ensures clarity and provides all necessary information for both parties.
Legal Requirements for Child Care Receipts

Child care receipts must include specific details to comply with tax regulations. The receipt should clearly state the provider’s full name or business name, address, and contact information. It must also include the date of the service and a breakdown of the charges for each day or session. These details are necessary for verifying the legitimacy of the expenses in case of an audit.
Ensure the receipt lists the child’s name and the nature of the care provided, whether it’s full-time or part-time care. This information helps to confirm that the services align with the criteria for tax deductions or reimbursements. If applicable, include the provider’s tax identification number or business registration number for added verification.
The receipt should reflect the total amount paid, showing any deposits or previous payments made, along with the balance due or paid. Keep all receipts organized and accessible for future reference, especially during tax filing periods, as accurate documentation can prevent issues with claims.
Each receipt must be issued at the time of payment or shortly after, as delayed receipts may not be accepted for tax purposes. Always verify the provider’s information to ensure it matches official records and to avoid delays in processing your claims.
Customizing Your Child Care Receipt Template

To create a receipt that fits your specific needs, adjust the template to reflect the necessary information. Include the child’s name, the service dates, and the total amount charged. Customize the layout by adding your business name and contact details at the top for easy identification.
Modify the payment section to clearly show the amount paid and the method used, such as check, cash, or card. If there are multiple services, itemize them to provide a clear breakdown of costs. Consider adding a space for any notes, such as discounts or special instructions.
Ensure the receipt includes a unique number or identifier to keep records organized. This will make it easier to track payments and handle future inquiries. Additionally, include a space for the parent’s signature, which adds a layer of formality to the document.
Test the receipt by filling it out with a sample entry. This will help you confirm that all fields are visible and properly formatted. Adjust the font size or spacing if needed to improve readability.