For businesses and individuals handling money orders, having a clear, accurate receipt template is a practical solution to keep financial records in check. A well-structured receipt ensures transparency and reduces confusion, providing both parties with essential details about the transaction. These templates typically include the amount, payer, payee, transaction date, and relevant tracking numbers. Customizable templates help you easily adapt the layout to meet specific needs while maintaining all necessary information.
Using a reliable template saves time, avoids manual errors, and helps streamline your bookkeeping process. A receipt should not only confirm payment but also include space for additional details such as transaction method or fees, if applicable. If you’re dealing with large volumes of money orders, having a standardized template ready ensures consistency and efficiency in record-keeping. You can either design your own template or choose from a variety of free and paid options online.
When selecting a template, consider a few key aspects. Choose one that’s easy to edit, includes all relevant fields, and is compatible with your accounting software. Templates should also leave room for additional notes or special terms if needed. Properly filled out receipts help prevent disputes and serve as reliable proof of payment in case of any future inquiries.
Here are the corrected lines:
Ensure the recipient’s name and address are clearly displayed. Mistakes in these fields can delay the delivery. Double-check the format of the recipient’s name–whether it’s the full name or business name–and the address for accuracy. This is critical for proper processing.
Address Format
Use the correct format for postal addresses, including street, city, state, and ZIP code. Avoid using abbreviations unless they are standard for the location. This minimizes confusion and helps the payment reach the right place quickly.
Payment Amount

The payment amount should match the value shown on the order receipt. Be sure the numbers are legible and free of alterations. A discrepancy could lead to a rejection or delay in processing the payment.
- Money Order Receipt Templates
Money order receipt templates are designed to streamline the documentation process for transactions. Using a template ensures consistency and accuracy, making it easier to track and reference payments. Here’s how to create and utilize them effectively:
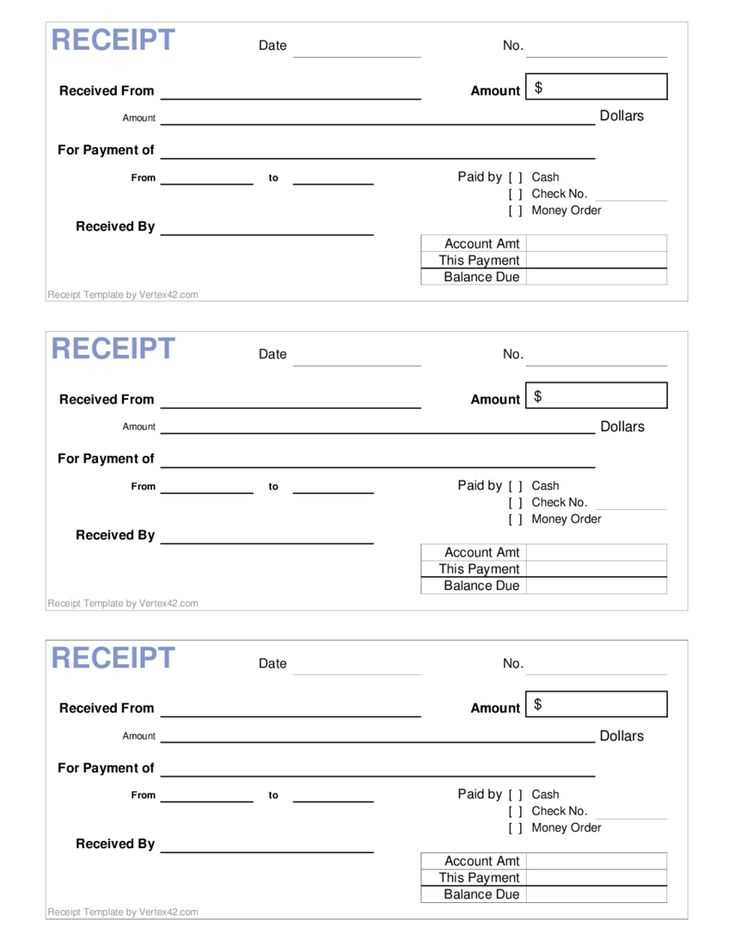
- Title Section: Clearly label the receipt as a “Money Order Receipt” at the top of the document. This immediately identifies the purpose of the form.
- Transaction Details: Include the date, time, and amount of the money order. This data is critical for record-keeping and disputes resolution.
- Payer Information: List the name and contact details of the individual sending the money order. This ensures clarity in case of any issues with the payment.
- Payee Information: Include the recipient’s details–name and address. This verifies who is receiving the payment.
- Money Order Number: Each money order comes with a unique identifier, which should be recorded. This number helps track the transaction if there’s a need for future reference.
- Payment Method: Specify the type of payment method used, such as postal money order, bank money order, or other alternatives.
- Signature Section: A signature line for both the payer and payee adds authenticity to the document.
- Additional Notes: Leave space for any notes or specific terms related to the transaction. This could include payment reference numbers or instructions for the recipient.
By following these guidelines, you can easily create a money order receipt template that meets all necessary requirements and ensures both parties have a clear record of the transaction.
Open a new document in Microsoft Word and set up the page with appropriate margins. A good starting point is to use the “Narrow” margin setting for better use of space. Then, choose a clean, professional font such as Arial or Times New Roman for clarity and readability. The font size should be between 10 and 12 points.
Step 1: Add the Header
Place the title at the top of the document. You can label it as “Money Order” or “Payment Order”. Ensure the header is bold and slightly larger than the body text, around 14 points. Leave some space below the header to insert the details.
Step 2: Insert the Money Order Details
Next, insert a table to organize the key information. This includes the sender’s and recipient’s names, addresses, amounts, and date of issue. A table allows for easy alignment and neat presentation. Use borders to define the table cells clearly.
| Sender’s Name | Recipient’s Name | Amount | Date |
|---|---|---|---|
| [Sender’s Name] | [Recipient’s Name] | [Amount] | [Date] |
Step 3: Include Payment Instructions
Below the table, add a section with instructions for how the recipient can cash or deposit the money order. Be concise, stating whether it can be redeemed at specific financial institutions or through a designated service. Align this text to the left for easy reading.
Step 4: Add a Signature Section
Reserve space at the bottom for the sender’s signature and the issuing agent’s signature, if necessary. You can create two lines with labels such as “Signature of Sender” and “Authorized Signature”. Adjust the space to match the expected signature size.
Step 5: Final Touches
Review the document for proper spacing, alignment, and clarity. Save the template for future use. You can also customize the layout with color or logo if you are issuing money orders for a business.
To create tailored receipts for different payment methods, focus on including specific details for each. For cash transactions, note the exact amount paid, any change provided, and the total. For credit or debit cards, include the card type, the last four digits, and the authorization code. For money orders, list the sender’s details, money order number, and issuer information.
Adapt the layout based on the payment method to ensure clarity. For instance, with credit card payments, a space for card type and transaction approval status helps customers confirm the payment was processed correctly. Money orders might require a section for the transaction’s unique tracking number, and cash payments should highlight the balance returned.
Including clear and concise references to the payment type not only reassures the customer but also makes record-keeping smoother for businesses. Adjust your receipt template depending on whether the transaction was online or in-person, ensuring all necessary identifiers are visible at a glance.
Clarity is key. Avoid cluttering the form with unnecessary details that can confuse users. A clean, easy-to-read layout helps prevent errors during the completion process.
1. Misplaced or Missing Fields
Ensure that all essential fields are placed logically. Missing fields, such as “Recipient Name” or “Amount,” can cause delays or rejections. Clearly label each section and leave enough space for users to fill in information legibly.
2. Overcomplicated Instructions

Complicated instructions can overwhelm the user. Keep directions brief and simple. Provide clear examples of how to fill in each section, especially for numbers and addresses.
3. Insufficient Formatting
Don’t let the form look too monotonous. Use well-placed lines, bold headings, and appropriate font sizes to guide the user’s eye. Highlight important fields so they’re easy to identify.
4. Ignoring Security Features
Don’t neglect security aspects. Ensure that fields meant for sensitive information, like amounts or bank details, are clearly designated and secure. It’s best to add watermarks or codes for authenticity checks.
5. Inconsistent Terminology
Inconsistent or ambiguous terms can confuse users. Use the same terminology throughout the form for clarity. For instance, if you start with “Sender Name,” continue using that exact phrase rather than switching to “Sender’s Full Name” in another section.
6. Overloading with Information
Avoid including too many optional fields that can overwhelm the user. Stick to what is necessary for processing the money order. If optional fields are included, make it clear they’re not mandatory.
7. Failing to Account for Local Regulations
Ensure that the design complies with local regulations regarding money order formats. Some countries or states may have specific requirements for fields or language used on the form.
8. Lack of Space for Signatures
Don’t forget to allocate ample space for signatures. If your money order requires both the sender’s and recipient’s signatures, ensure there’s room for both, with clear labels for each.
9. No Backup Contact Information
Include a field for customer support contact details. If users encounter any issues, having a phone number or email readily available can save time and reduce confusion.
Streamlining Money Order Receipts
Remove unnecessary repetitions and correct errors by focusing on clarity and precision. Each money order receipt should clearly reflect all relevant transaction details: sender, recipient, amount, and the transaction date. Ensure that the template aligns with legal requirements and supports easy tracking for both senders and receivers.
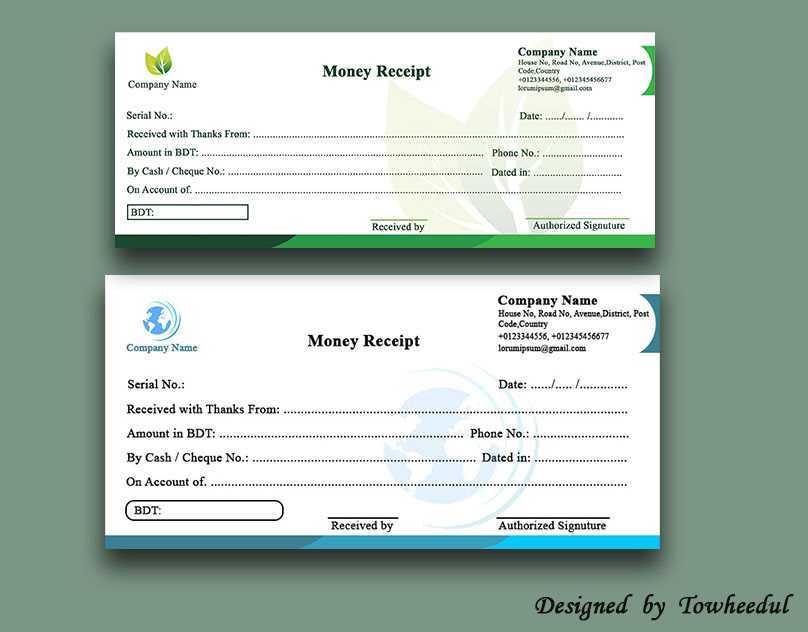
Template Structure
A clear structure helps avoid confusion. Begin with basic information, such as the sender’s and recipient’s names and addresses. Include the money order number and the amount in both words and figures. Clearly label the date and any tracking numbers. Finish with a statement of payment confirmation and a reference to the issuing institution.
Error-Free Presentation
Make sure all information is consistent and free of typos. Double-check fields like the recipient’s name and the amount. Avoid redundant phrases such as “money order receipt” if it’s clear from the context. Ensure that the template remains clean, well-organized, and easy to read.