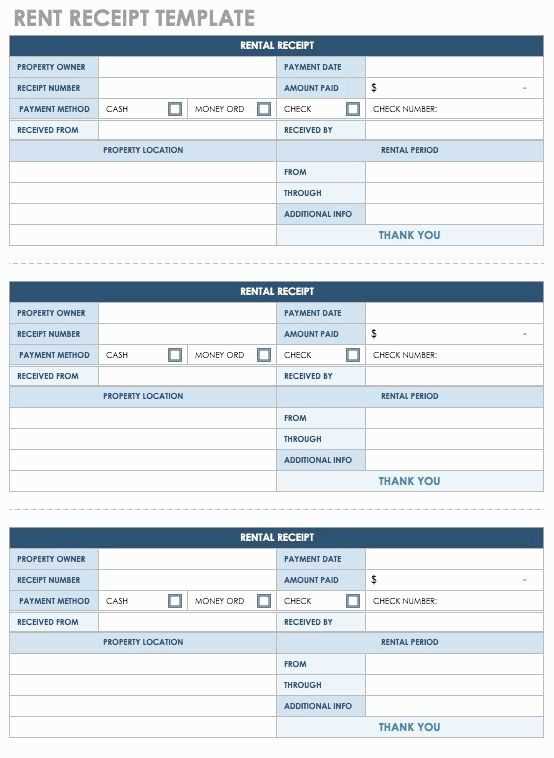
Design a tailored receipt template in Excel to meet specific needs. Begin with adjusting columns and rows to align with the standard receipt layout: business name, address, contact information, itemized list, total amount, and payment method.
First, set up clear and organized sections by using cell borders. A clean structure is key for clarity. Define a header with bold text for the business name, ensuring it stands out. Underneath, add the address and contact info in a smaller font size for a professional look.
Next, design an itemized list where each product or service purchased is displayed clearly. Columns should include product description, quantity, unit price, and total price. Utilize Excel’s formulas for automatic calculations. For example, the total for each line item can be calculated with a simple multiplication formula: =B2*C2, where B2 is quantity and C2 is unit price.
Lastly, ensure the total amount due is easily noticeable at the bottom of the receipt. Include a payment method section, such as credit card, cash, or bank transfer, for added clarity. Add a section for the date and any additional notes as needed.
Customize fonts, colors, and borders to reflect your branding. Excel’s formatting tools help adjust the aesthetic to match your company’s style while maintaining readability. When complete, save the template for repeated use in future transactions.
Custom Receipt Template in Excel
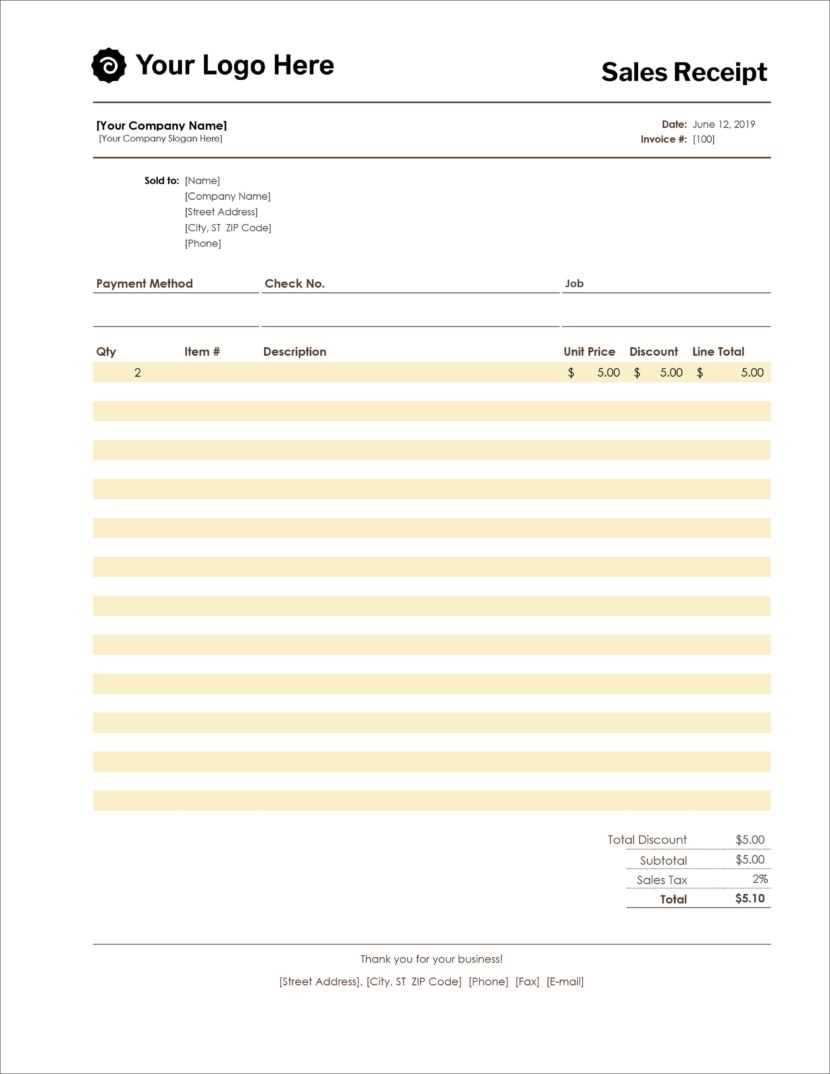
Create a personalized receipt template in Excel by organizing the necessary details into clearly defined sections. Start by setting up the main headers such as “Receipt No.”, “Date”, “Customer Name”, and “Address” in separate columns. Add rows for each item purchased, including columns for “Item Description”, “Quantity”, “Price”, and “Total”. You can use formulas to calculate totals automatically, which will save time and reduce errors.
Next, incorporate a footer that includes payment information such as “Payment Method” and “Amount Paid”. Use cell formatting to highlight key data like totals or taxes to make them stand out. This helps improve readability and ensures that important information is easily accessible.
- Cell Formatting: Use bold and larger font sizes for headers to create clear distinctions between sections.
- Formulas: Implement the SUM function to automatically calculate the total price for each item and the entire receipt.
- Conditional Formatting: Highlight rows where quantities or totals exceed a certain value, drawing attention to significant purchases.
- Data Validation: Use dropdown menus for fields like “Payment Method” to avoid input errors.
Save your template as an Excel file to use repeatedly for different transactions. This approach helps maintain a professional and consistent receipt format with minimal effort. With a few tweaks, you can customize it to fit your business or personal needs perfectly.
Setting Up Your First Template with Basic Formatting
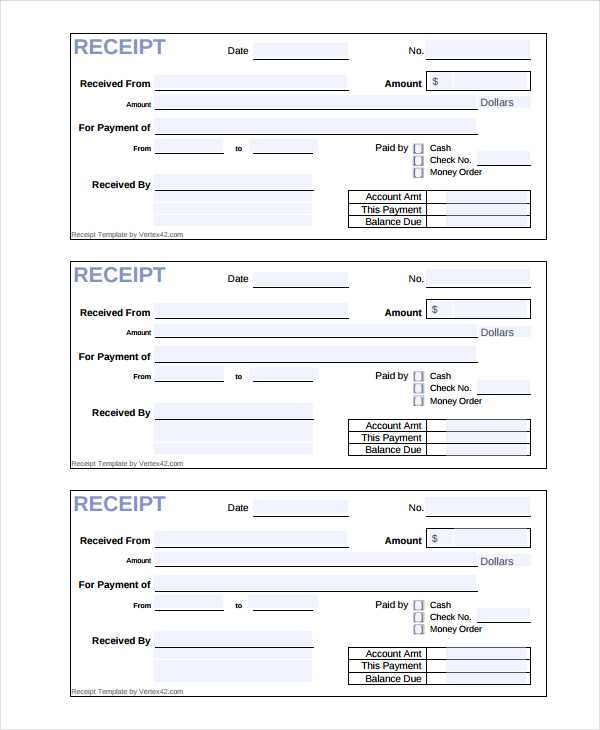
Open Excel and create a new sheet to begin your template. Set up columns for the necessary receipt details, such as “Item”, “Description”, “Quantity”, “Price”, and “Total”. Adjust column widths to ensure all content fits comfortably. Select your header row and apply bold formatting to make it stand out.
Next, apply a border to the header cells to visually separate them from the data. Use a light background color for the header row to increase readability. For the data rows, align text to the left for descriptions and numbers to the right for quantities and prices.
To make your template more user-friendly, format the “Total” column with a currency format. Right-click the column, select “Format Cells”, choose “Currency”, and adjust the decimal places as needed. This ensures consistency throughout your receipts.
Finally, save your file as a template (.xltx) for easy reuse. You can now quickly generate professional receipts without needing to start from scratch each time.
Incorporating Dynamic Data Fields for Automated Updates
Use dynamic data fields in Excel to automate updates and reduce manual entry errors. These fields link your receipt template to external data sources, such as product inventories or customer databases, making real-time adjustments seamless. By referencing specific cells or data ranges, you can create a template that updates automatically as input data changes.
Linking Cells to External Data
Start by linking cells in your template to external data sources. Use Excel functions like VLOOKUP, INDEX, or OFFSET to pull information directly from a database or other sheets. For example, if a customer selects a product code, the template can automatically fill in the product name and price based on the data in an inventory sheet.
Implementing Drop-Down Menus for Quick Data Entry
Create drop-down menus in your receipt template for quicker data input. This method ensures that users can select predefined options, which can be automatically linked to dynamic fields. By linking these selections to other data points, such as customer details or payment methods, the process becomes more streamlined and reduces potential errors.
| Dynamic Field | Formula Example | Purpose |
|---|---|---|
| Product Name | =VLOOKUP(A2, Inventory!A:B, 2, FALSE) | Automatically retrieve product name based on product code. |
| Price | =VLOOKUP(A2, Inventory!A:C, 3, FALSE) | Retrieve the price based on product code from the inventory sheet. |
| Customer Address | =VLOOKUP(B2, Customers!A:D, 3, FALSE) | Populate customer address based on the customer ID selected. |
By integrating dynamic data fields, your receipt template will update automatically as the underlying data changes, saving time and improving accuracy. These techniques are easy to implement, even for those with basic Excel skills, and they significantly reduce the need for manual corrections.
Designing a User-Friendly Interface for Quick Edits
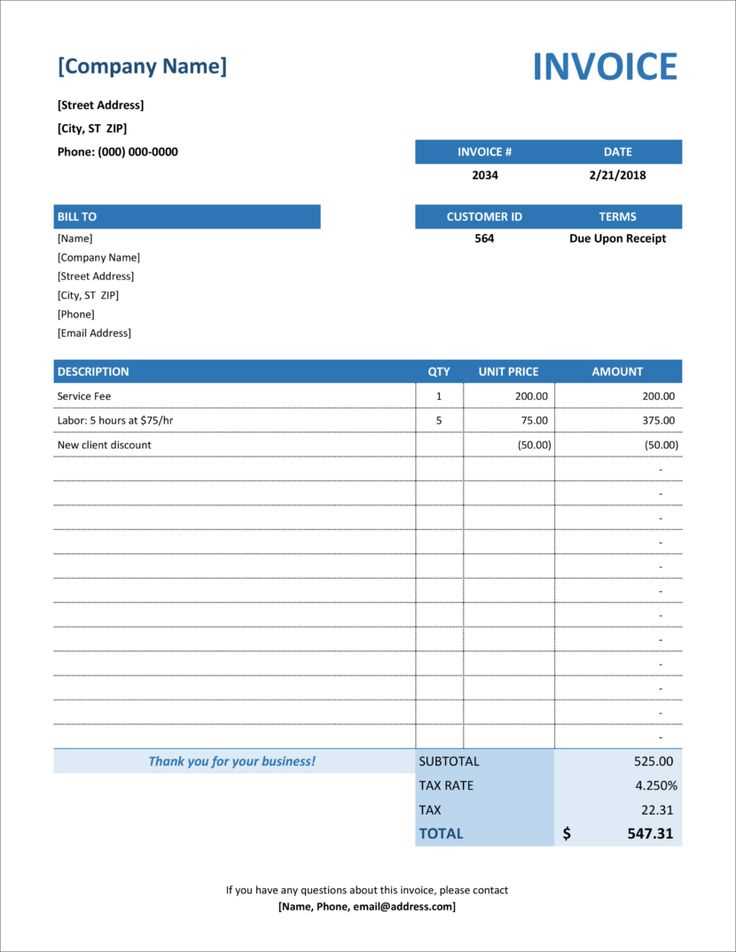
Focus on simplicity and clarity. Create intuitive buttons and dropdown menus for common actions, like adding, deleting, or modifying data. Keep options visible but not overwhelming. Use well-organized sections that separate different elements, such as item details, pricing, and totals, to avoid confusion.
Consider utilizing a grid layout that allows for easy navigation through different sections. Include clear labels for each field and ensure that the text is legible. Offer quick access to templates or previously entered information to save time and minimize unnecessary input.
Incorporate real-time validation to catch errors instantly. Display clear error messages that guide users to resolve issues quickly. This reduces frustration and improves the editing process, especially when multiple edits are required.
Keep editing tools accessible with a toolbar or floating menu that follows the user’s scroll. This ensures that the most frequently used options are always just a click away, speeding up the workflow. Additionally, consider incorporating keyboard shortcuts for advanced users to make their tasks even more efficient.
Lastly, offer a preview option that shows the result before applying changes. This allows users to verify edits instantly without committing to them right away, reducing the risk of mistakes.


